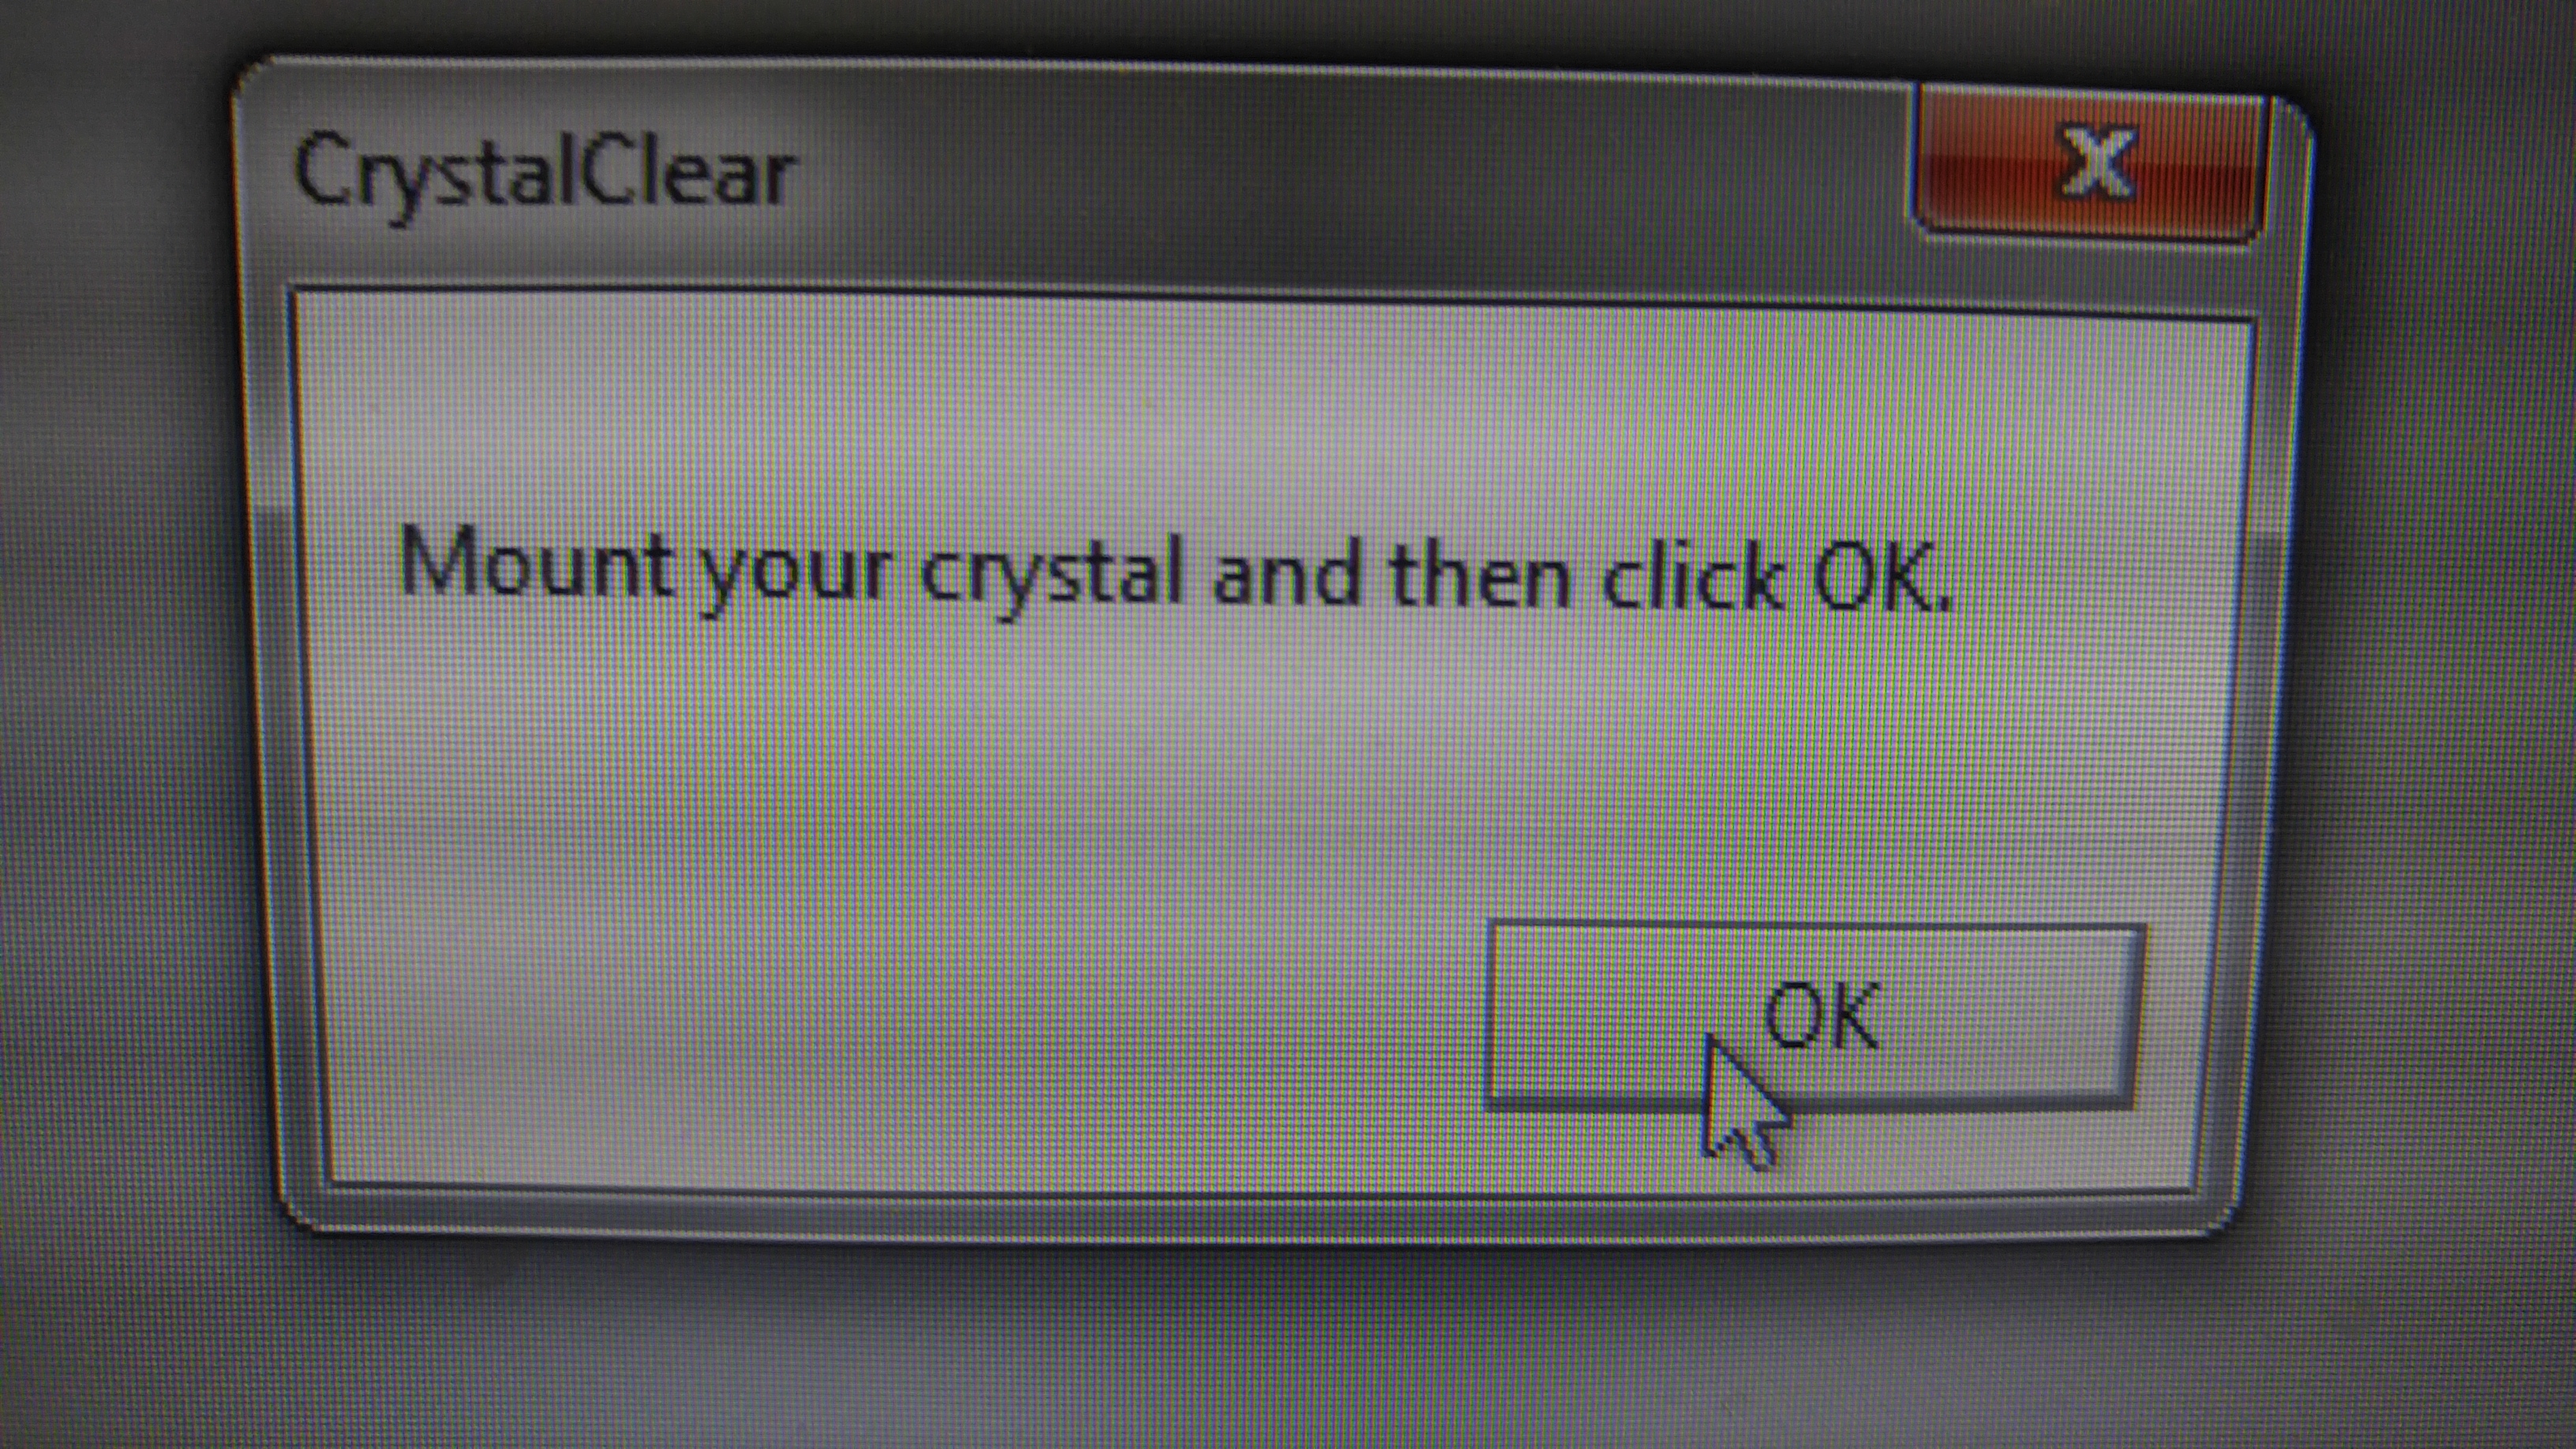
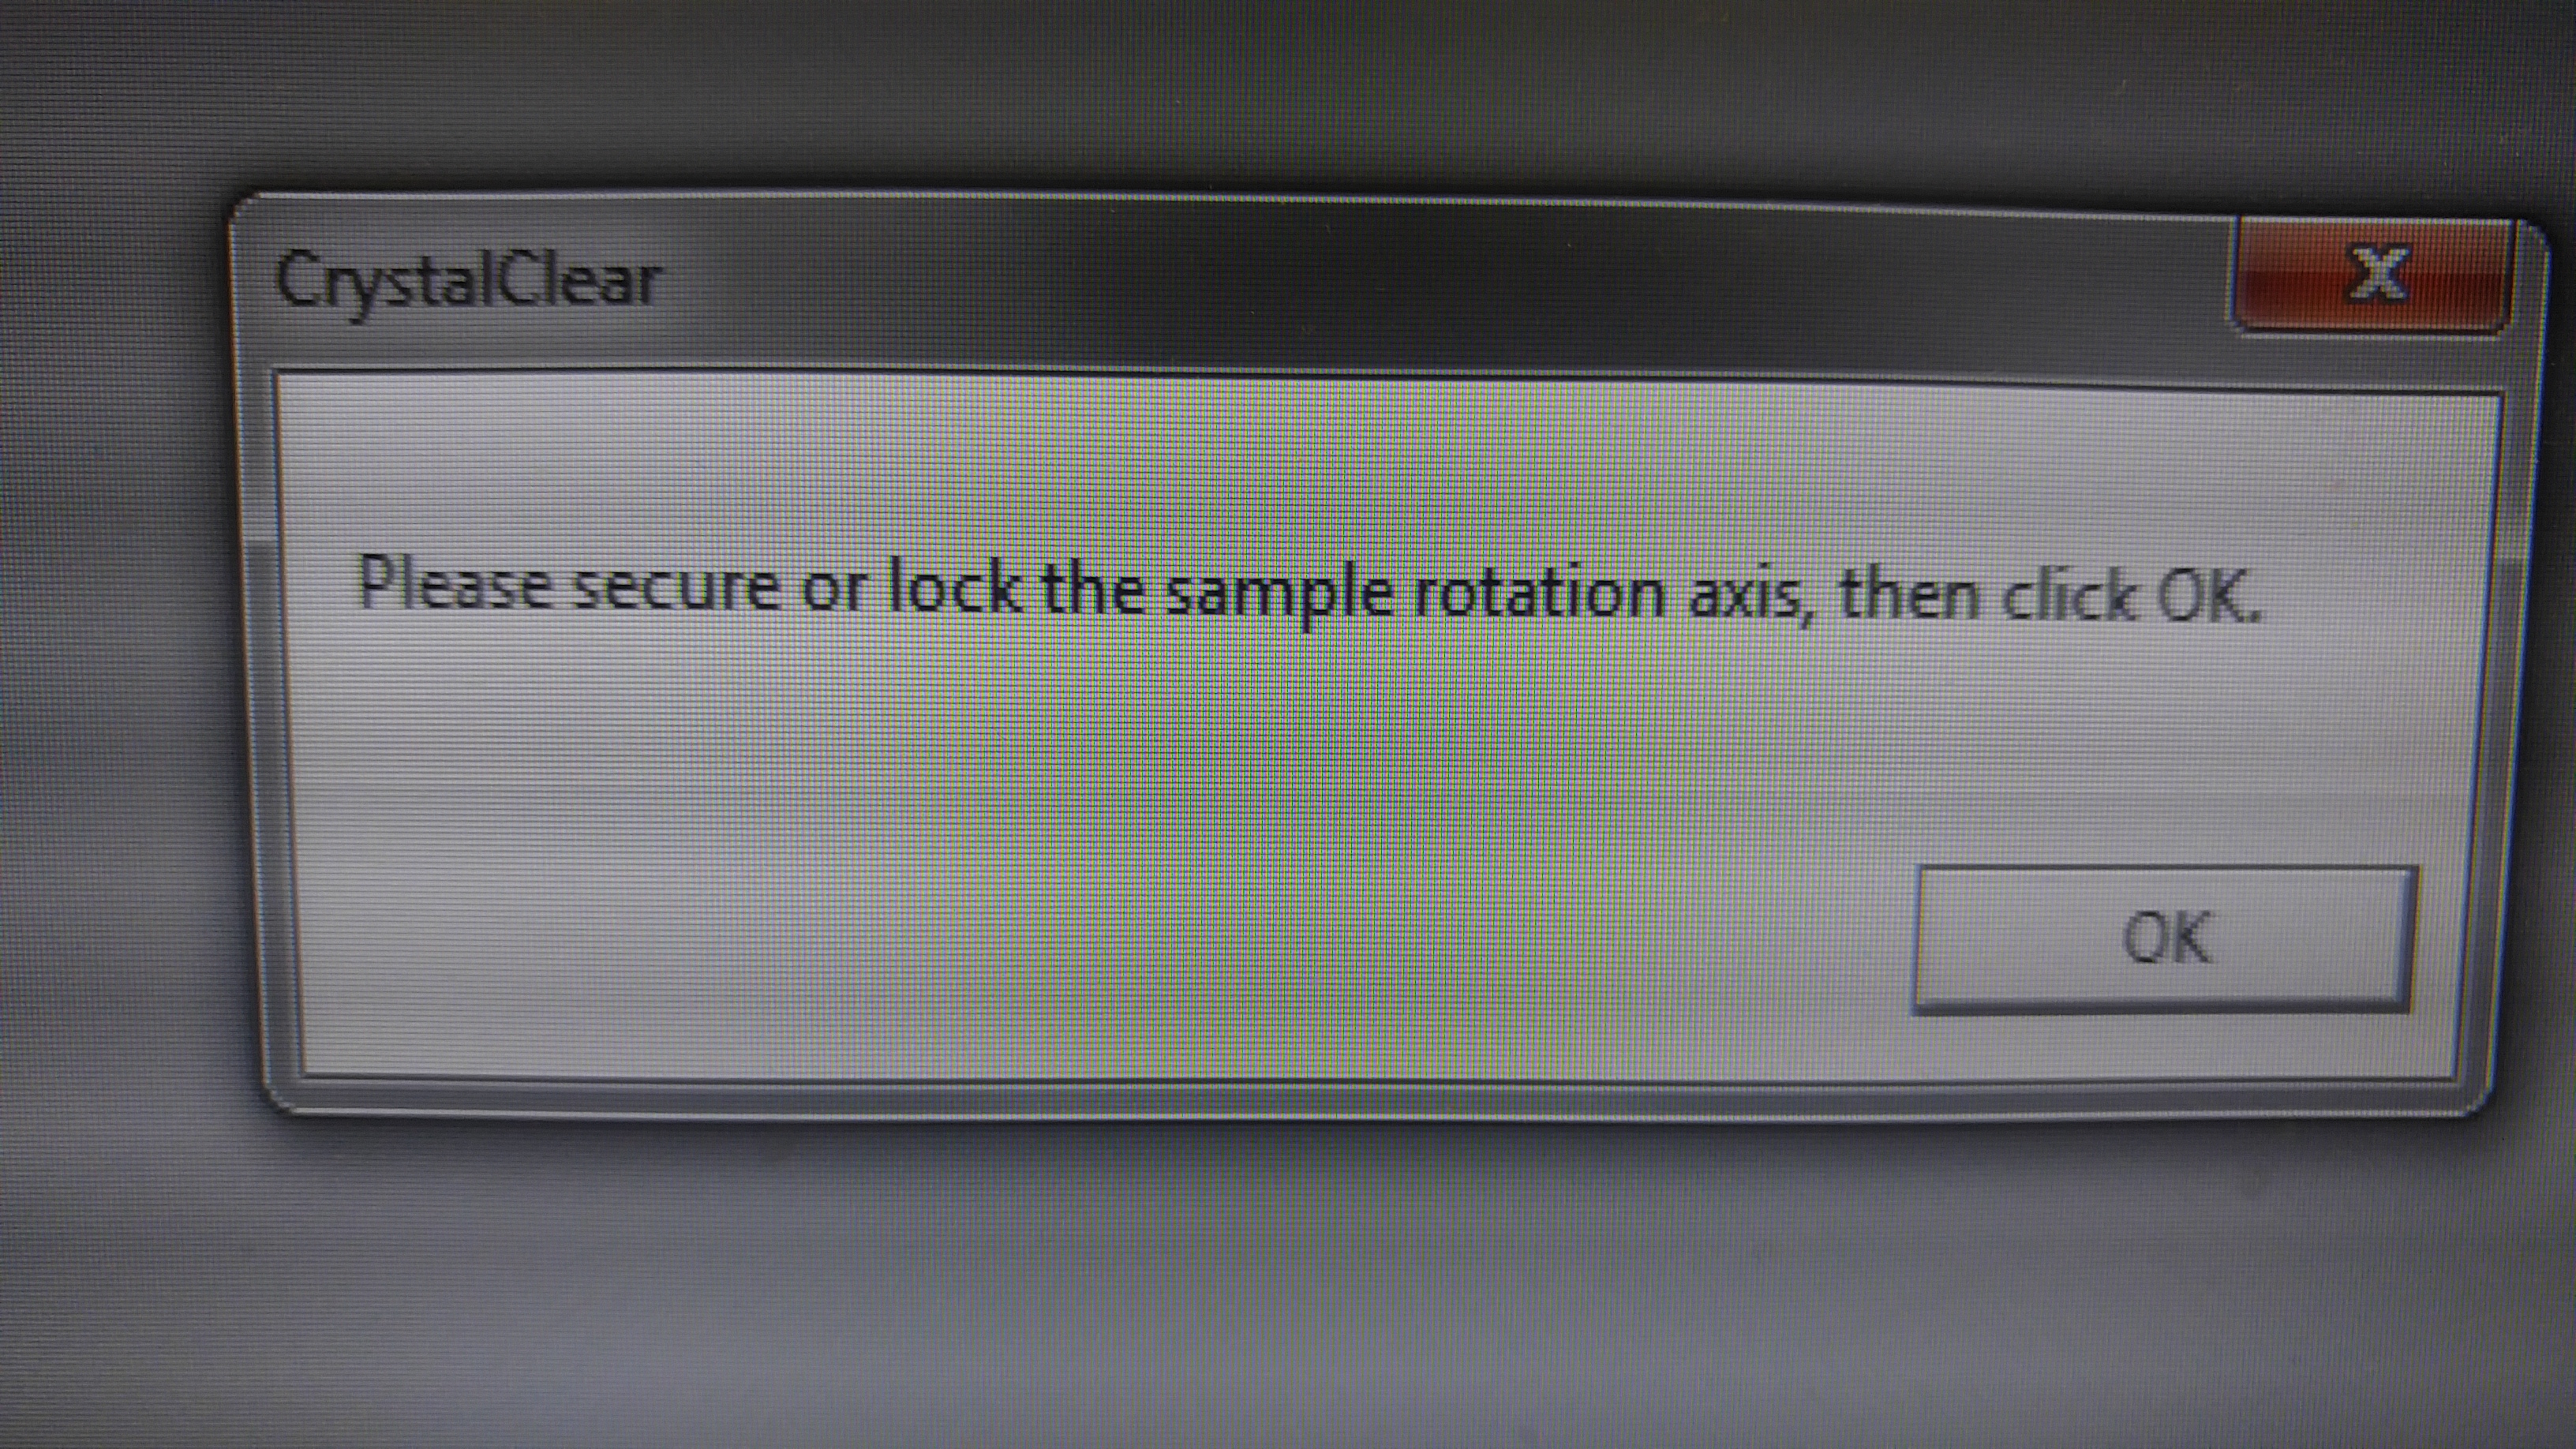
DOE INSTRUMENTATION CORE: X-RAY DIFFRACTOMETER

Tools/ Supplies:

-Magnetic Cryo-Wands                                                -Pipettemen (0.5-10µL)

-Tweezers (crude)                                                          -Magnetic Crystal Loop Tips

-Scalpel                                                                            -Glycerol (if cyro-protecting)

Access:

UNAUTHORIZED personnel in the x-ray lab will have their access revoked and will be reported to their principal investigator. DO NOT use the machine or enter the lab unless you are escorted by Duilio Cascio. You may enter the lab and use the machine ONLY IF three conditions are satisfied: (1) you are trained and authorized by Duilio Cascio to work independently. Secondary training is forbidden. (2) You complete EH&S diffraction safety training and give your certificate to Duilio Cascio. (3) You are given a key to the lab door.

DO NOT give your key and/or door code to another person even if they are authorized to work independently. Any violation will result in suspension of access cards for all parties involved. There are no exceptions.

Reserving a Time Slot:

-The Right-hand port (HTCR) on the right side of the board is suggested when shooting smaller crystals. HTCL has a larger beam diameter and may decrease the signal-to-noise ratio.

-Depending on the size and quality of your crystal sample, a longer period of time may be necessary for data collection. Be prudent when reserving a time slot.

-Consult with a staff member if you’re unsure about which of these will be best for your crystal.

-Write your name, day, and time you want to use the machine. This is not a guaranteed slot. You will have to wait if data is being collected when you arrive or the machine is being maintained. Be courteous to others and DO NOT shoot crystals if another user is signed up.

Fishing for Your Crystal:

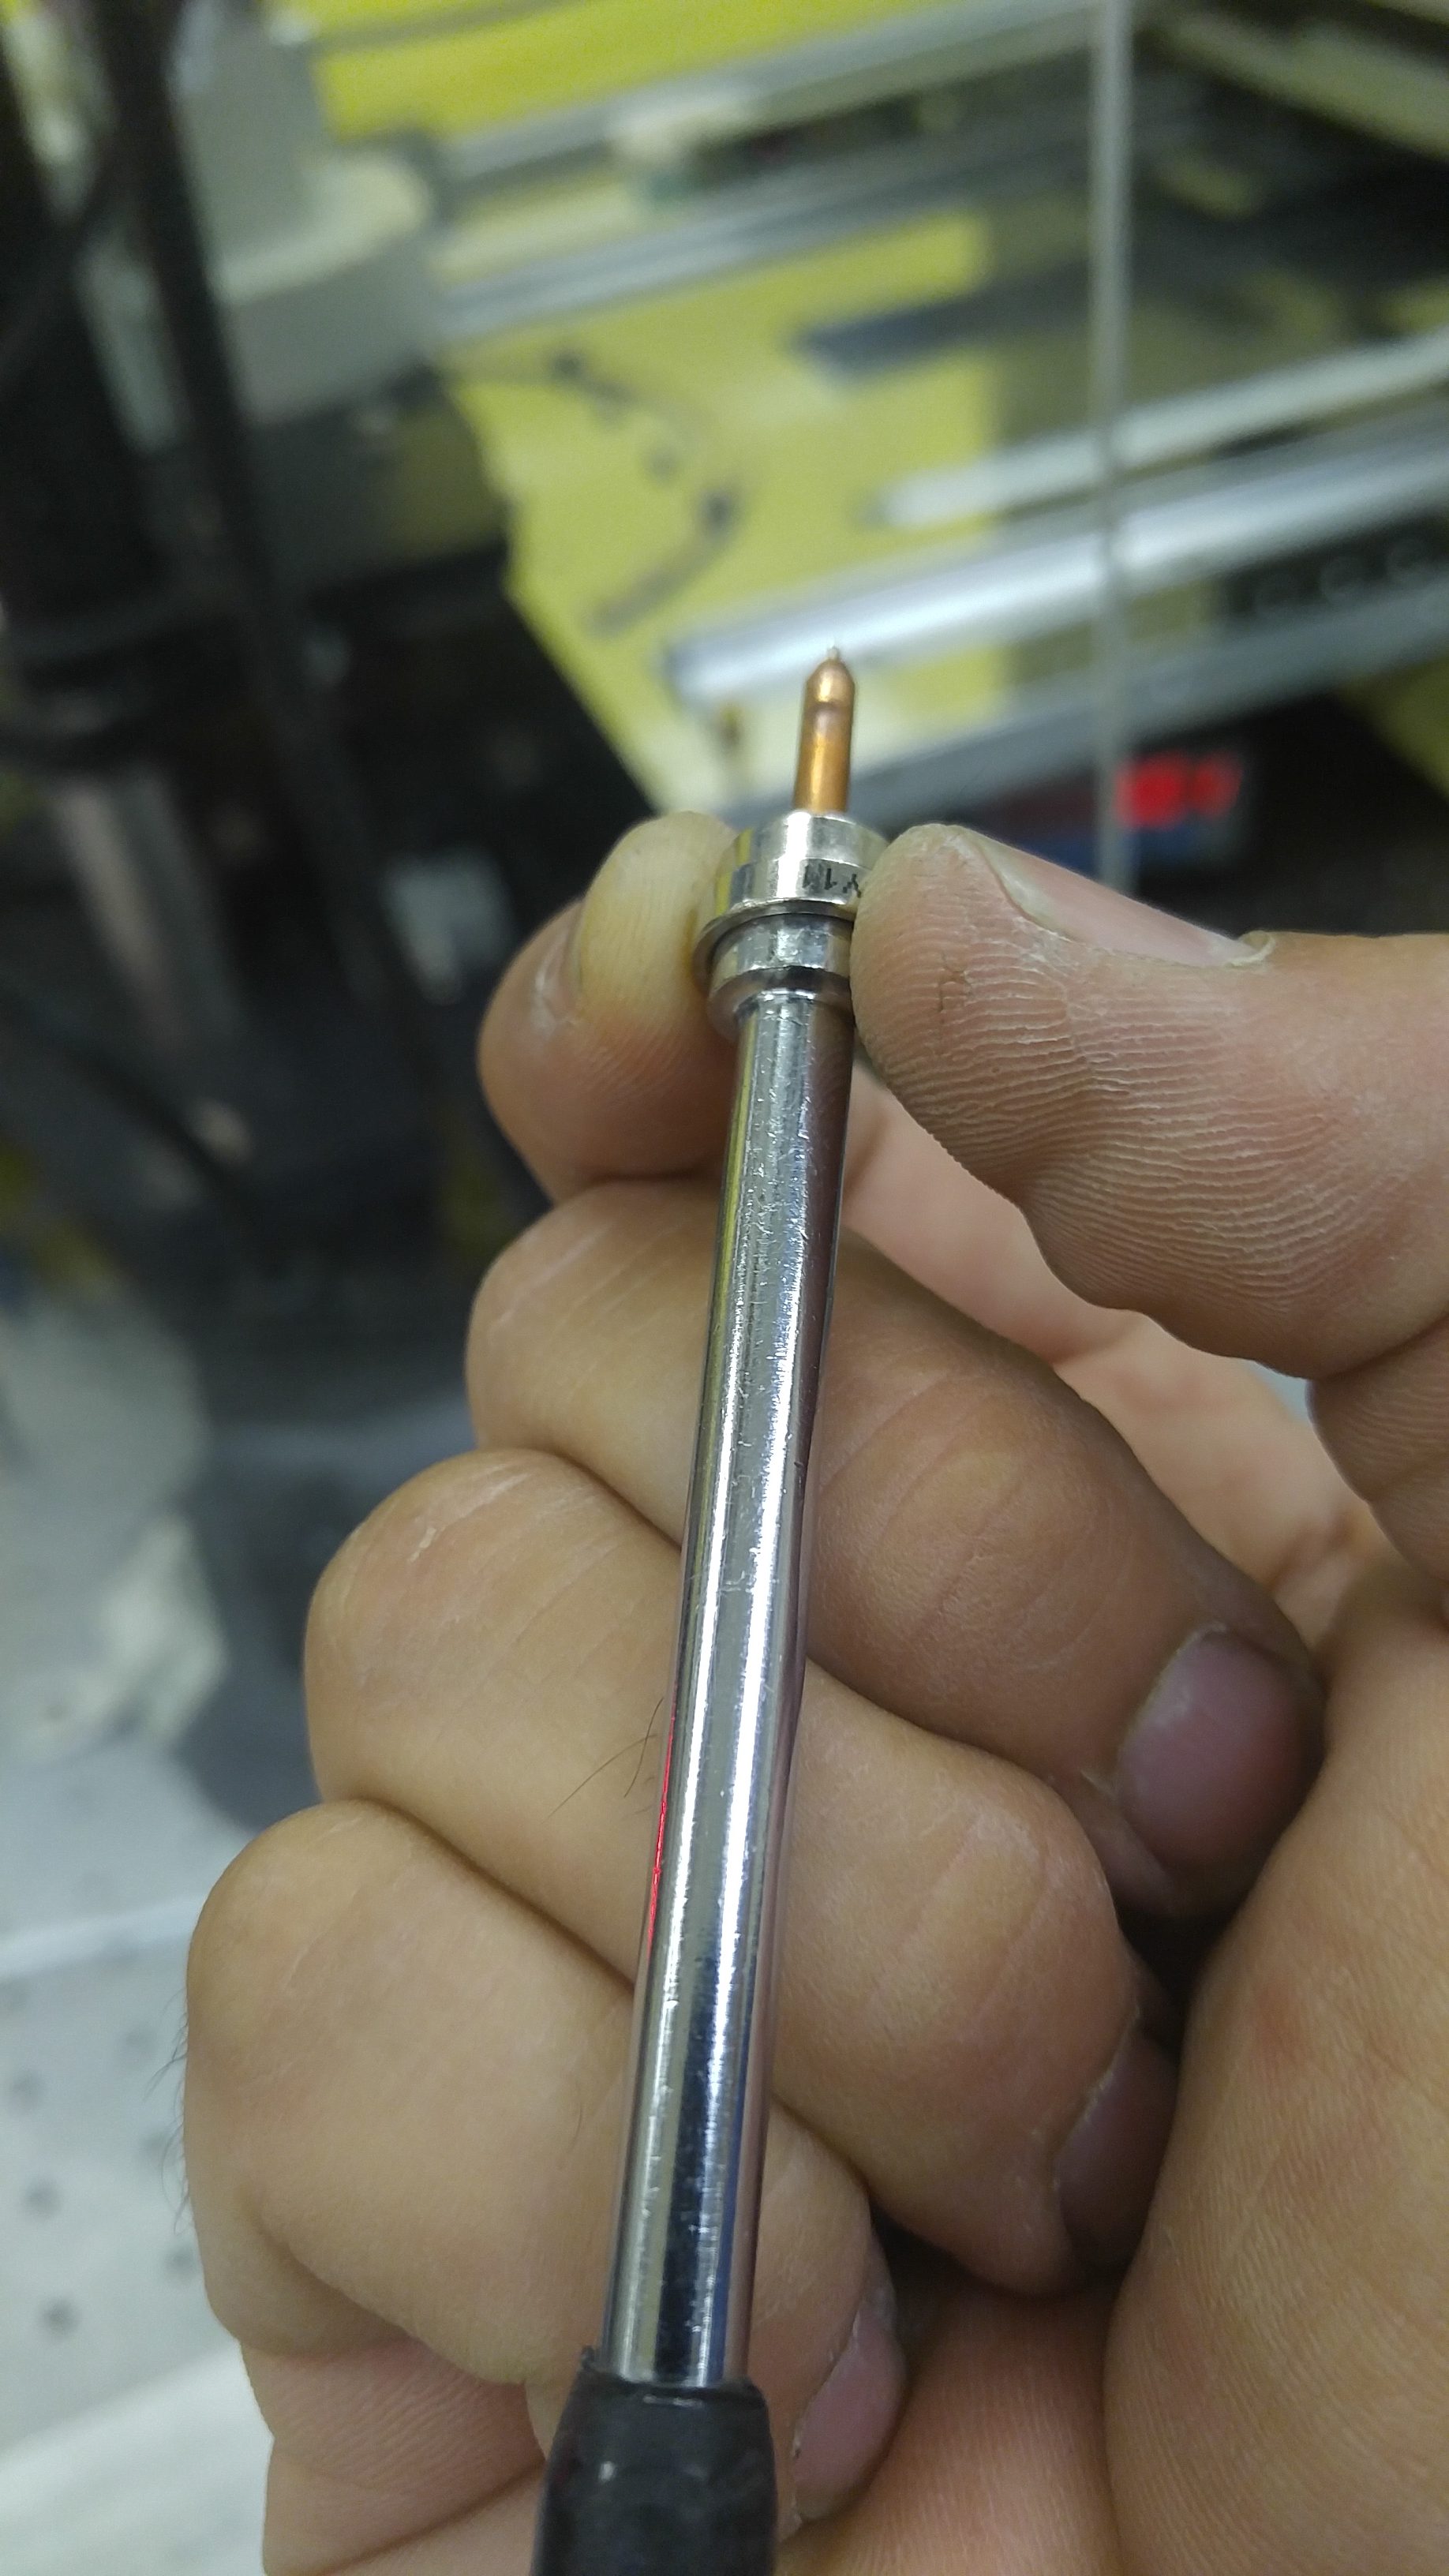
-Select a loop of the correct size to match your crystal sample. Before opening your crystal tray. Use the microscope to verify the loop is undamaged and the correct size to catch your crystal. It is important that the loop tip be made of copper if you plan on collecting data for a long period of time. The copper tip resists freezing, but the others do not.

*It is important to verify this first to reduce the amount of time the crystal is exposed to air. Evaporation can often be detrimental and will reduce the quality of the data.

-Using the microscope, scan the wells to find your crystal.

*If you plan to cryo-protect your crystal, prepare a coverslip with a 2µL drop of glycerol and set this aside for later. Pipette an additional 4µL of mother liquor into the 2µL drop of glycerol. Glycerol resists the build-up of ice around your crystal sample and reduces the amount of noise in the diffraction pattern. Pipette an additional 4µL of mother liquor into the 2µL drop of glycerol.

-With a scalpel, carefully cut a perimeter around the well containing your crystal. Make generous cuts that over-lap at the corners.

-Use tweezers to remove the coverslip and place this under the microscope.

-Holding the cyro-wand as near to the loop as possible (without touching it), orient the tip so it lies flat (parallel) to the surface of the coverslip.

-Approaching at a 45° angle, gently nudge the crystal to dislodge it from the coverslip. Sliding in from beneath it and lifting the crystal is generally the best way to “catch” it.

-Try to be as precise as possible. This prevents unnecessary touching of the crystal which damages its integrity.

-In addition, do not hold the loop at less than 45° because this will cause the copper tip to act as a capillary and and draw your crystal out of the solution onto the copper base. If this happens the crystal is often lost.

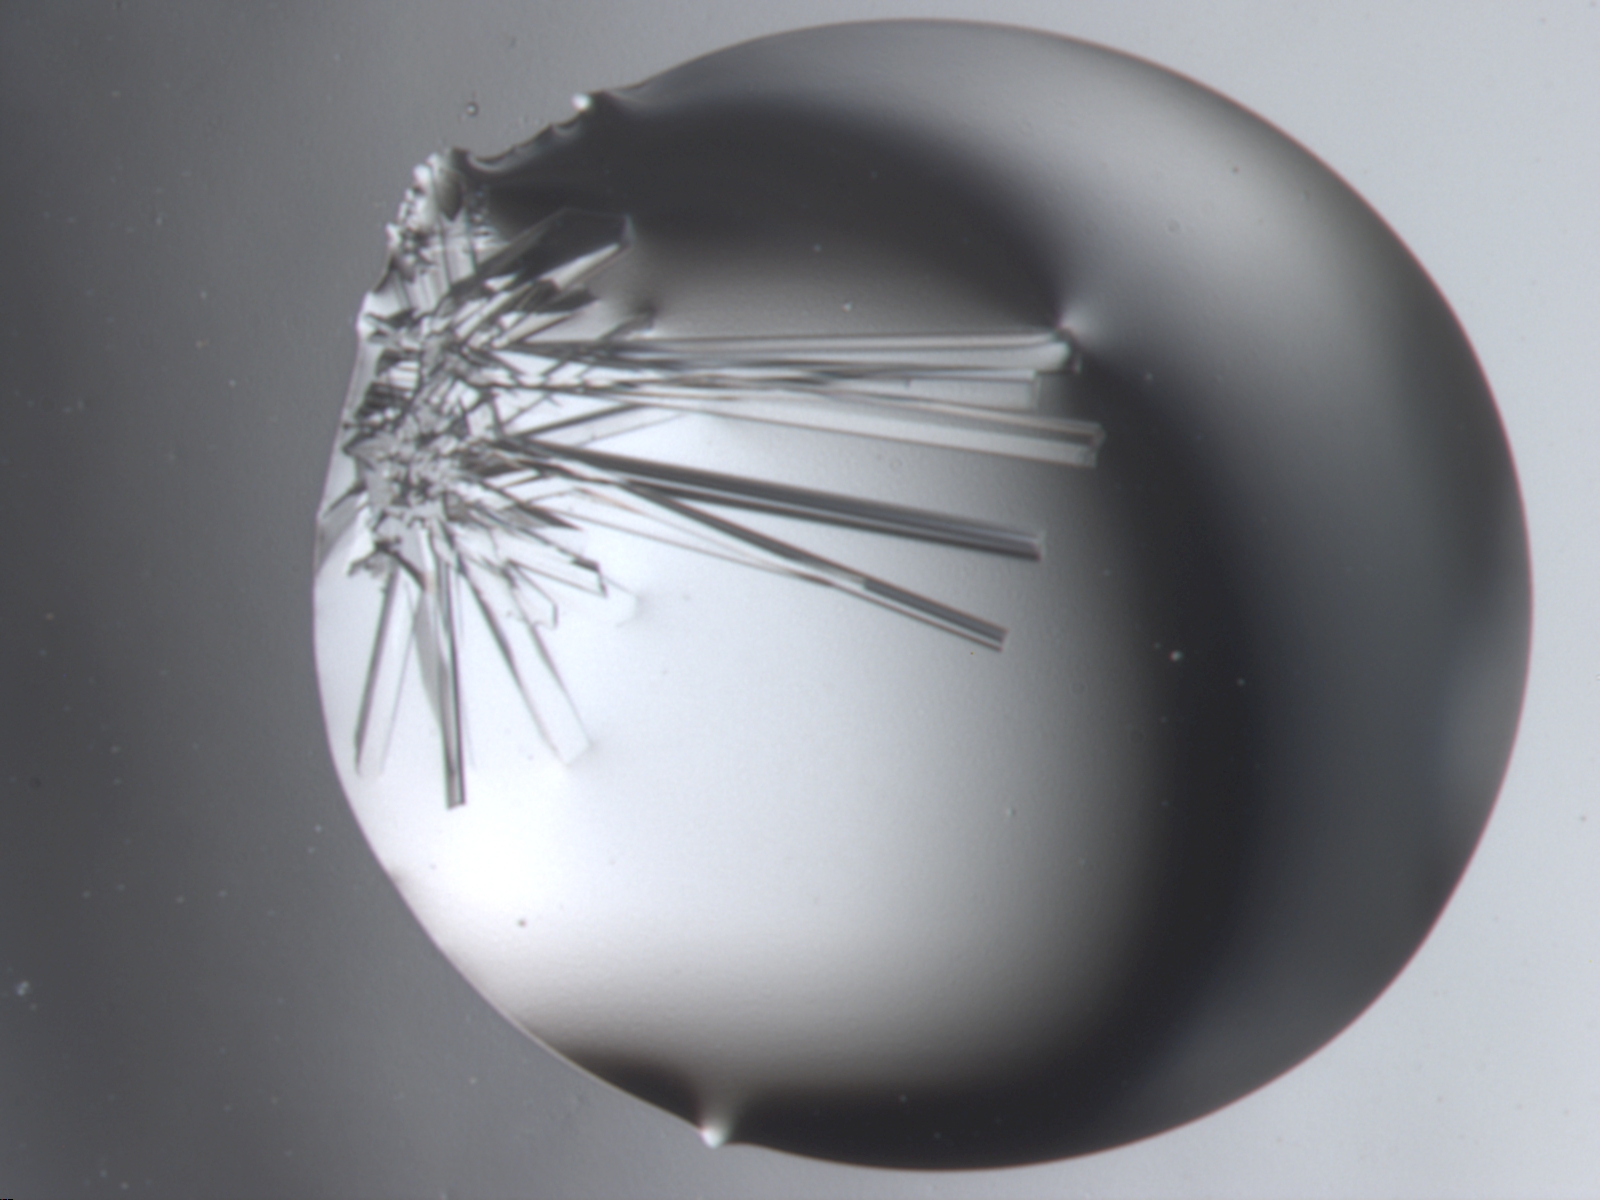
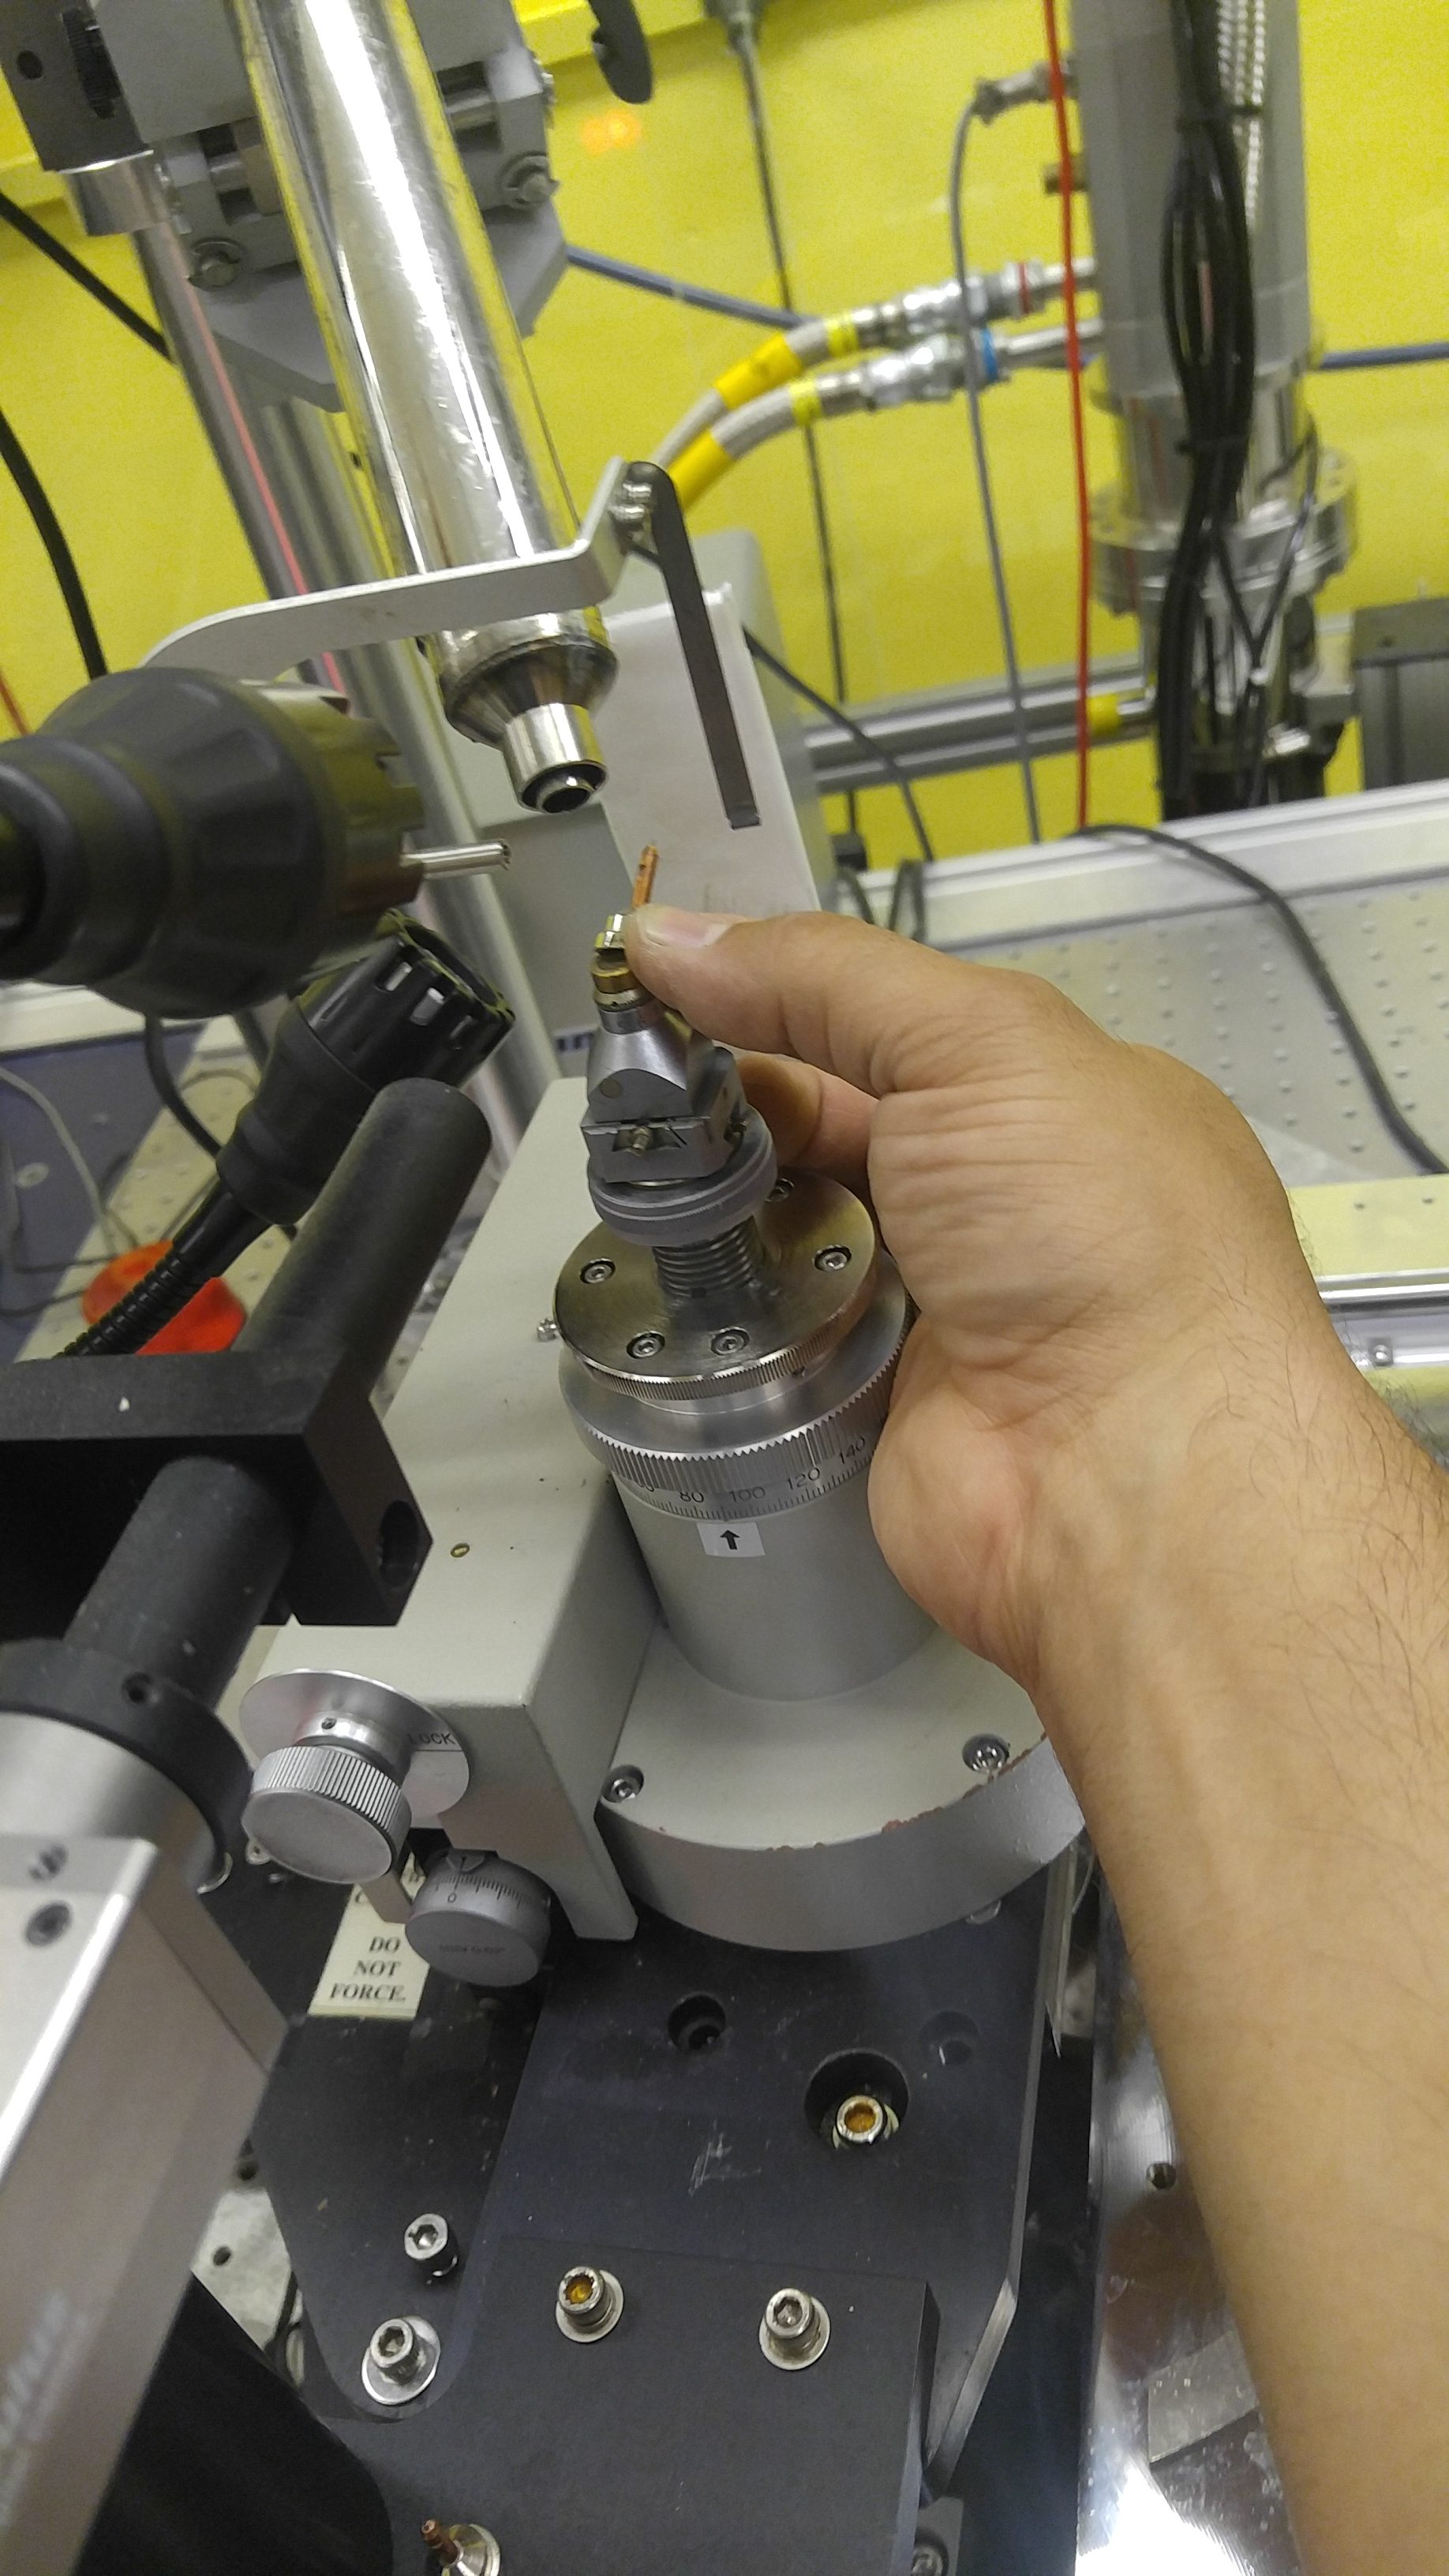
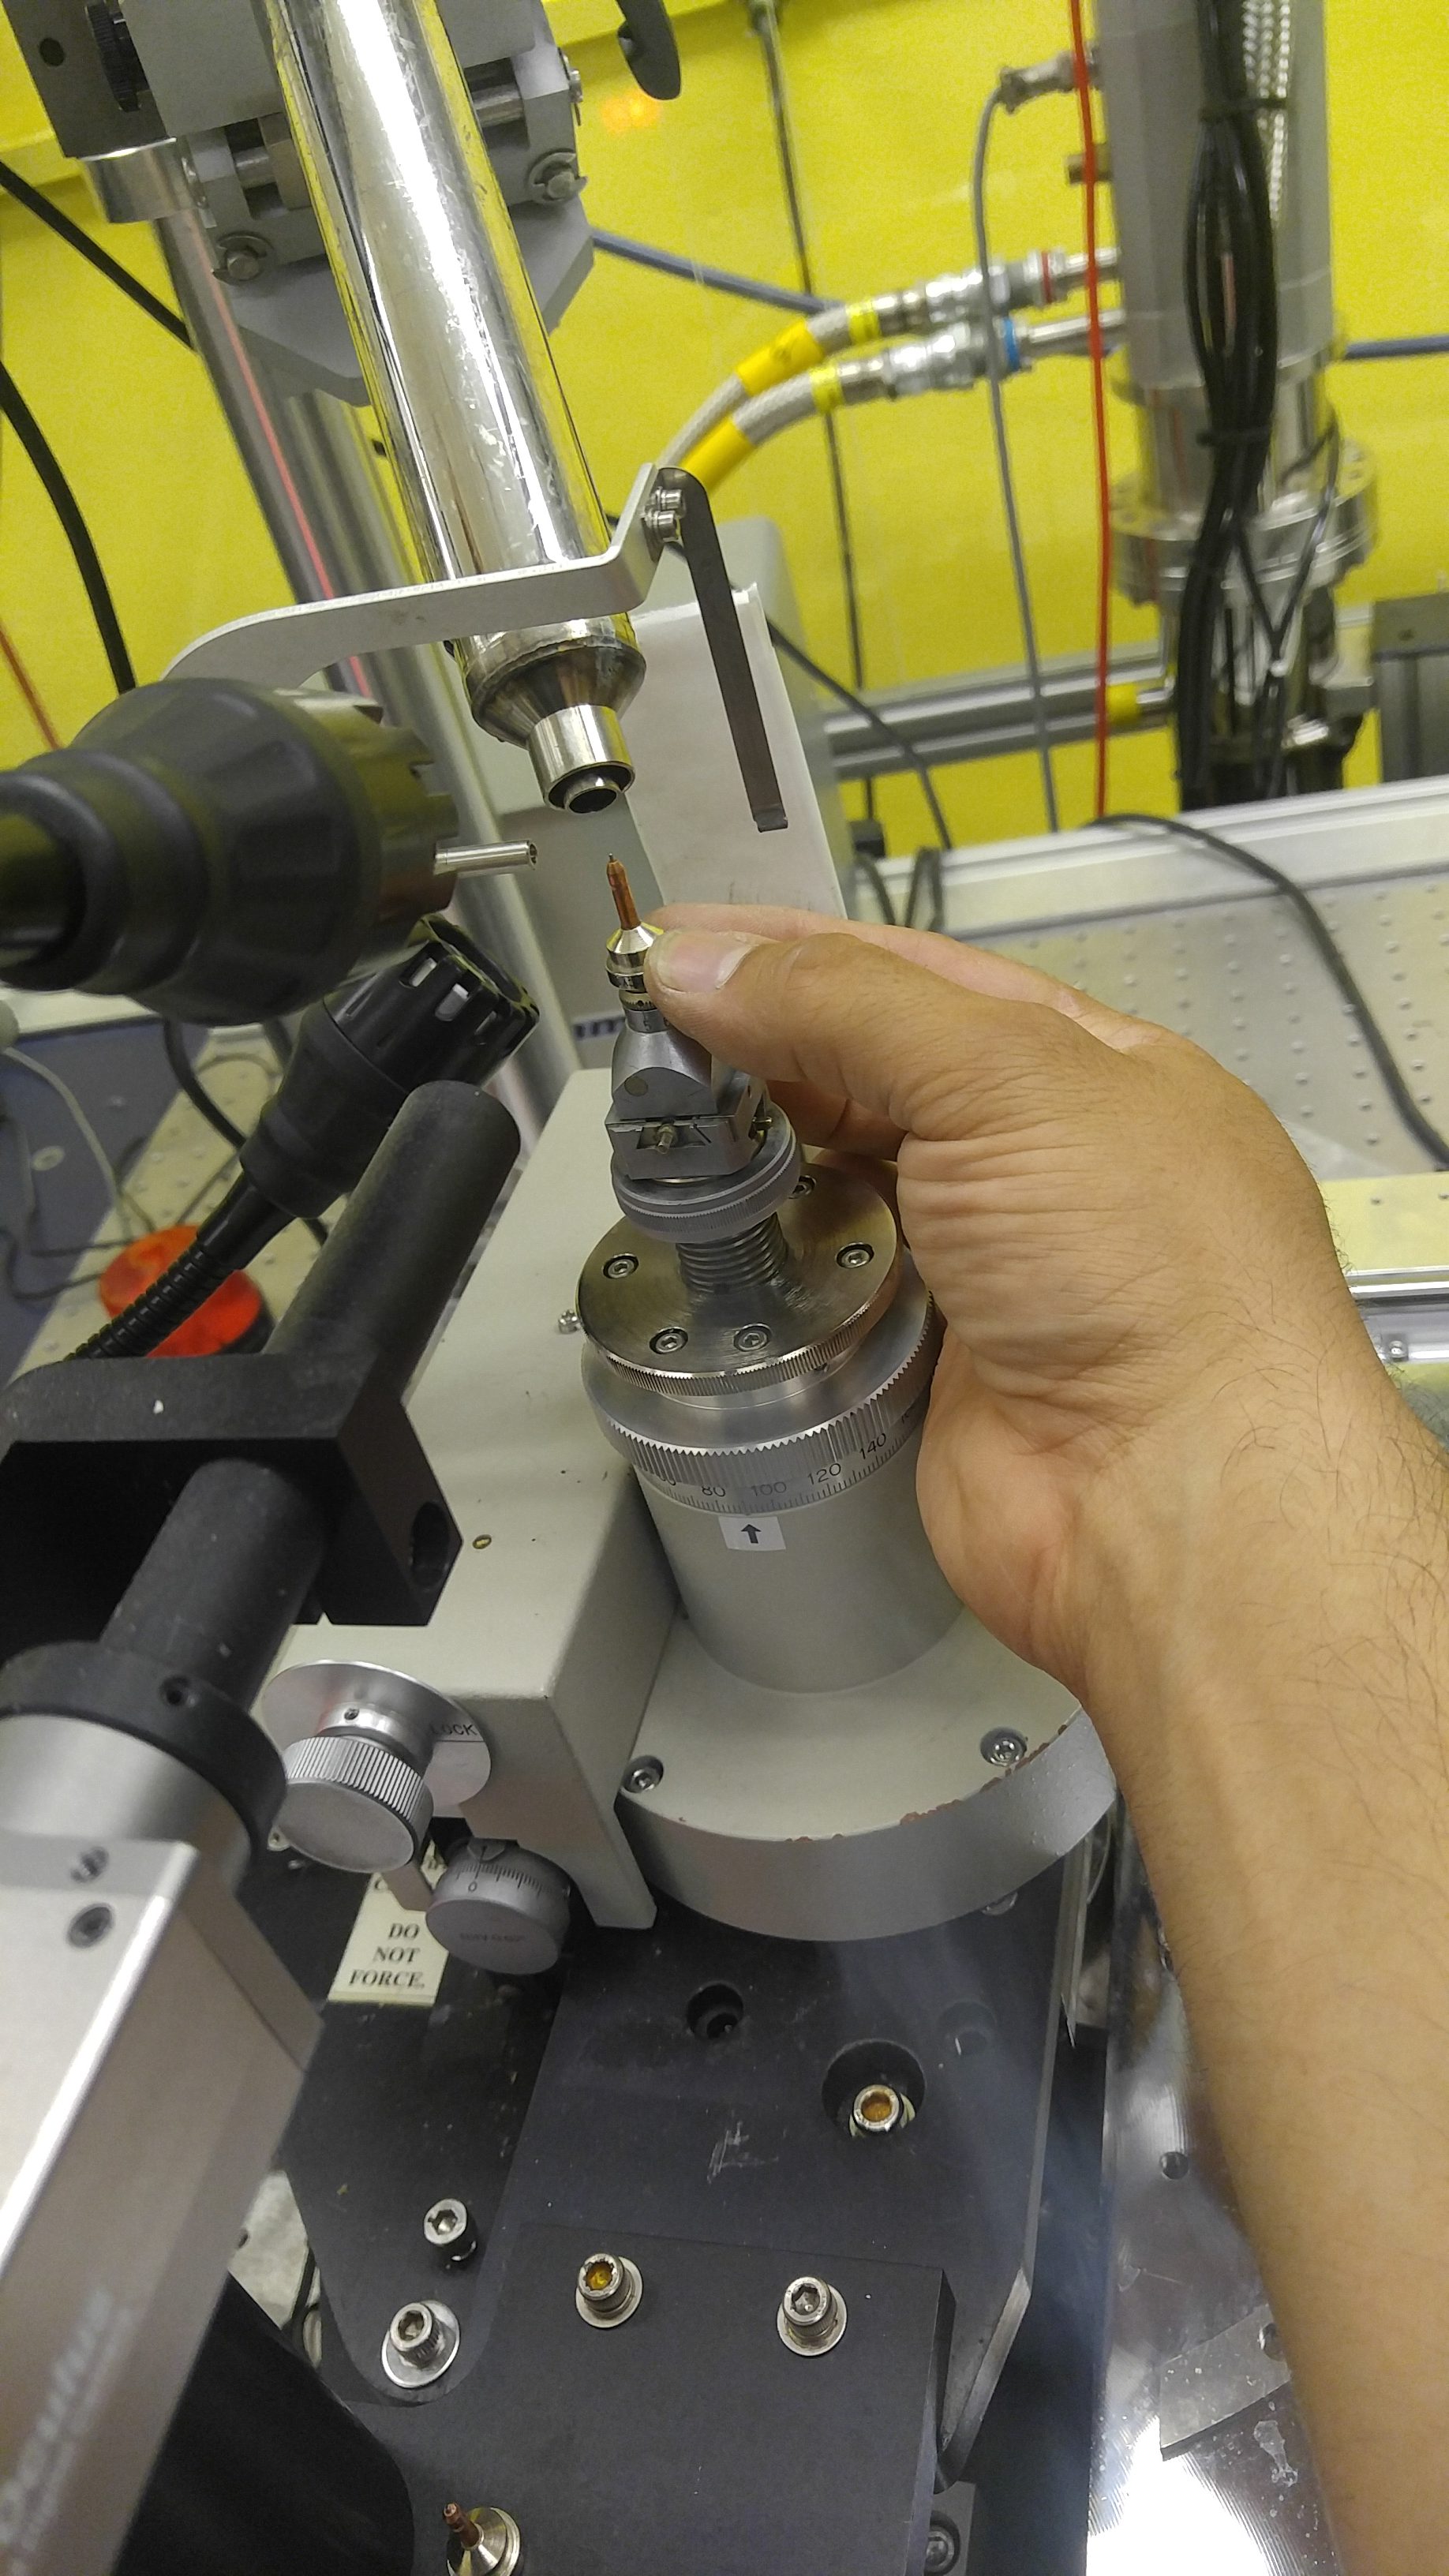
-Once the crystal is successfully suspended in the loop, it is ready to be mounted on the X-Ray machine. Remove the magnetic loop tip and quickly transfer it to the X-Ray mount.

-During this step, approach the mount from behind (away from the cold stream) and at a 45° angle. Doing so will prevent the gradual cooling of the sample and the formation of ice.

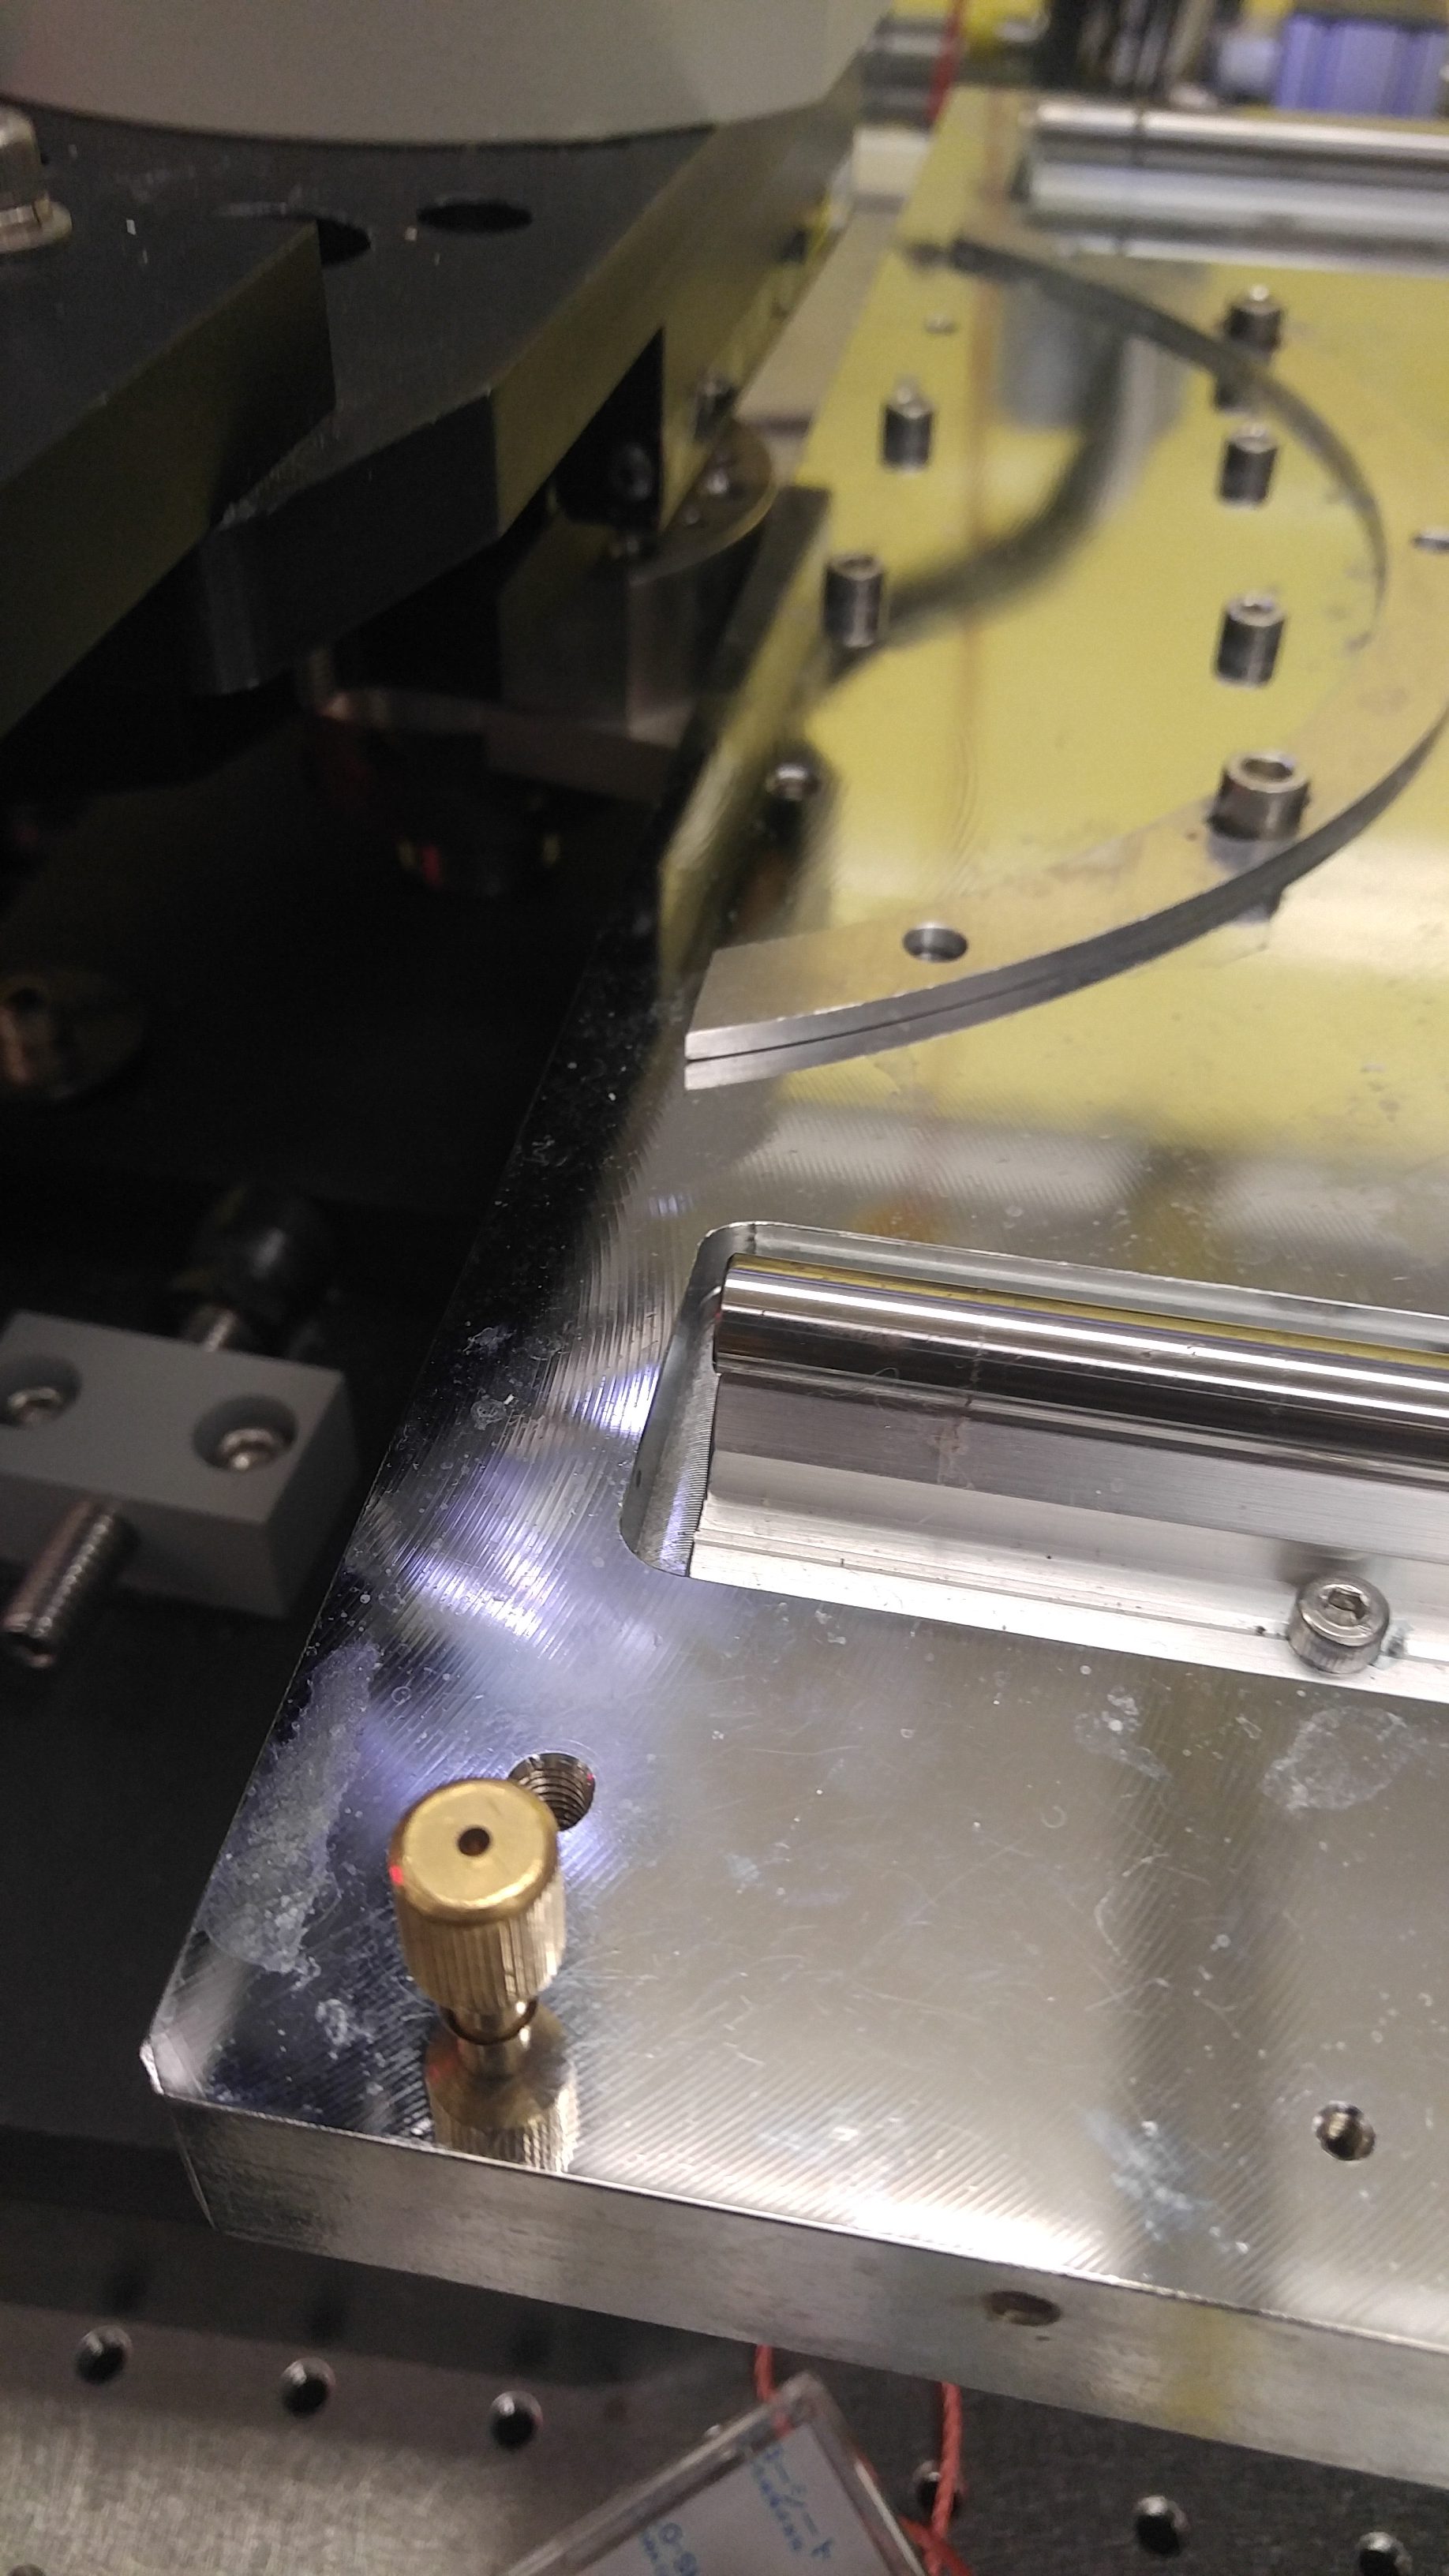
-DO NOT TOUCH THE X-RAY TUBE. Its position is carefully oriented using 8 different calibration points. DO NOT TOUCH IT.

Orienting your Crystal:

-Turn on the gooseneck lamp

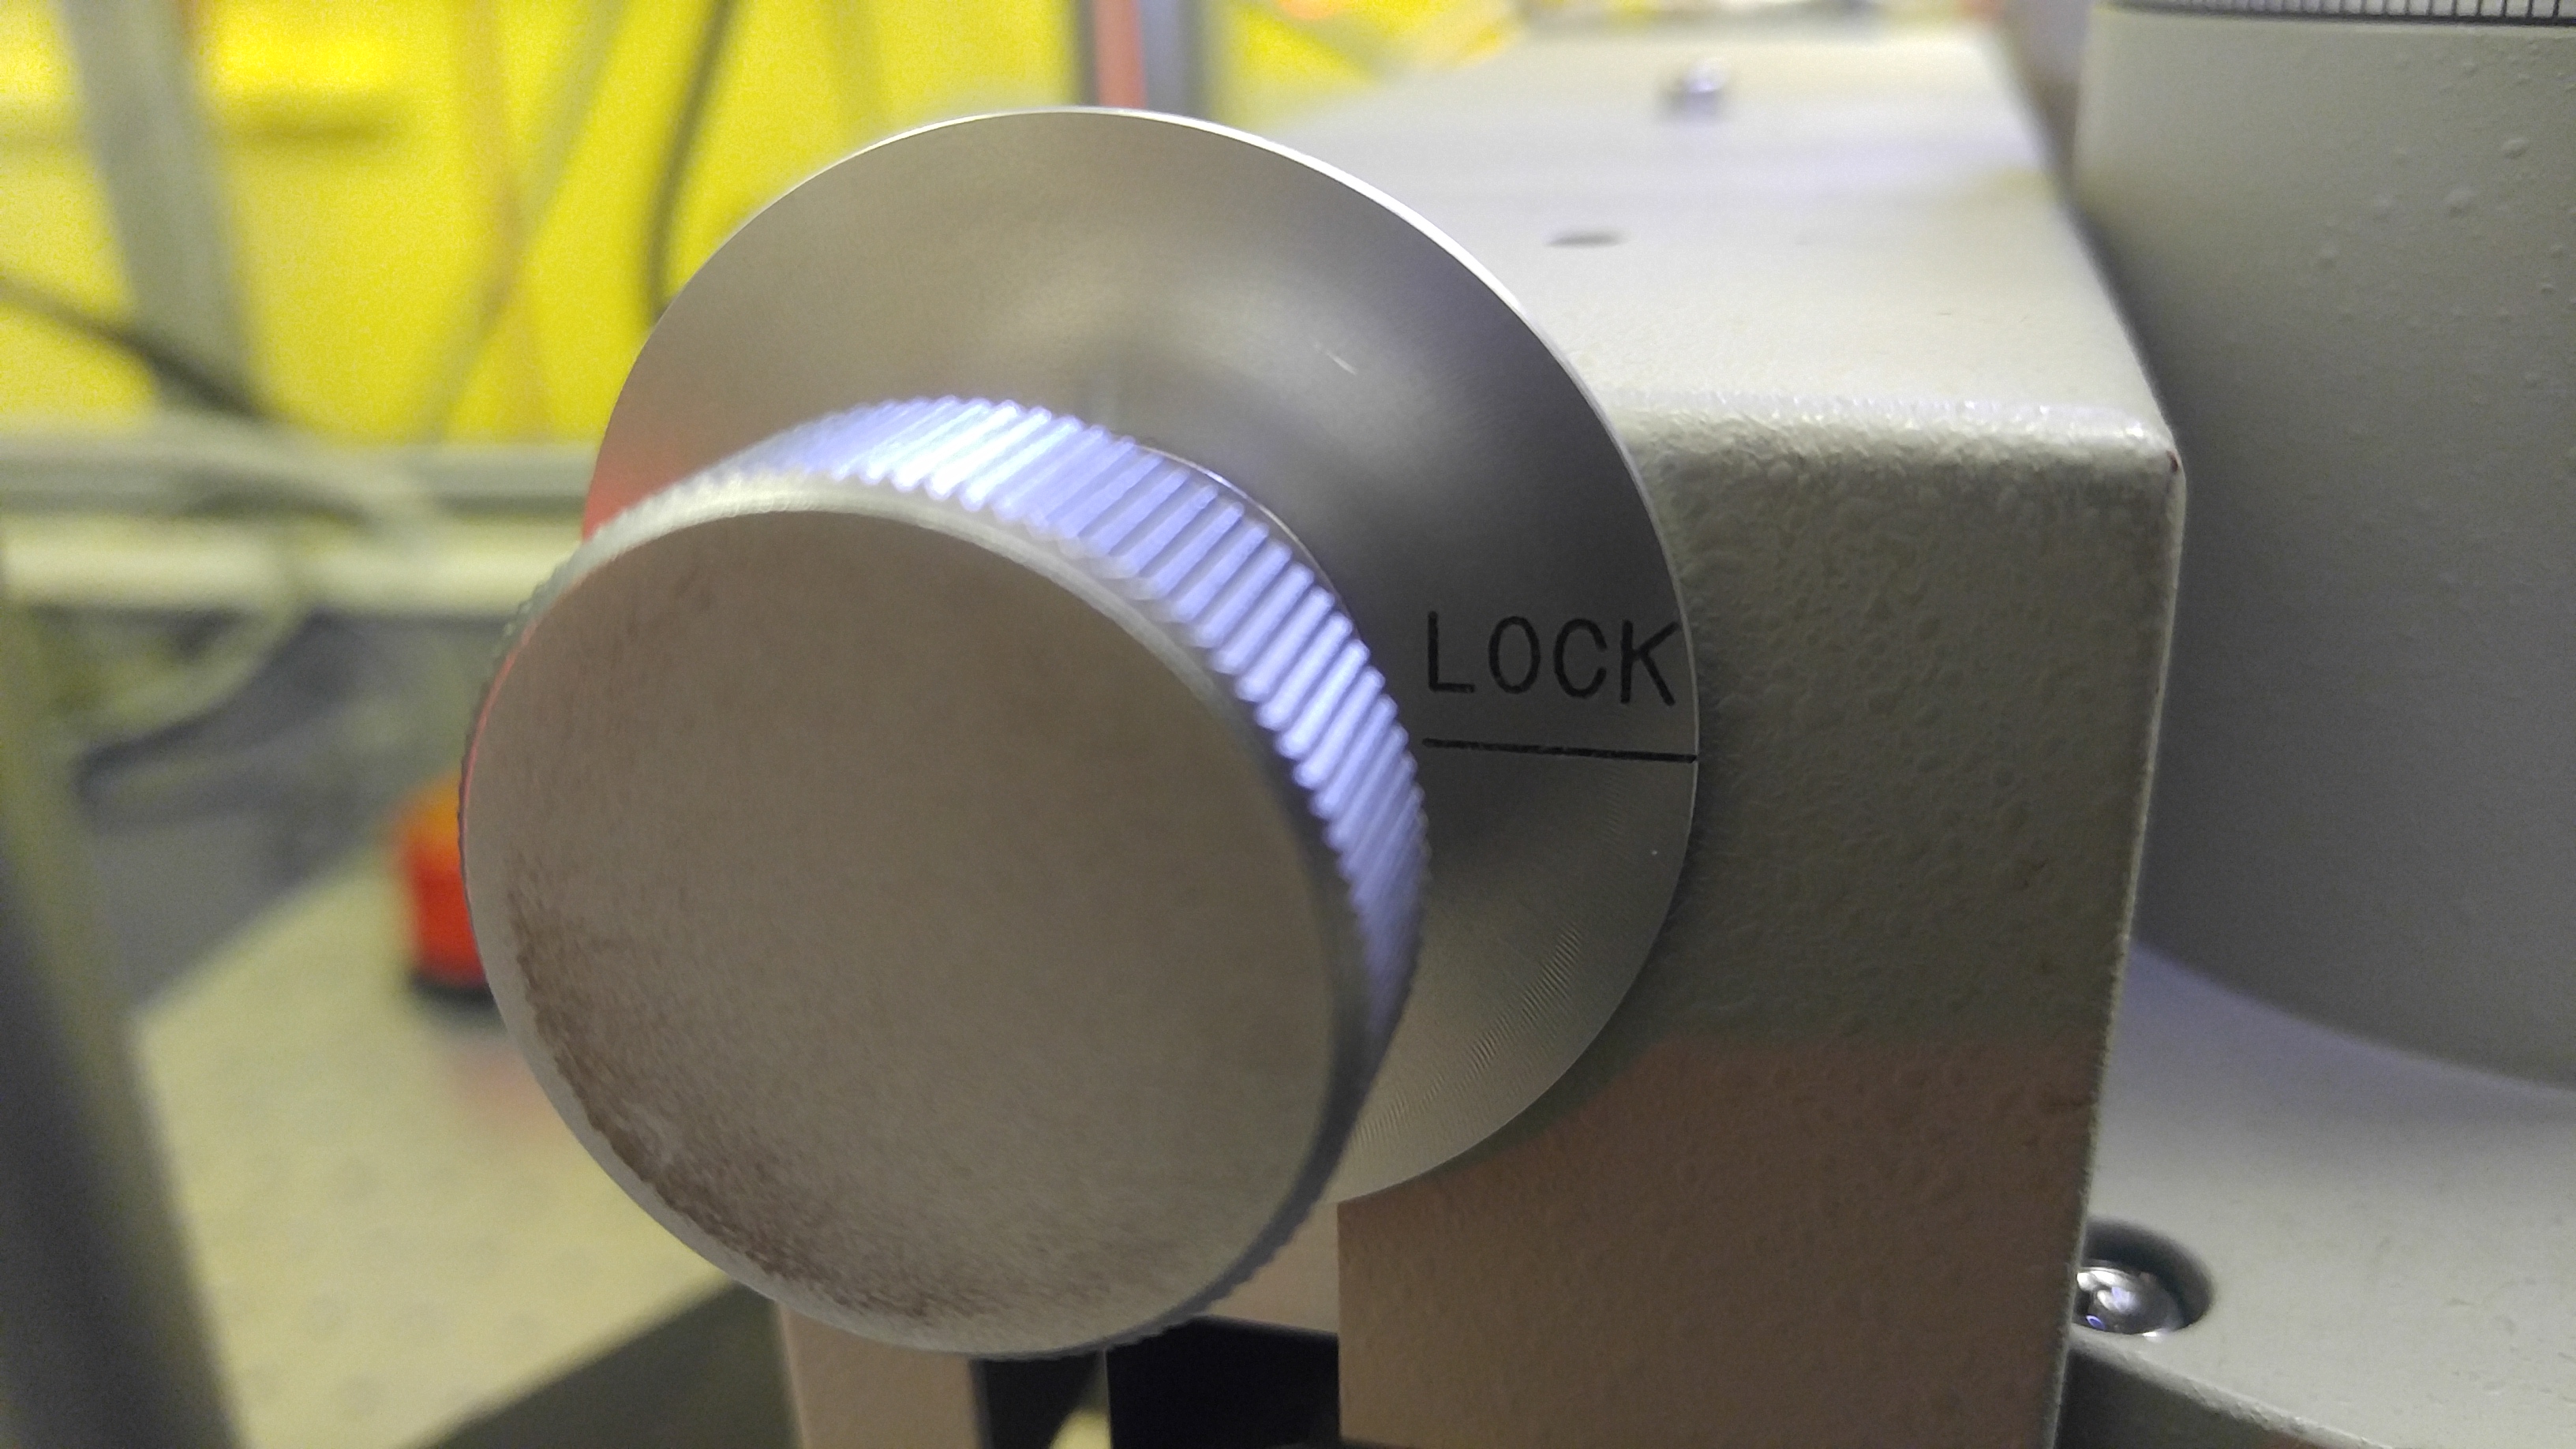
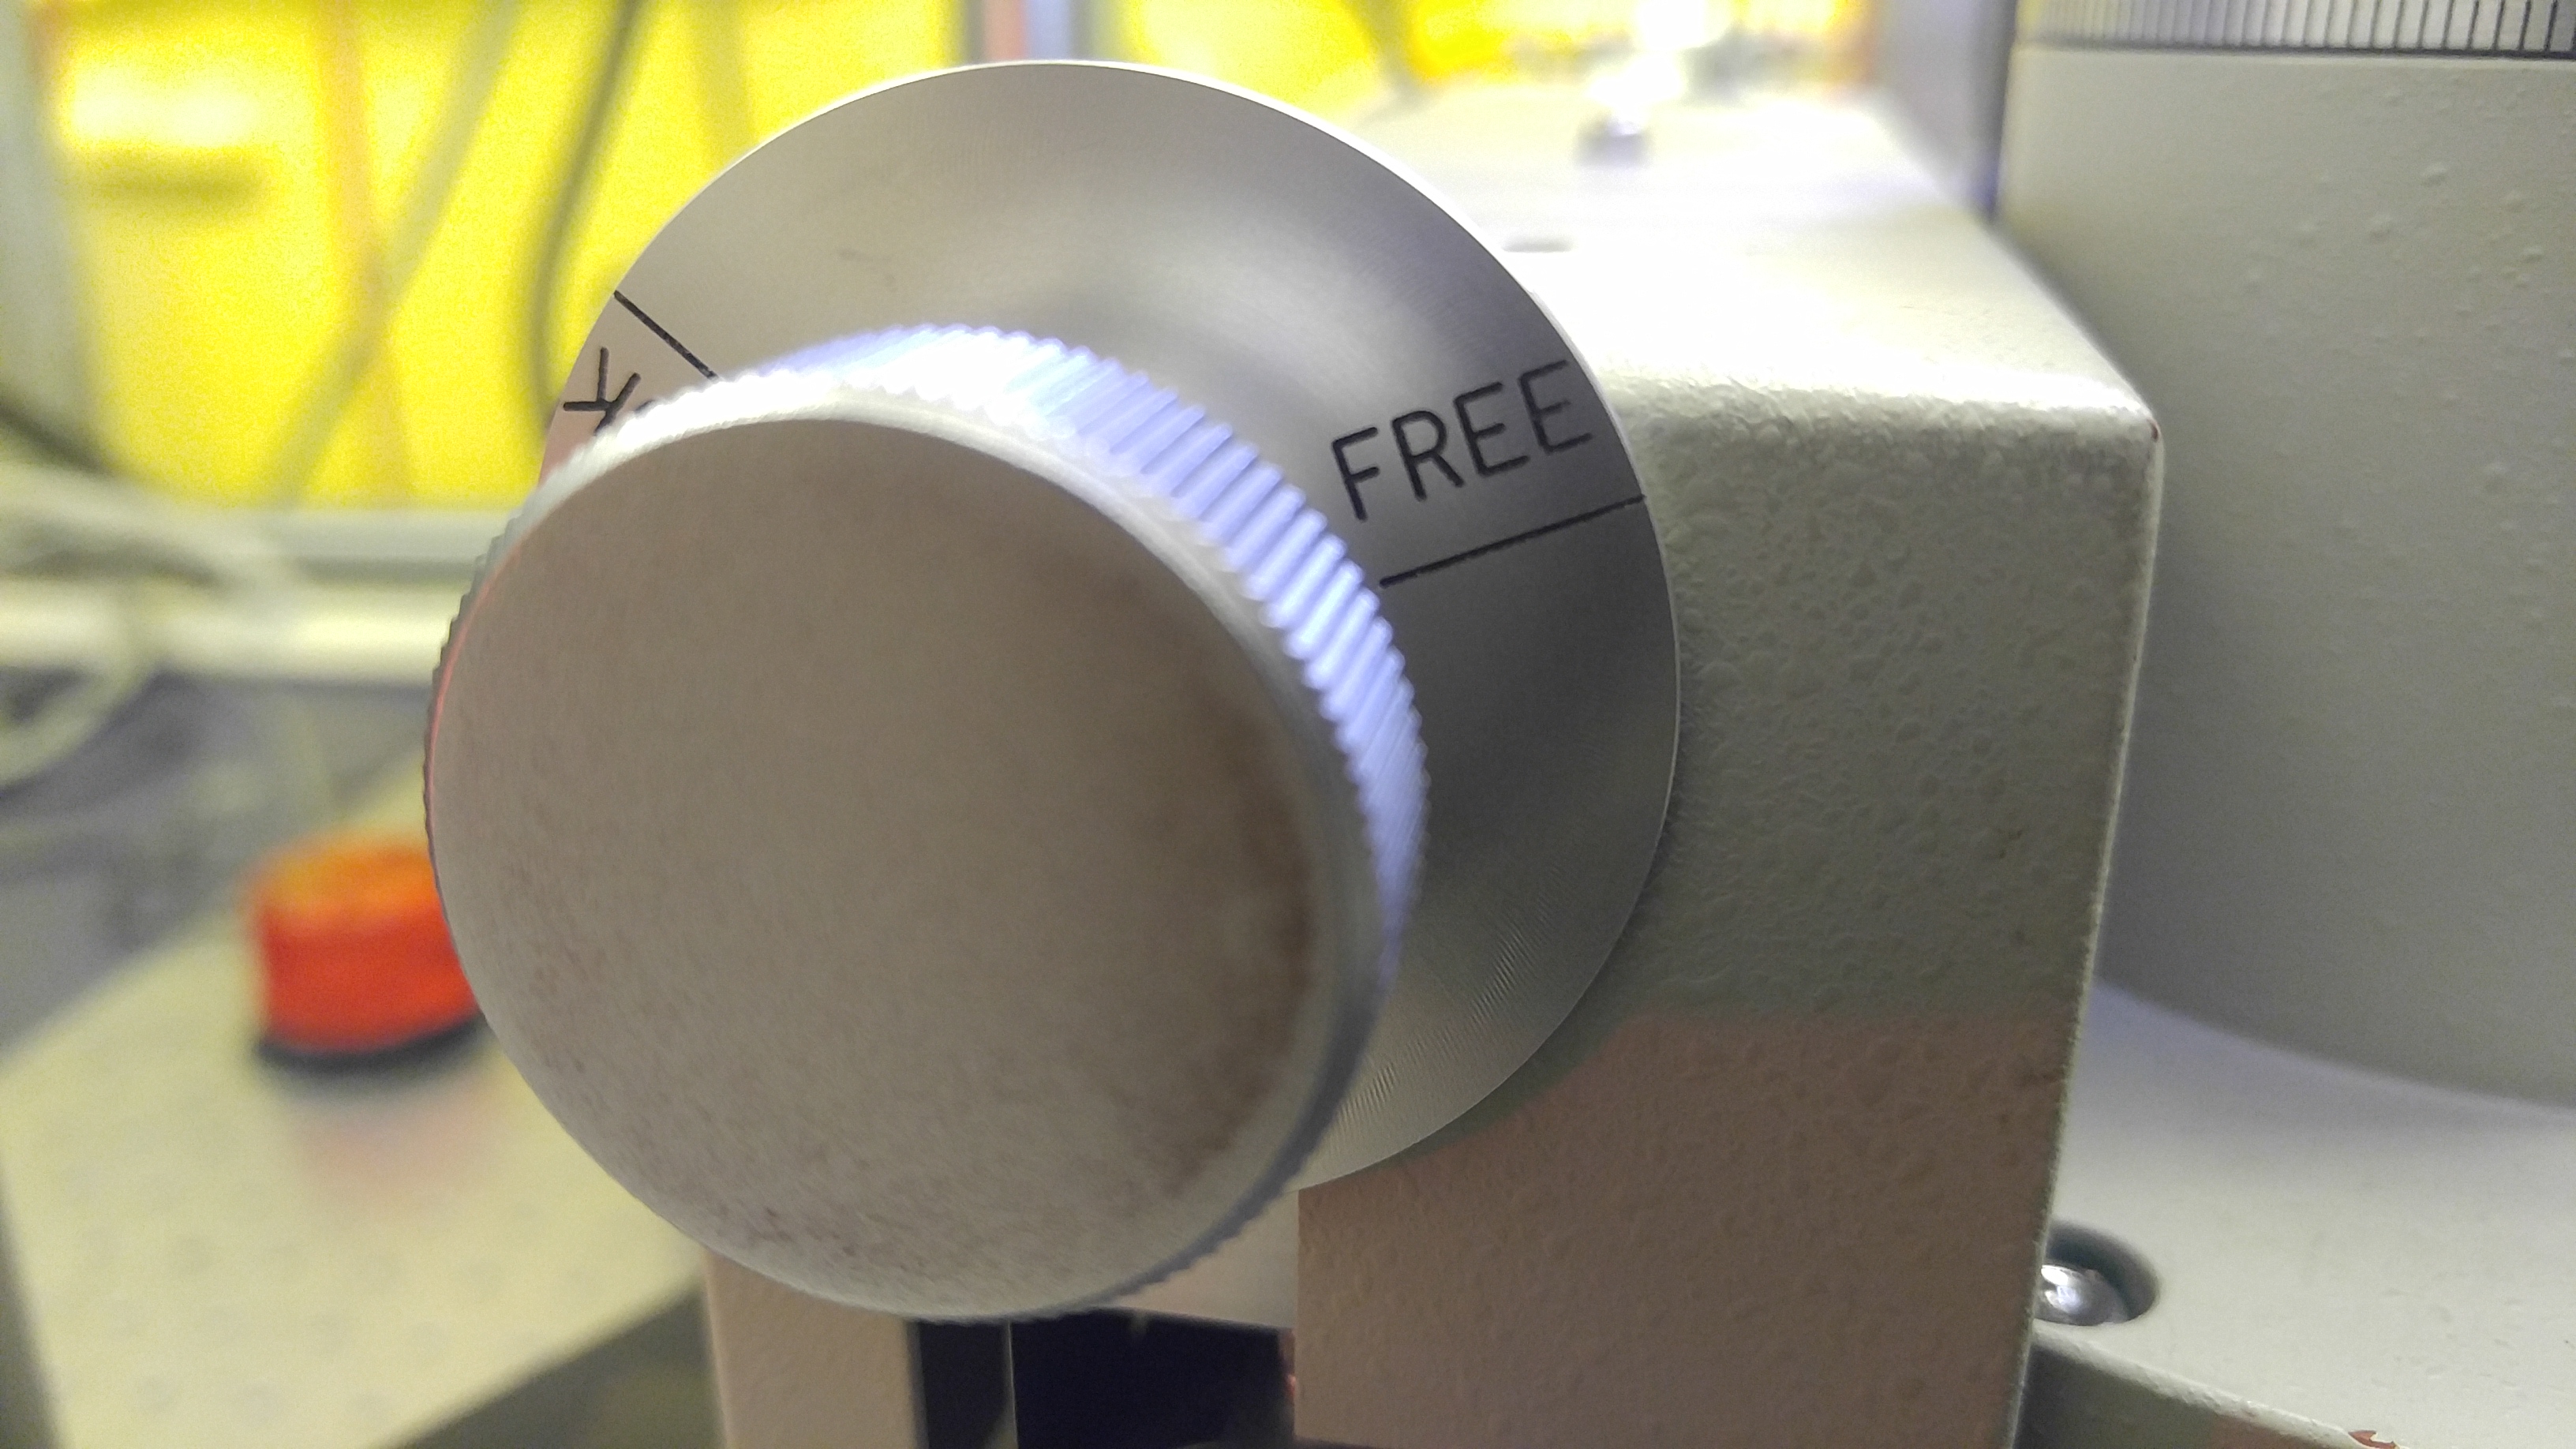
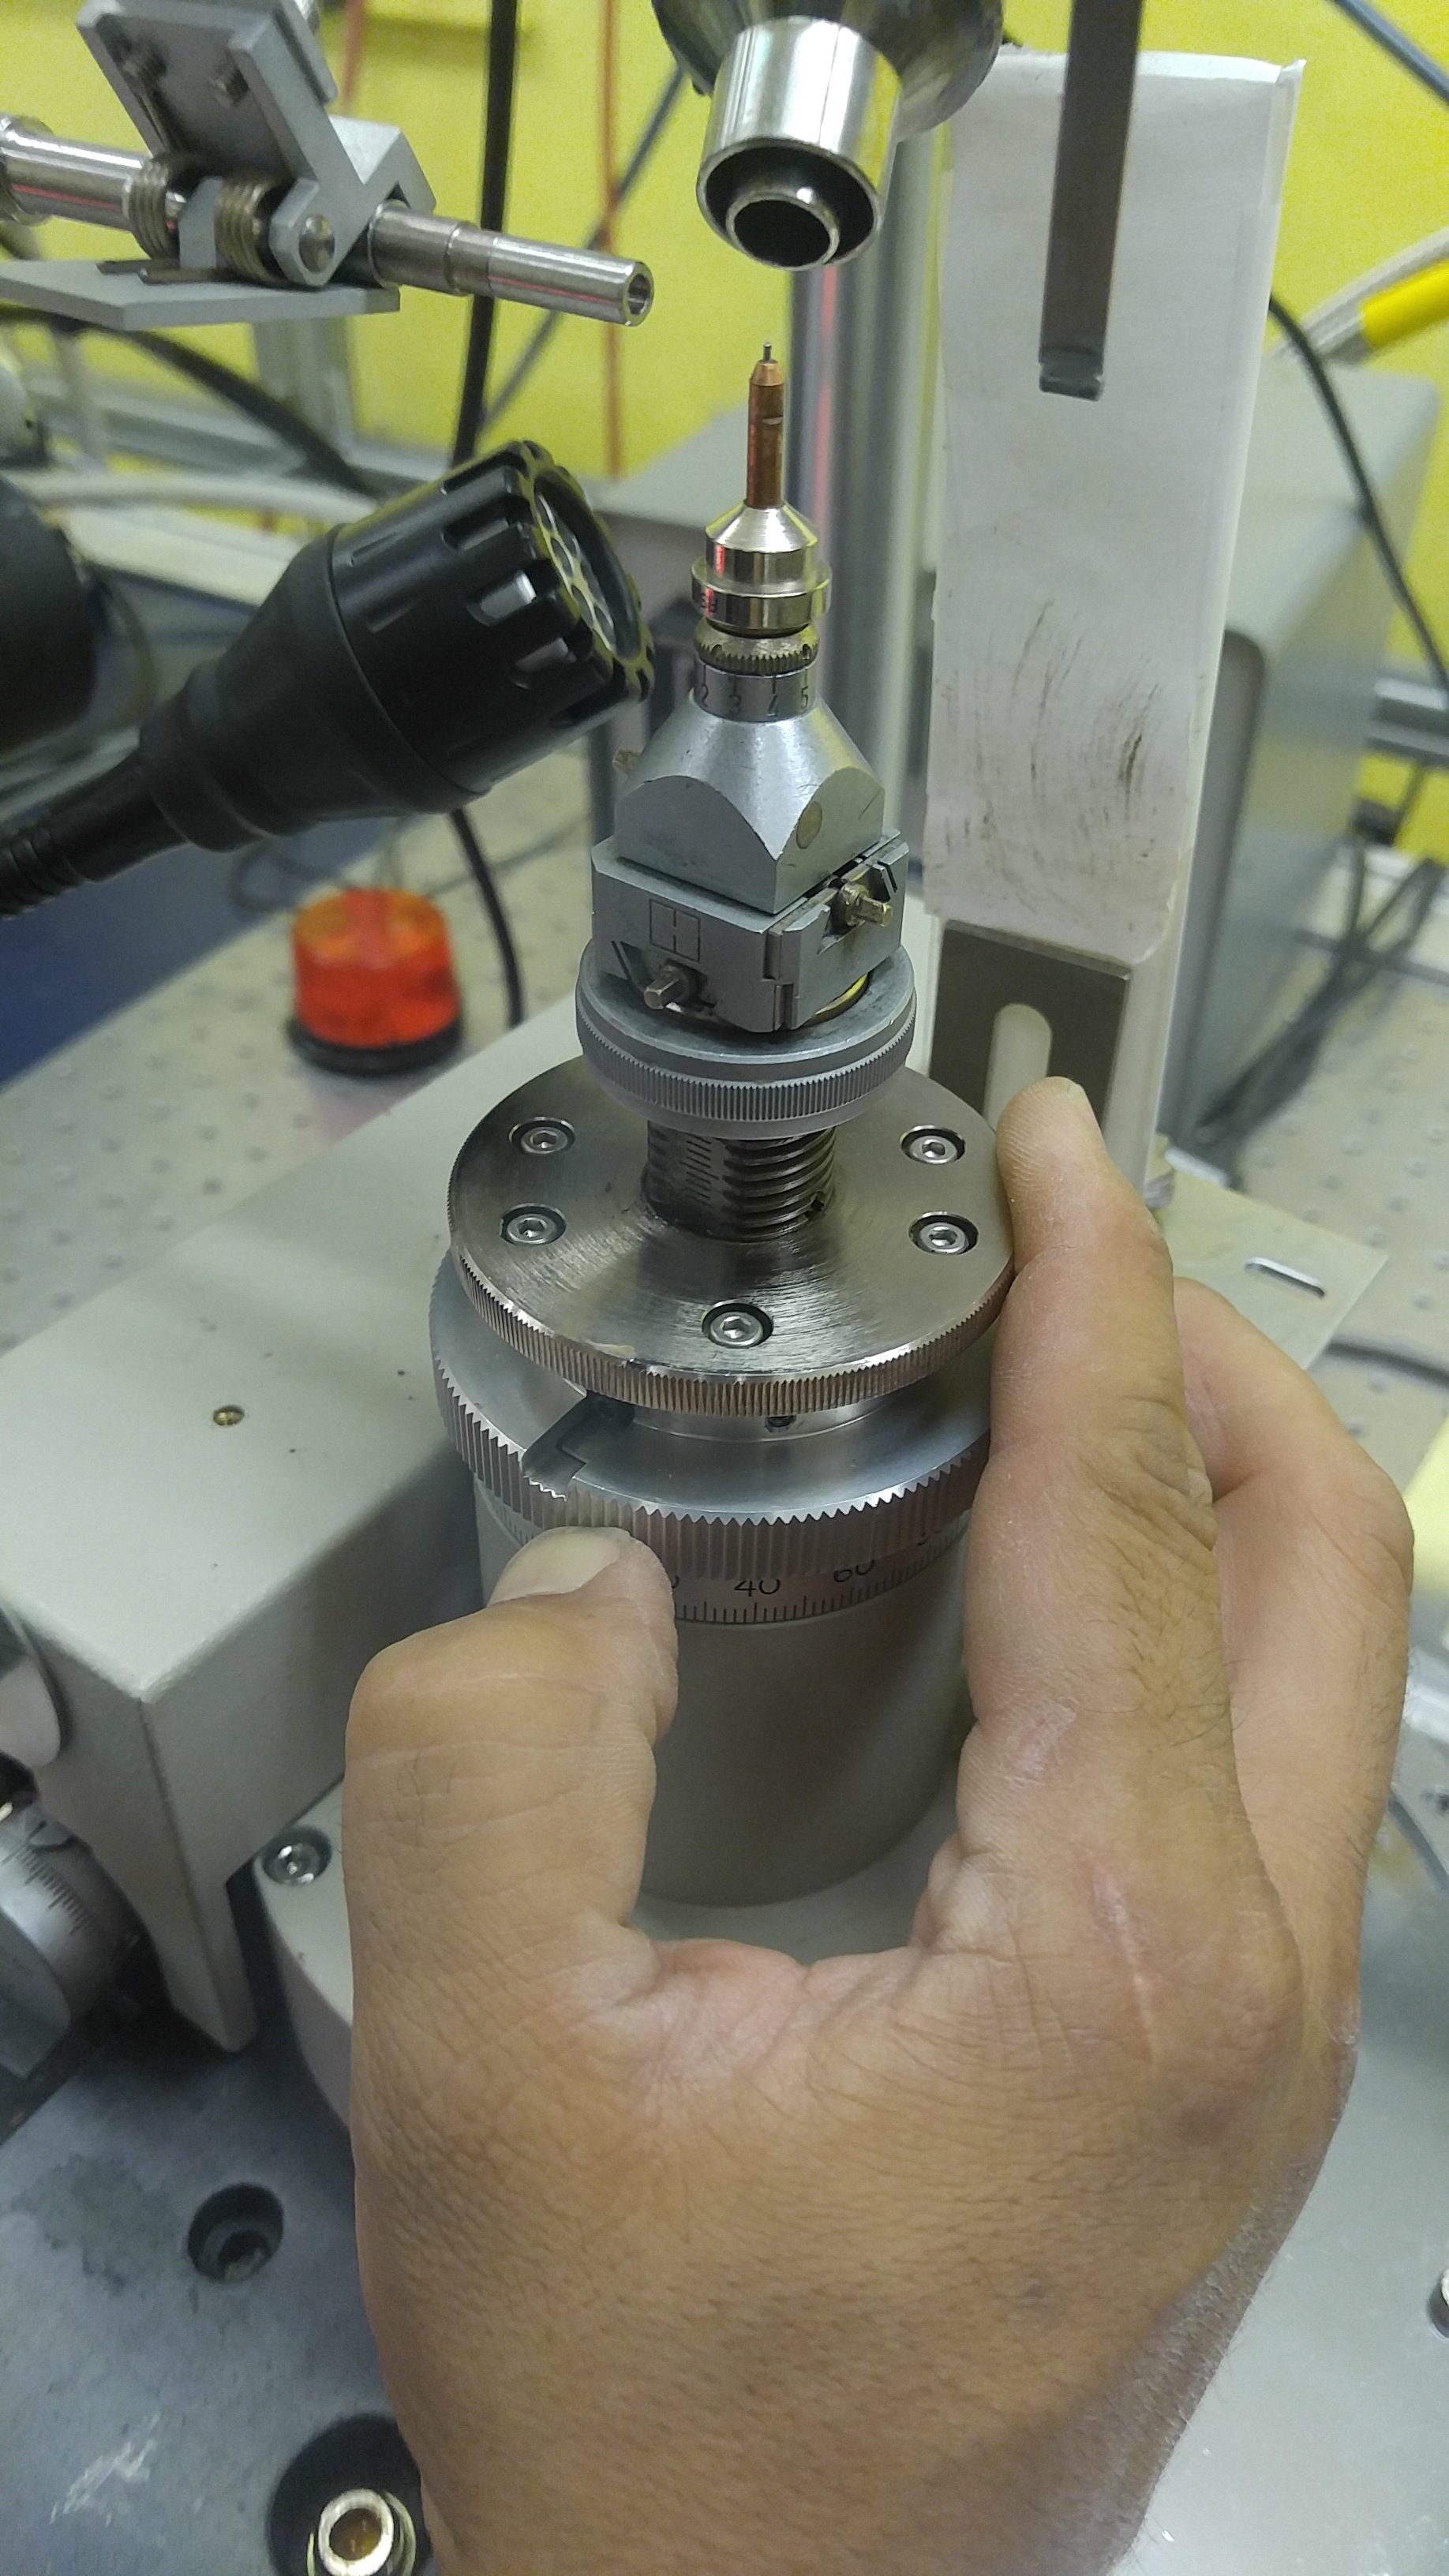
-Unlock the goniometer axis by turning the lock counterclockwise to the “FREE” position.

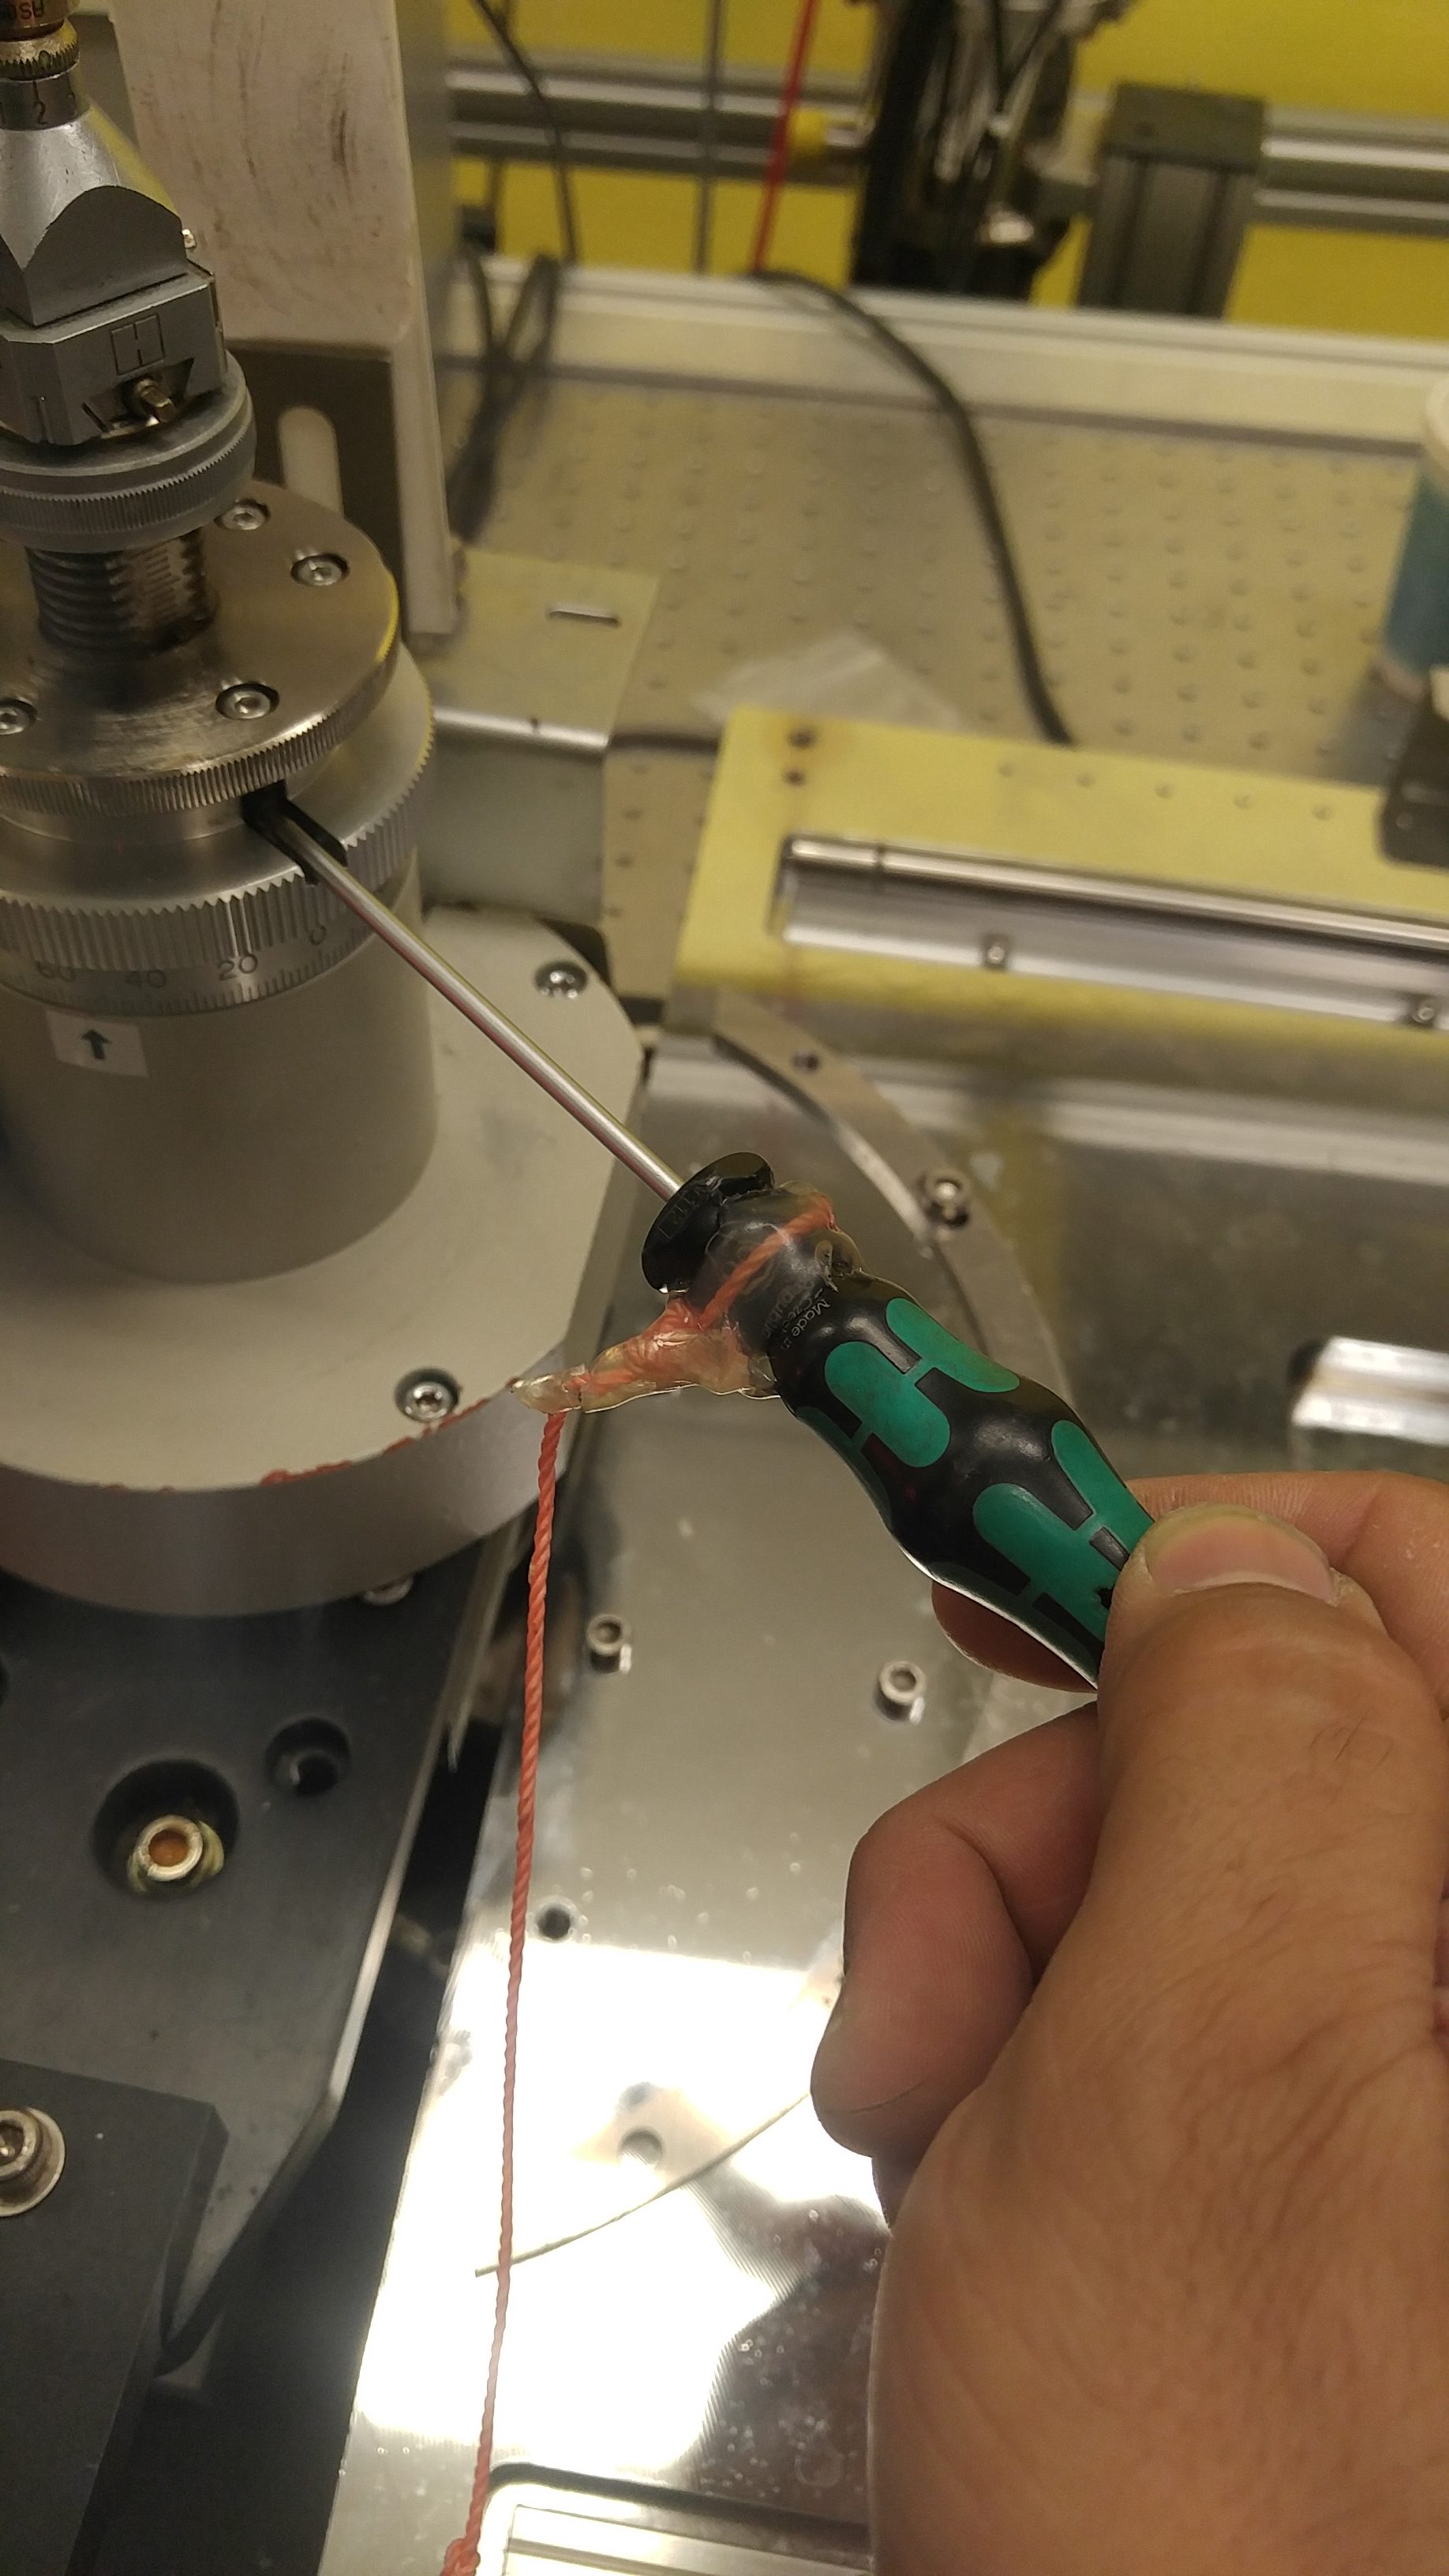
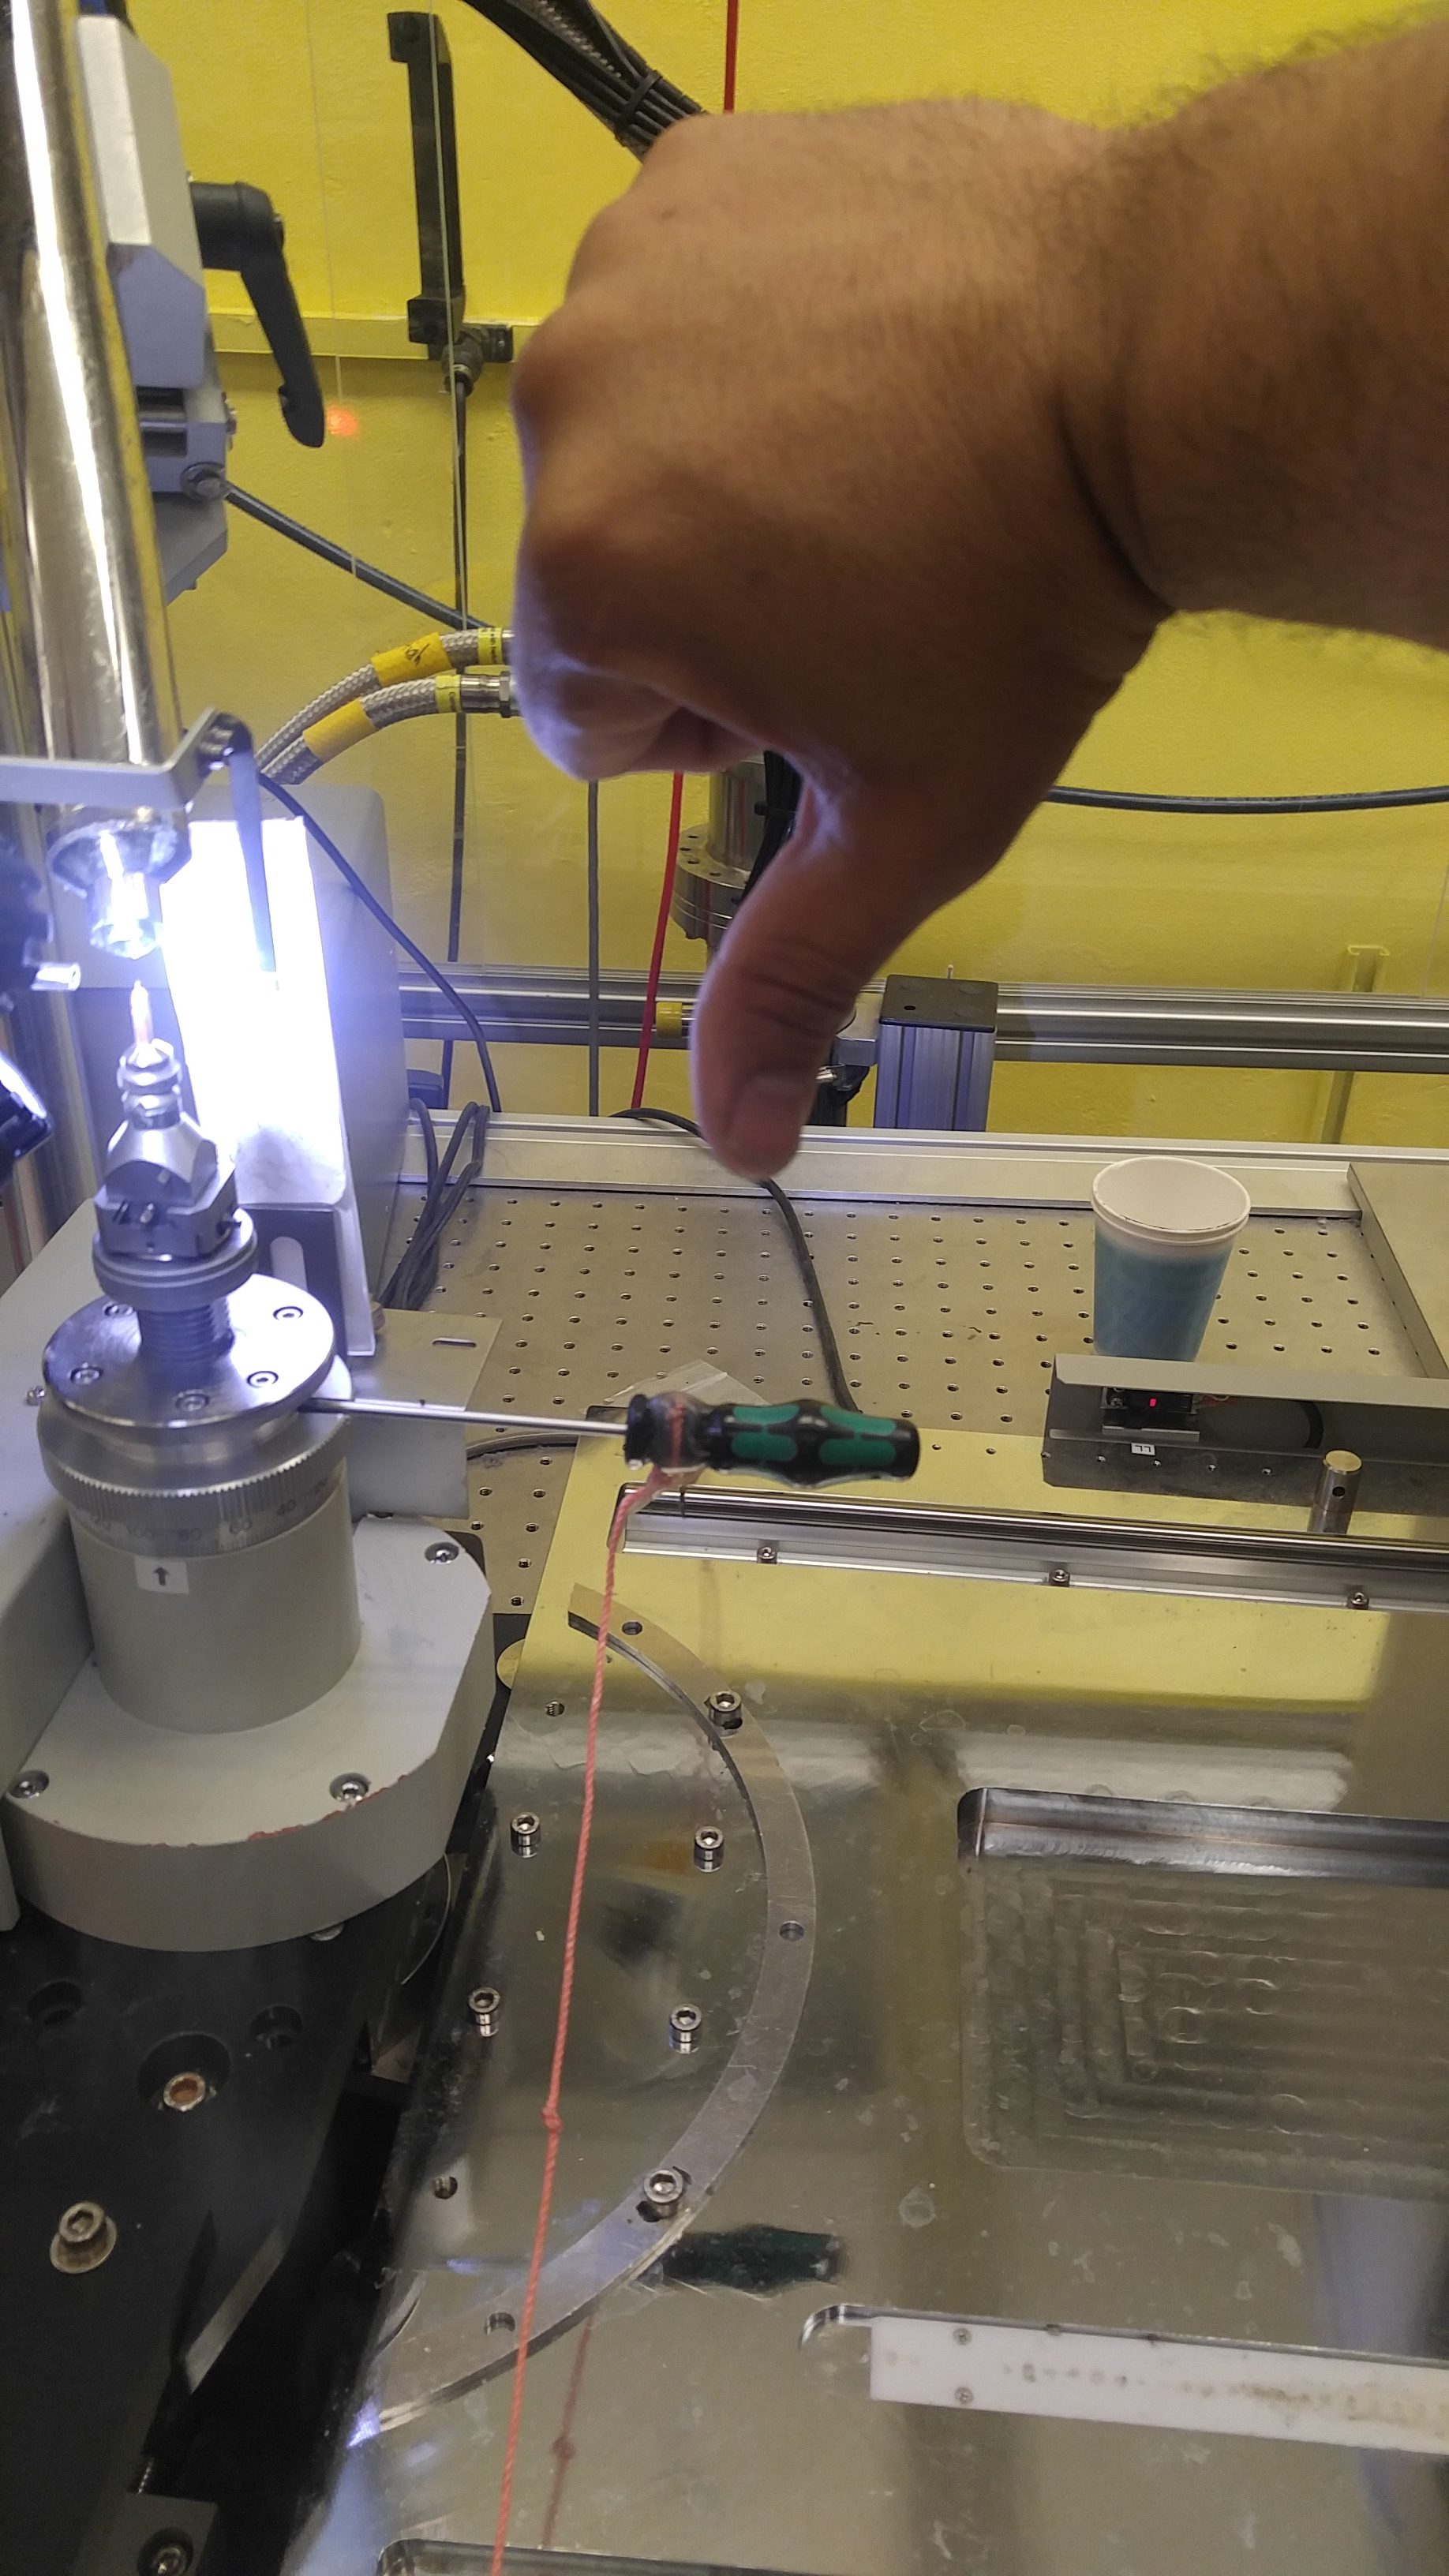
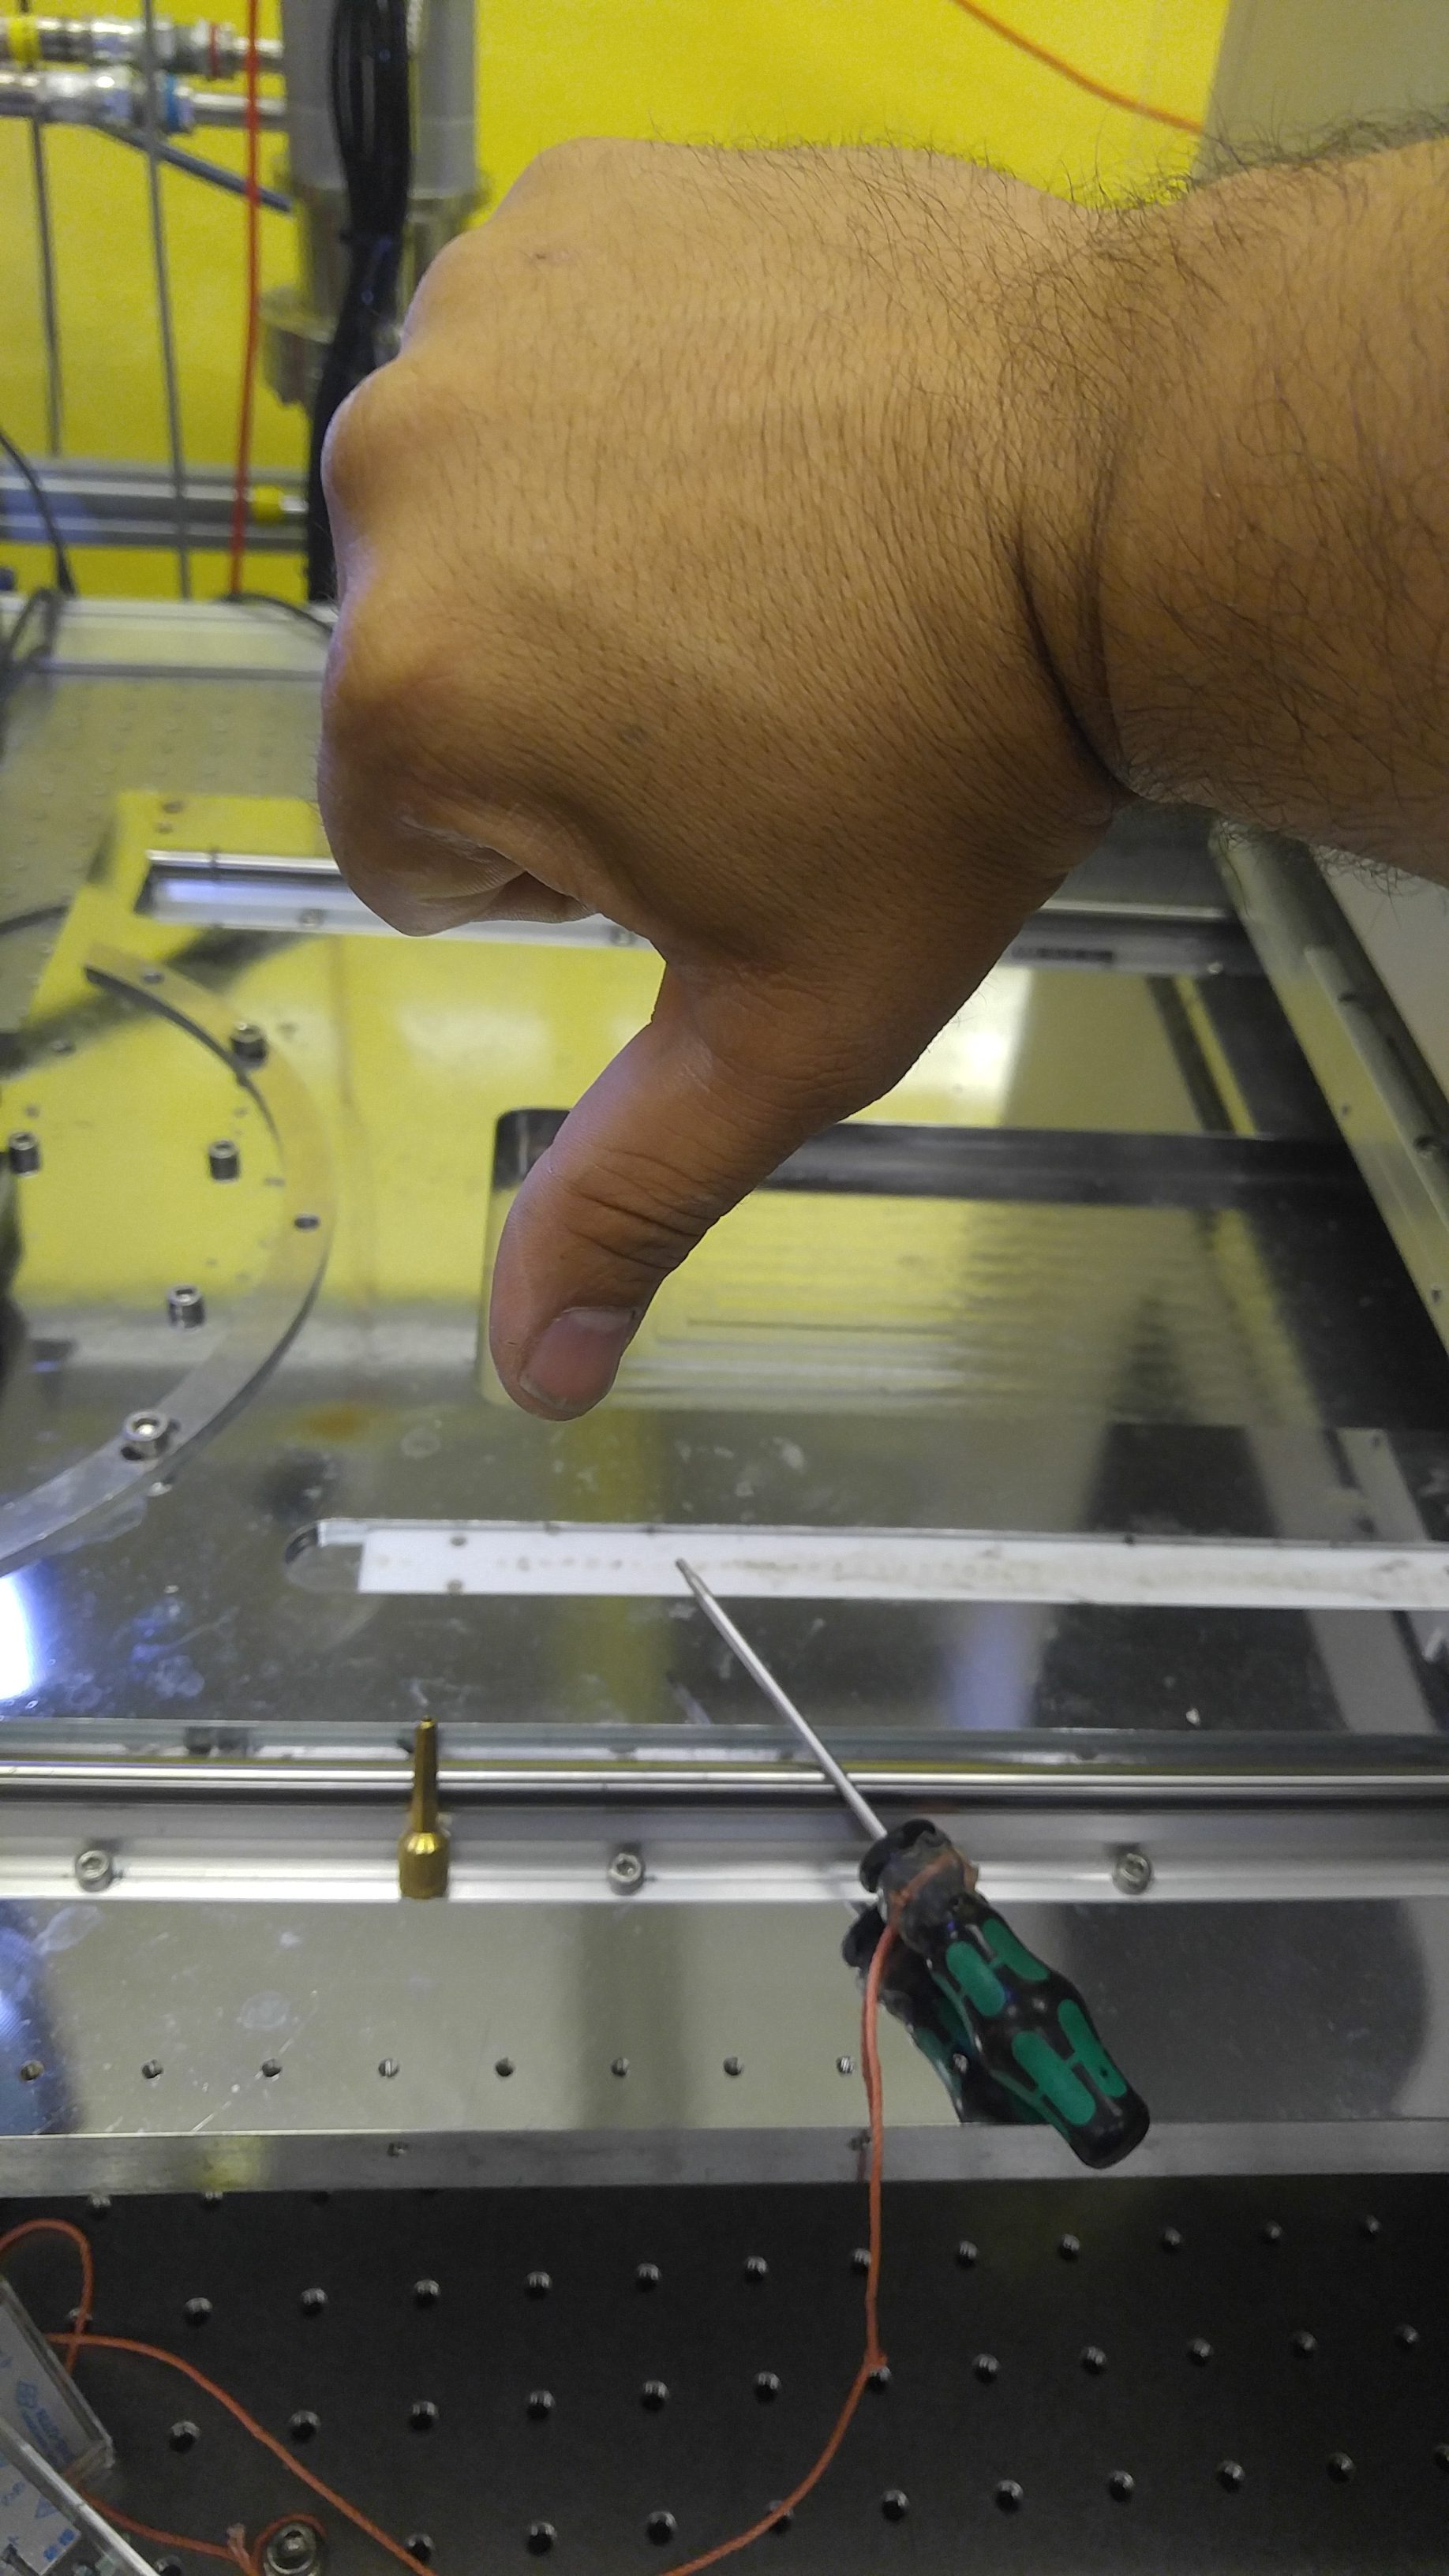
-The height adjustment is released using the hexagonal screwdriver tool. Insert this and gently turn counterclockwise to unlock it.

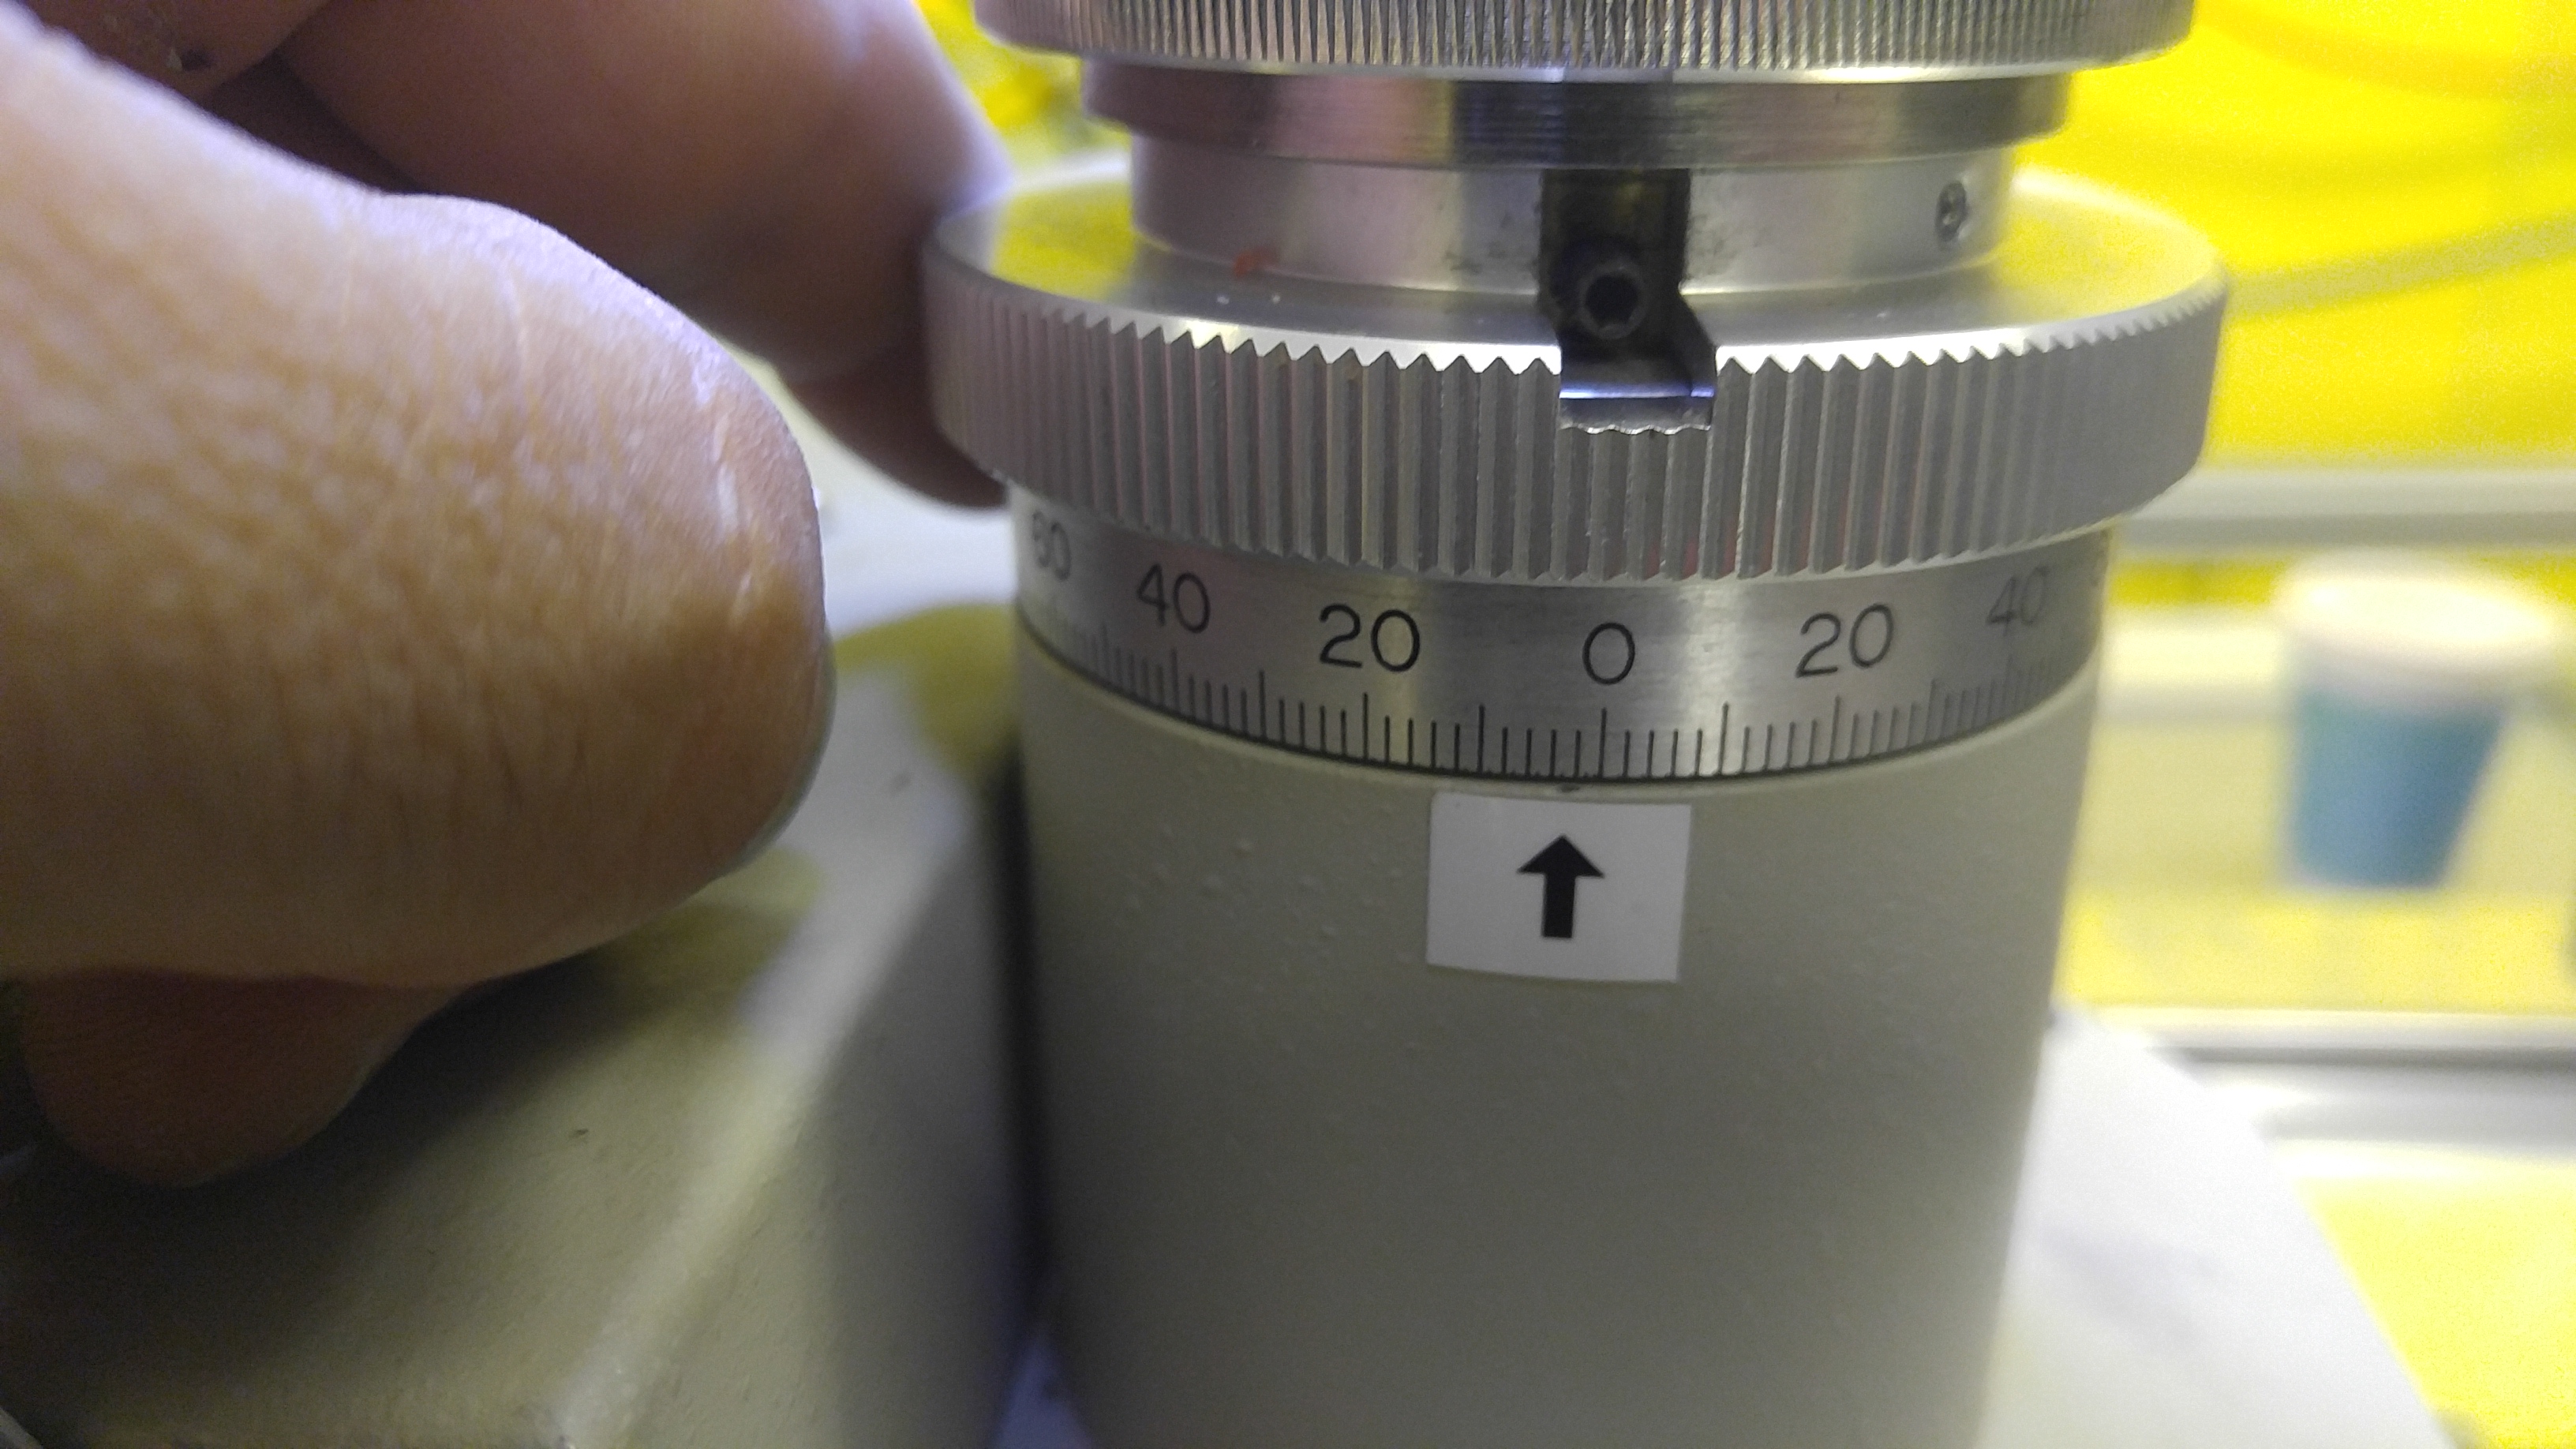
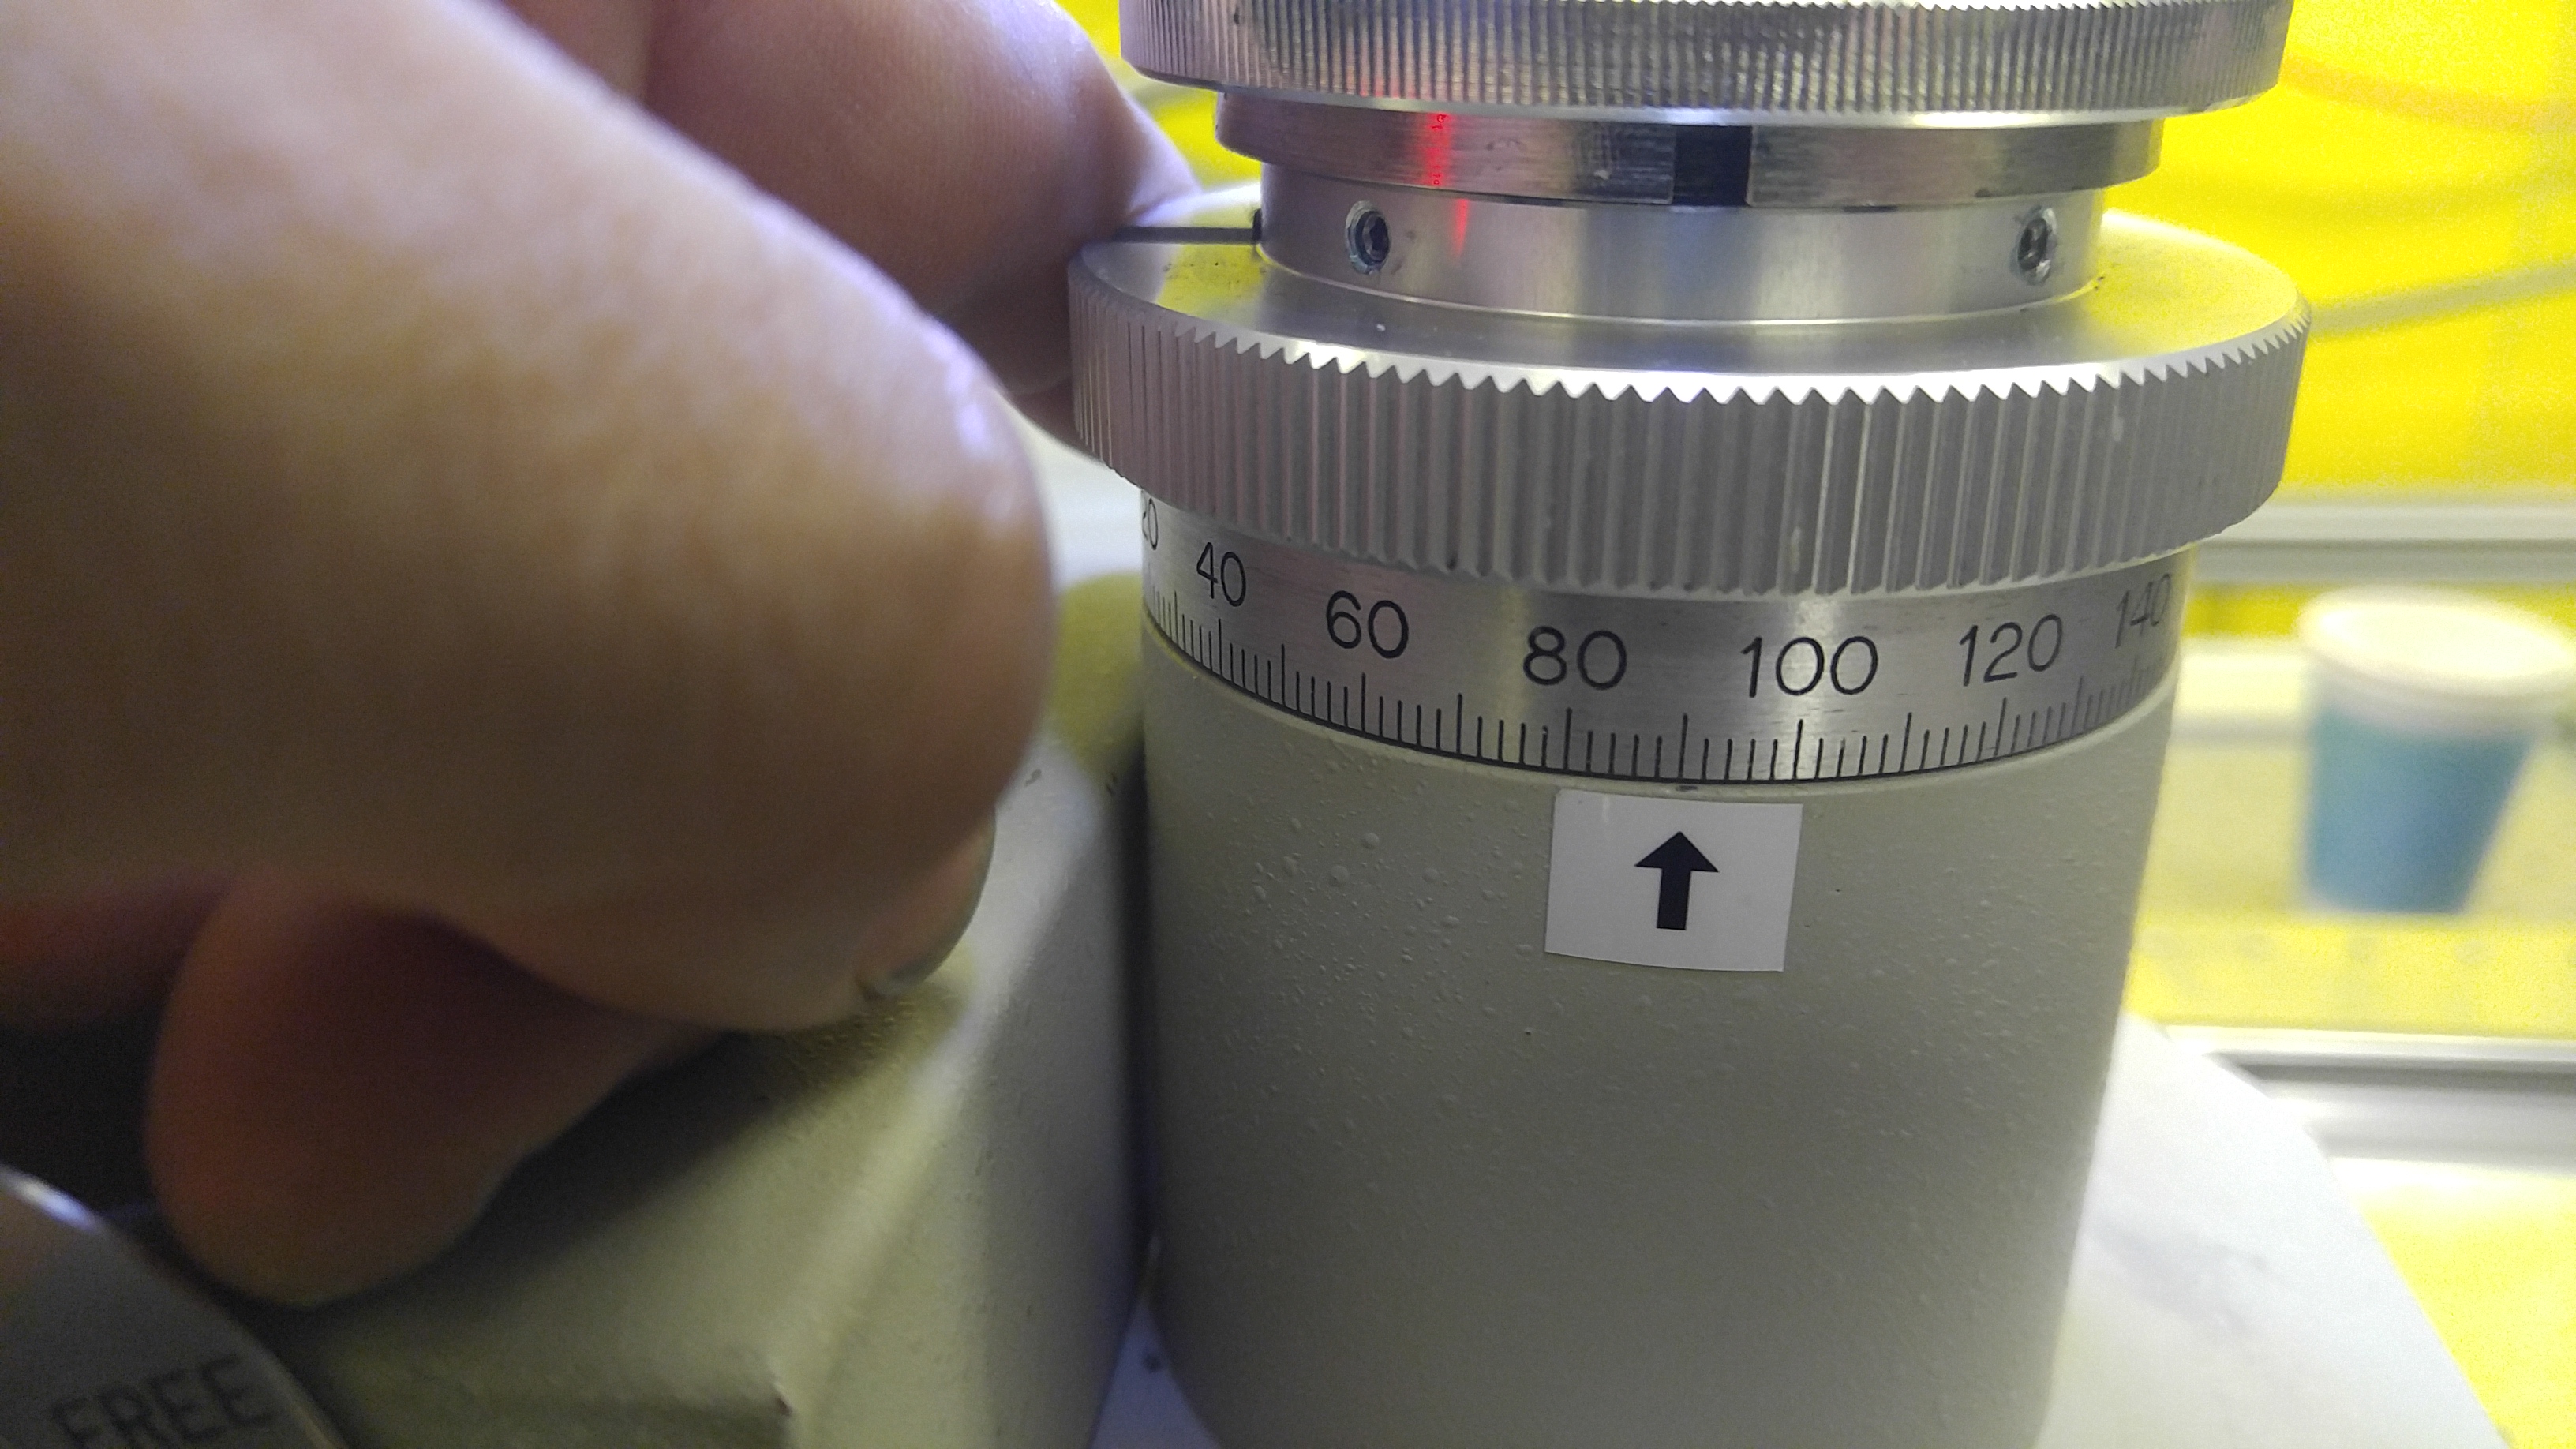
*There are two rotating portions of the mount, a top and bottom. Hold the bottom wheel stationary and rotate the top to control the Z-axis (vertical orientation).

-Holding the bottom portion stationary, rotate the top until the loop is visible on the screen. It’s best to overshoot the height so you can see the crystal in the field of view.

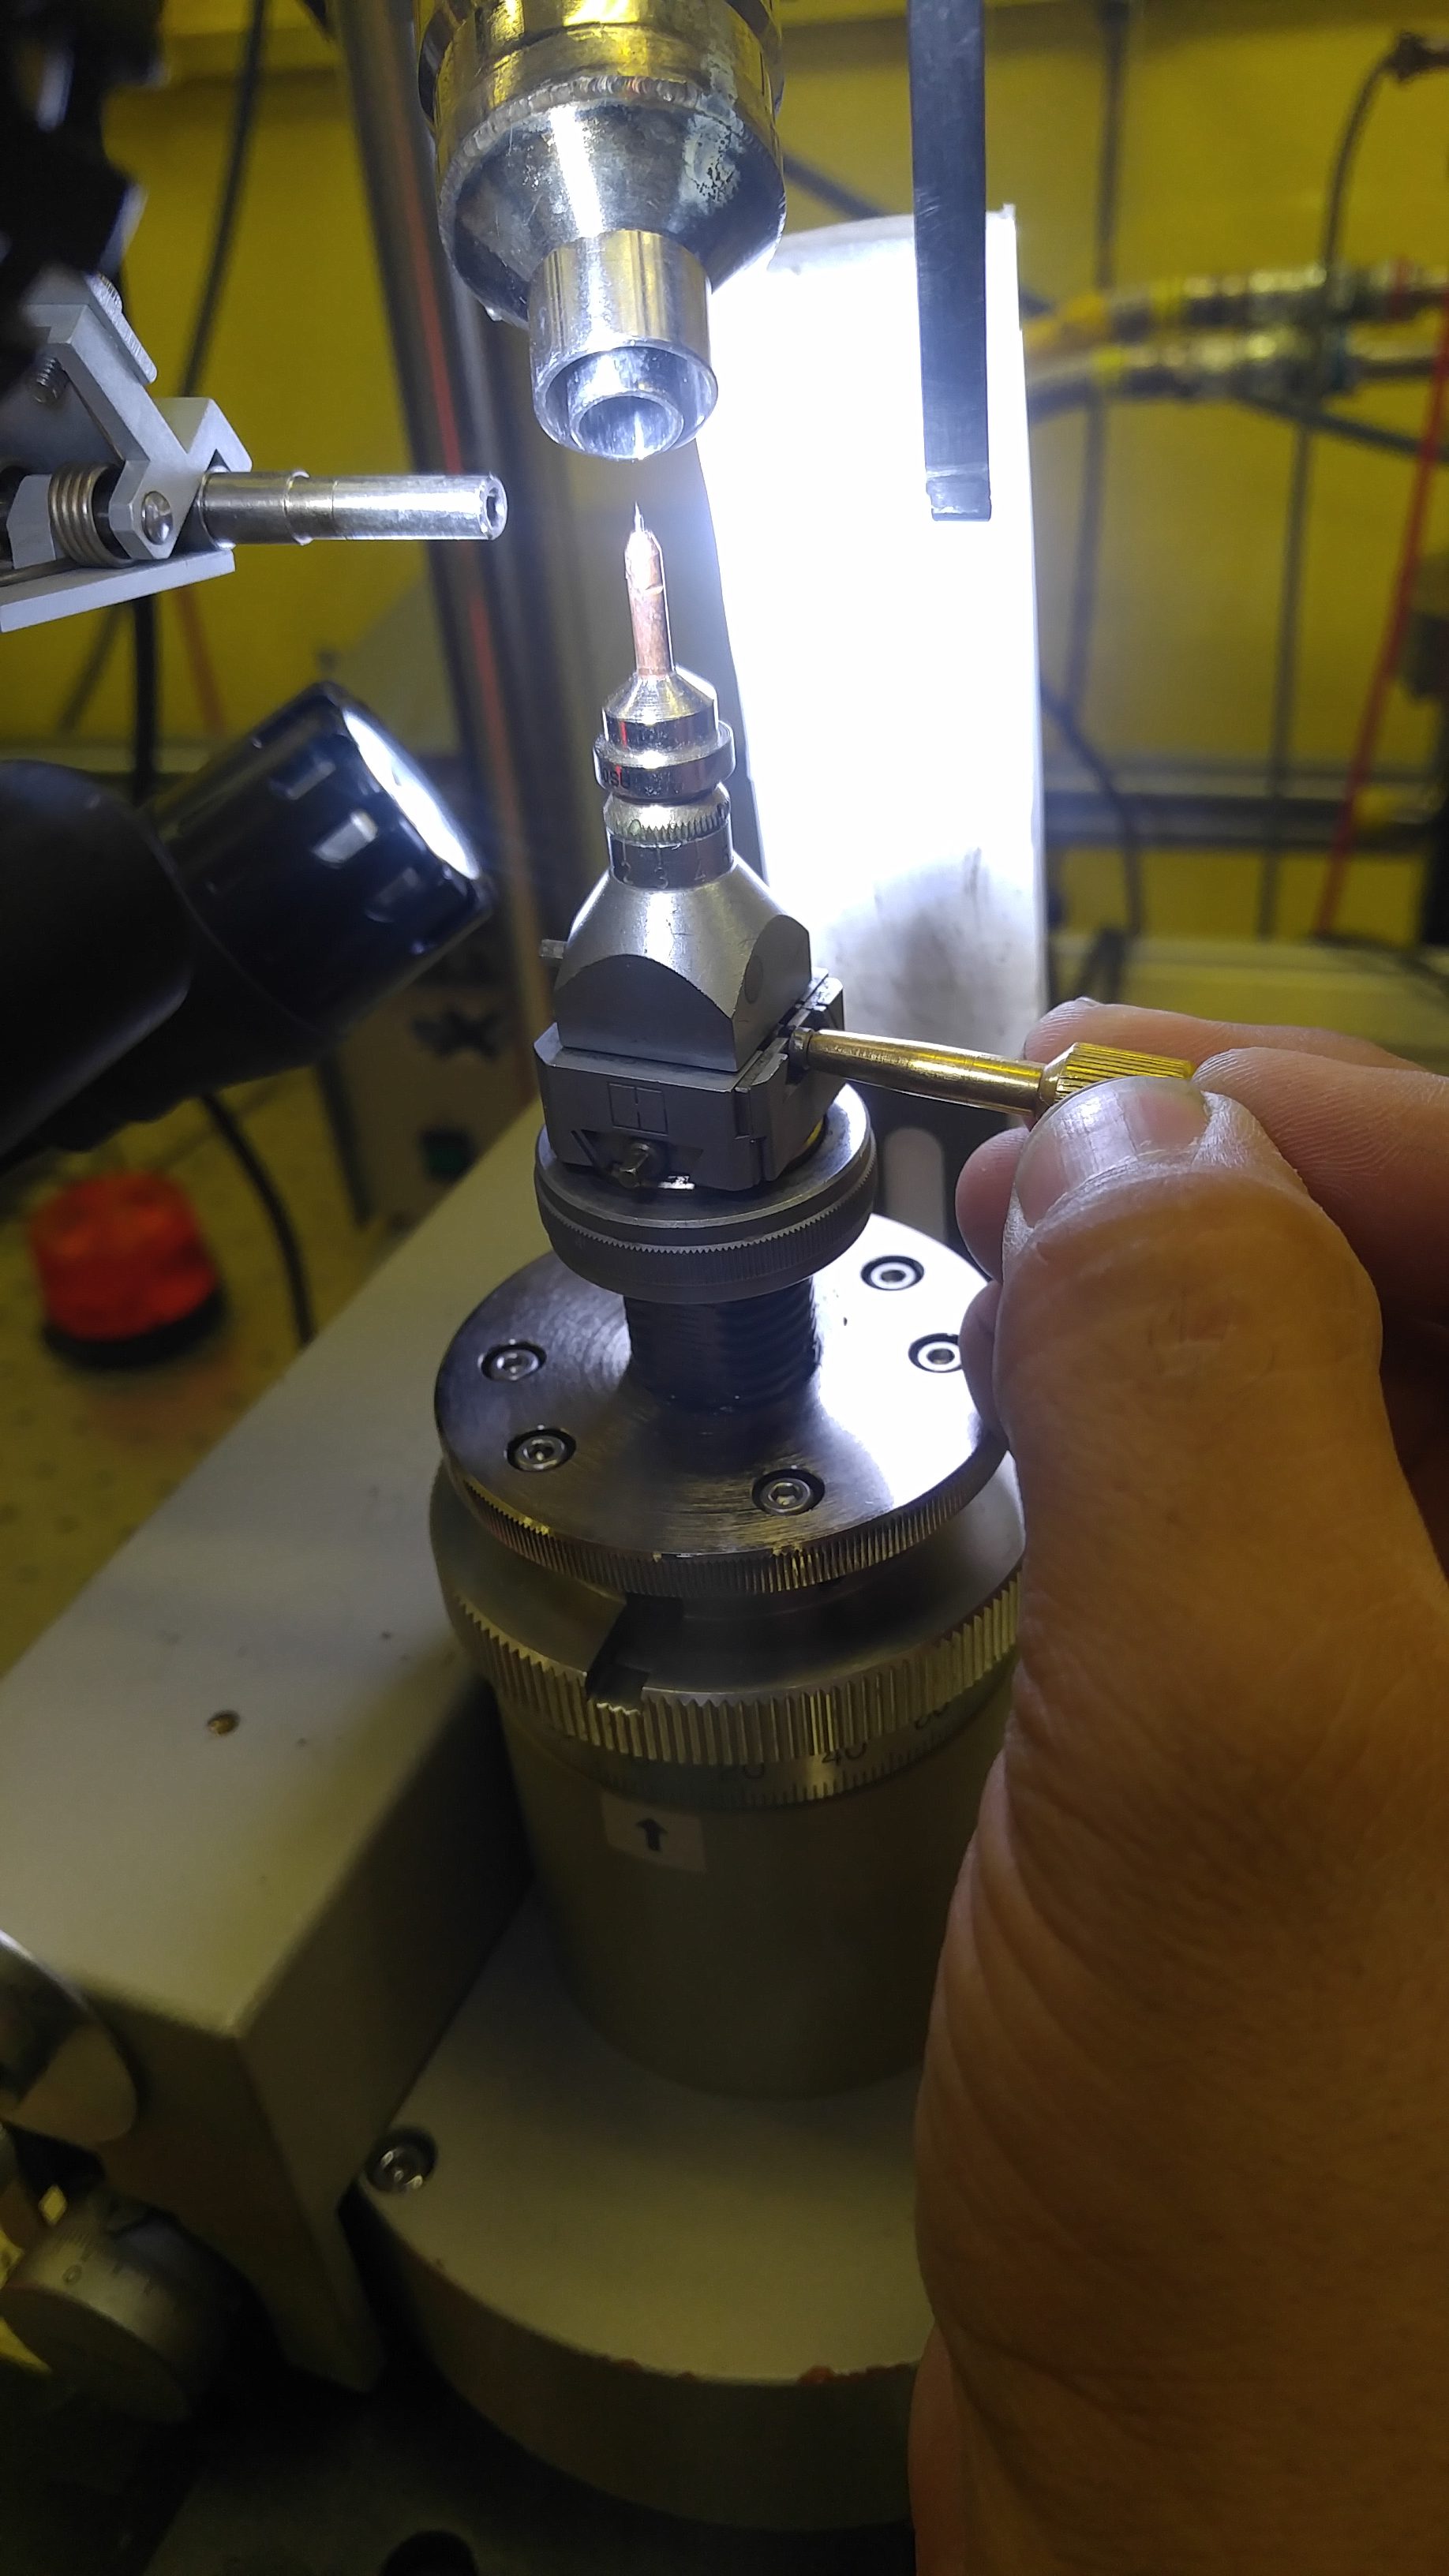
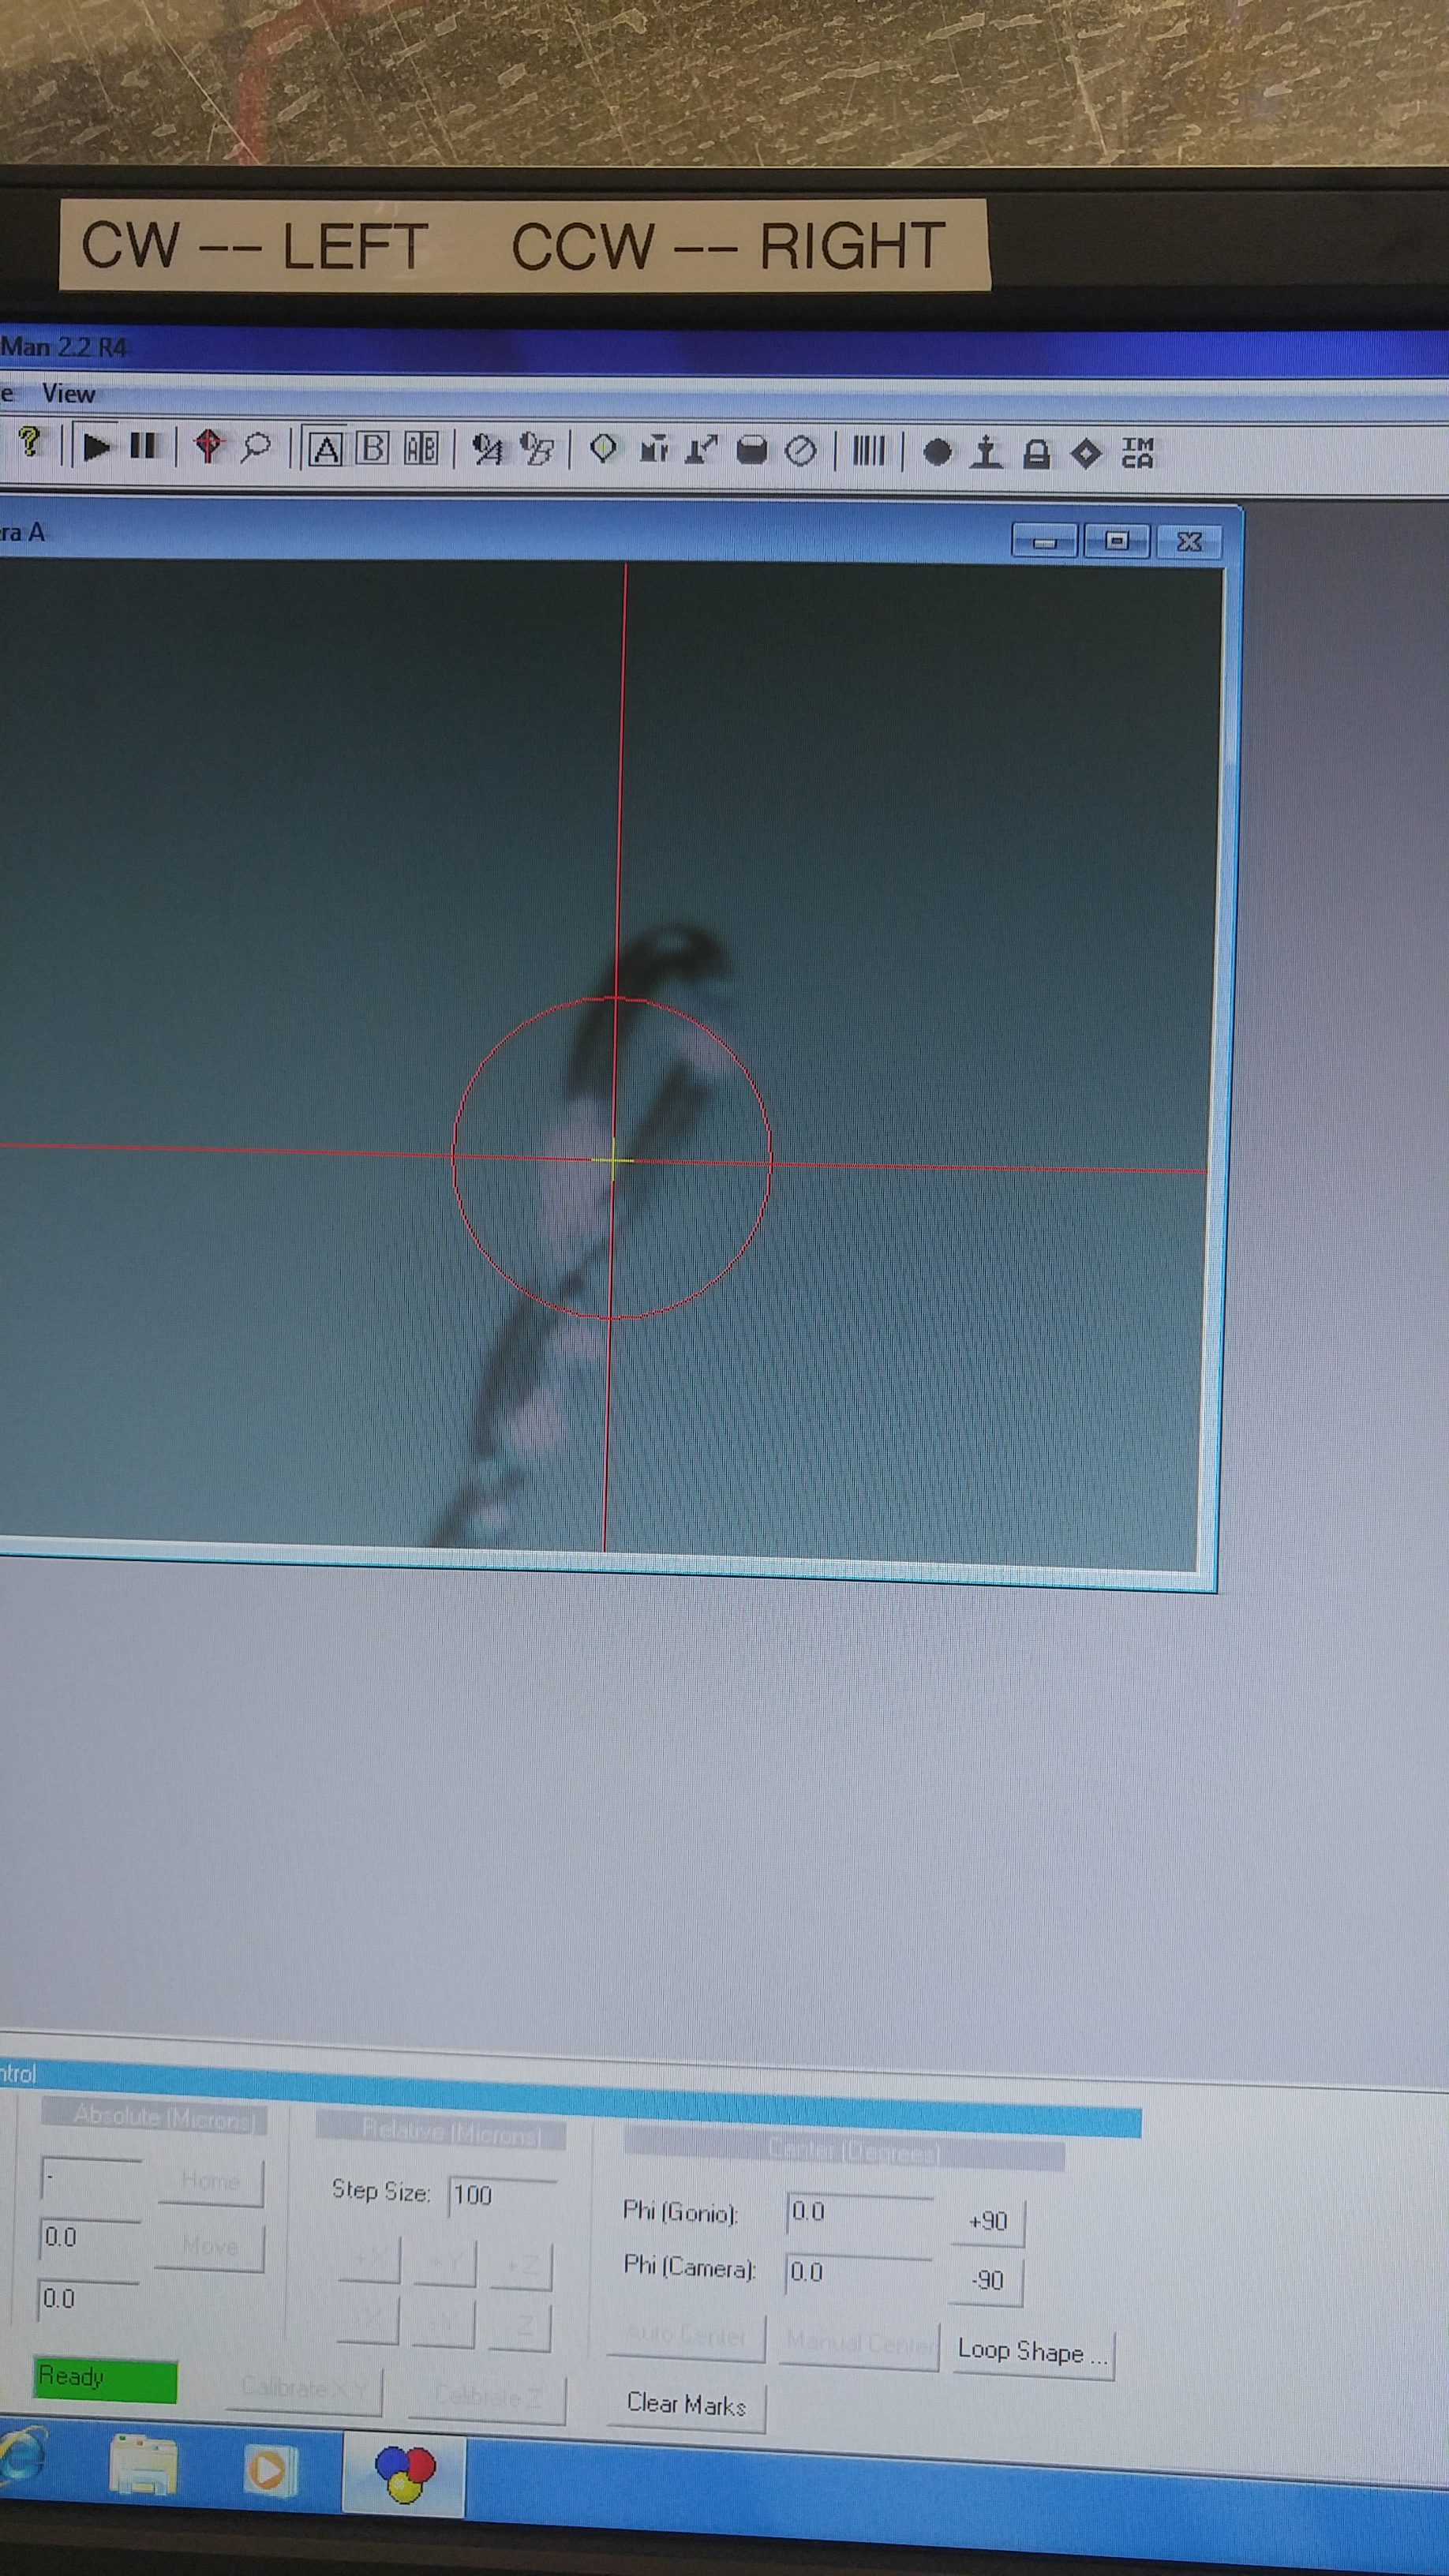
-Retrieve the small brass key (it looks like a metal audio jack) and use it to adjust the X and Y axes. Turn in increments of 90° until the crystal is within the red circle on the screen.

-Verify the correct orientation in all directions by rotating the mount 360°. The bulk of the crystal should stay within the red circle for the entire rotation.

-Lock the height with the hexagonal screwdriver and then switch the primary lock for the rotation axis back to the “LOCK” position by turning it clockwise until you feel it stop.

-Return all the tools back to where they belong. DO NOT LEAVE ANYTHING ON THE INSTRUMENT OR NEAR THE RAILS OF THE DETECTOR. When the detector slides into position it can be damaged.

-Turn off the goose-neck lamp.

Collecting your X-Ray Diffraction Data:

-Close the sliding doors of the instrument by moving both doors in the same direction. Align the magnets on the doors with the markings on the rails.

-Enter the security code (1111#). If correct, the light will turn green. If incorrect, or if the doors are not aligned the light will turn red.

-If not already running, open the Crystal Clear 2.0 program located on the desktop.

-Select your name or make a new project.

-Select [New Sample] and enter a valid name for identification of your data later on.

-Be specific with how you name the run and don’t use special characters or spaces.

-Ensure [Screen Select in Process] is selected.

If the software is open already then do not initialize. Doing so will cost you several extra minutes. Hit [No] if the software was open before you arrived to use the machine. If you are opening the software then click [Initialize] and wait until the initial images window appears.

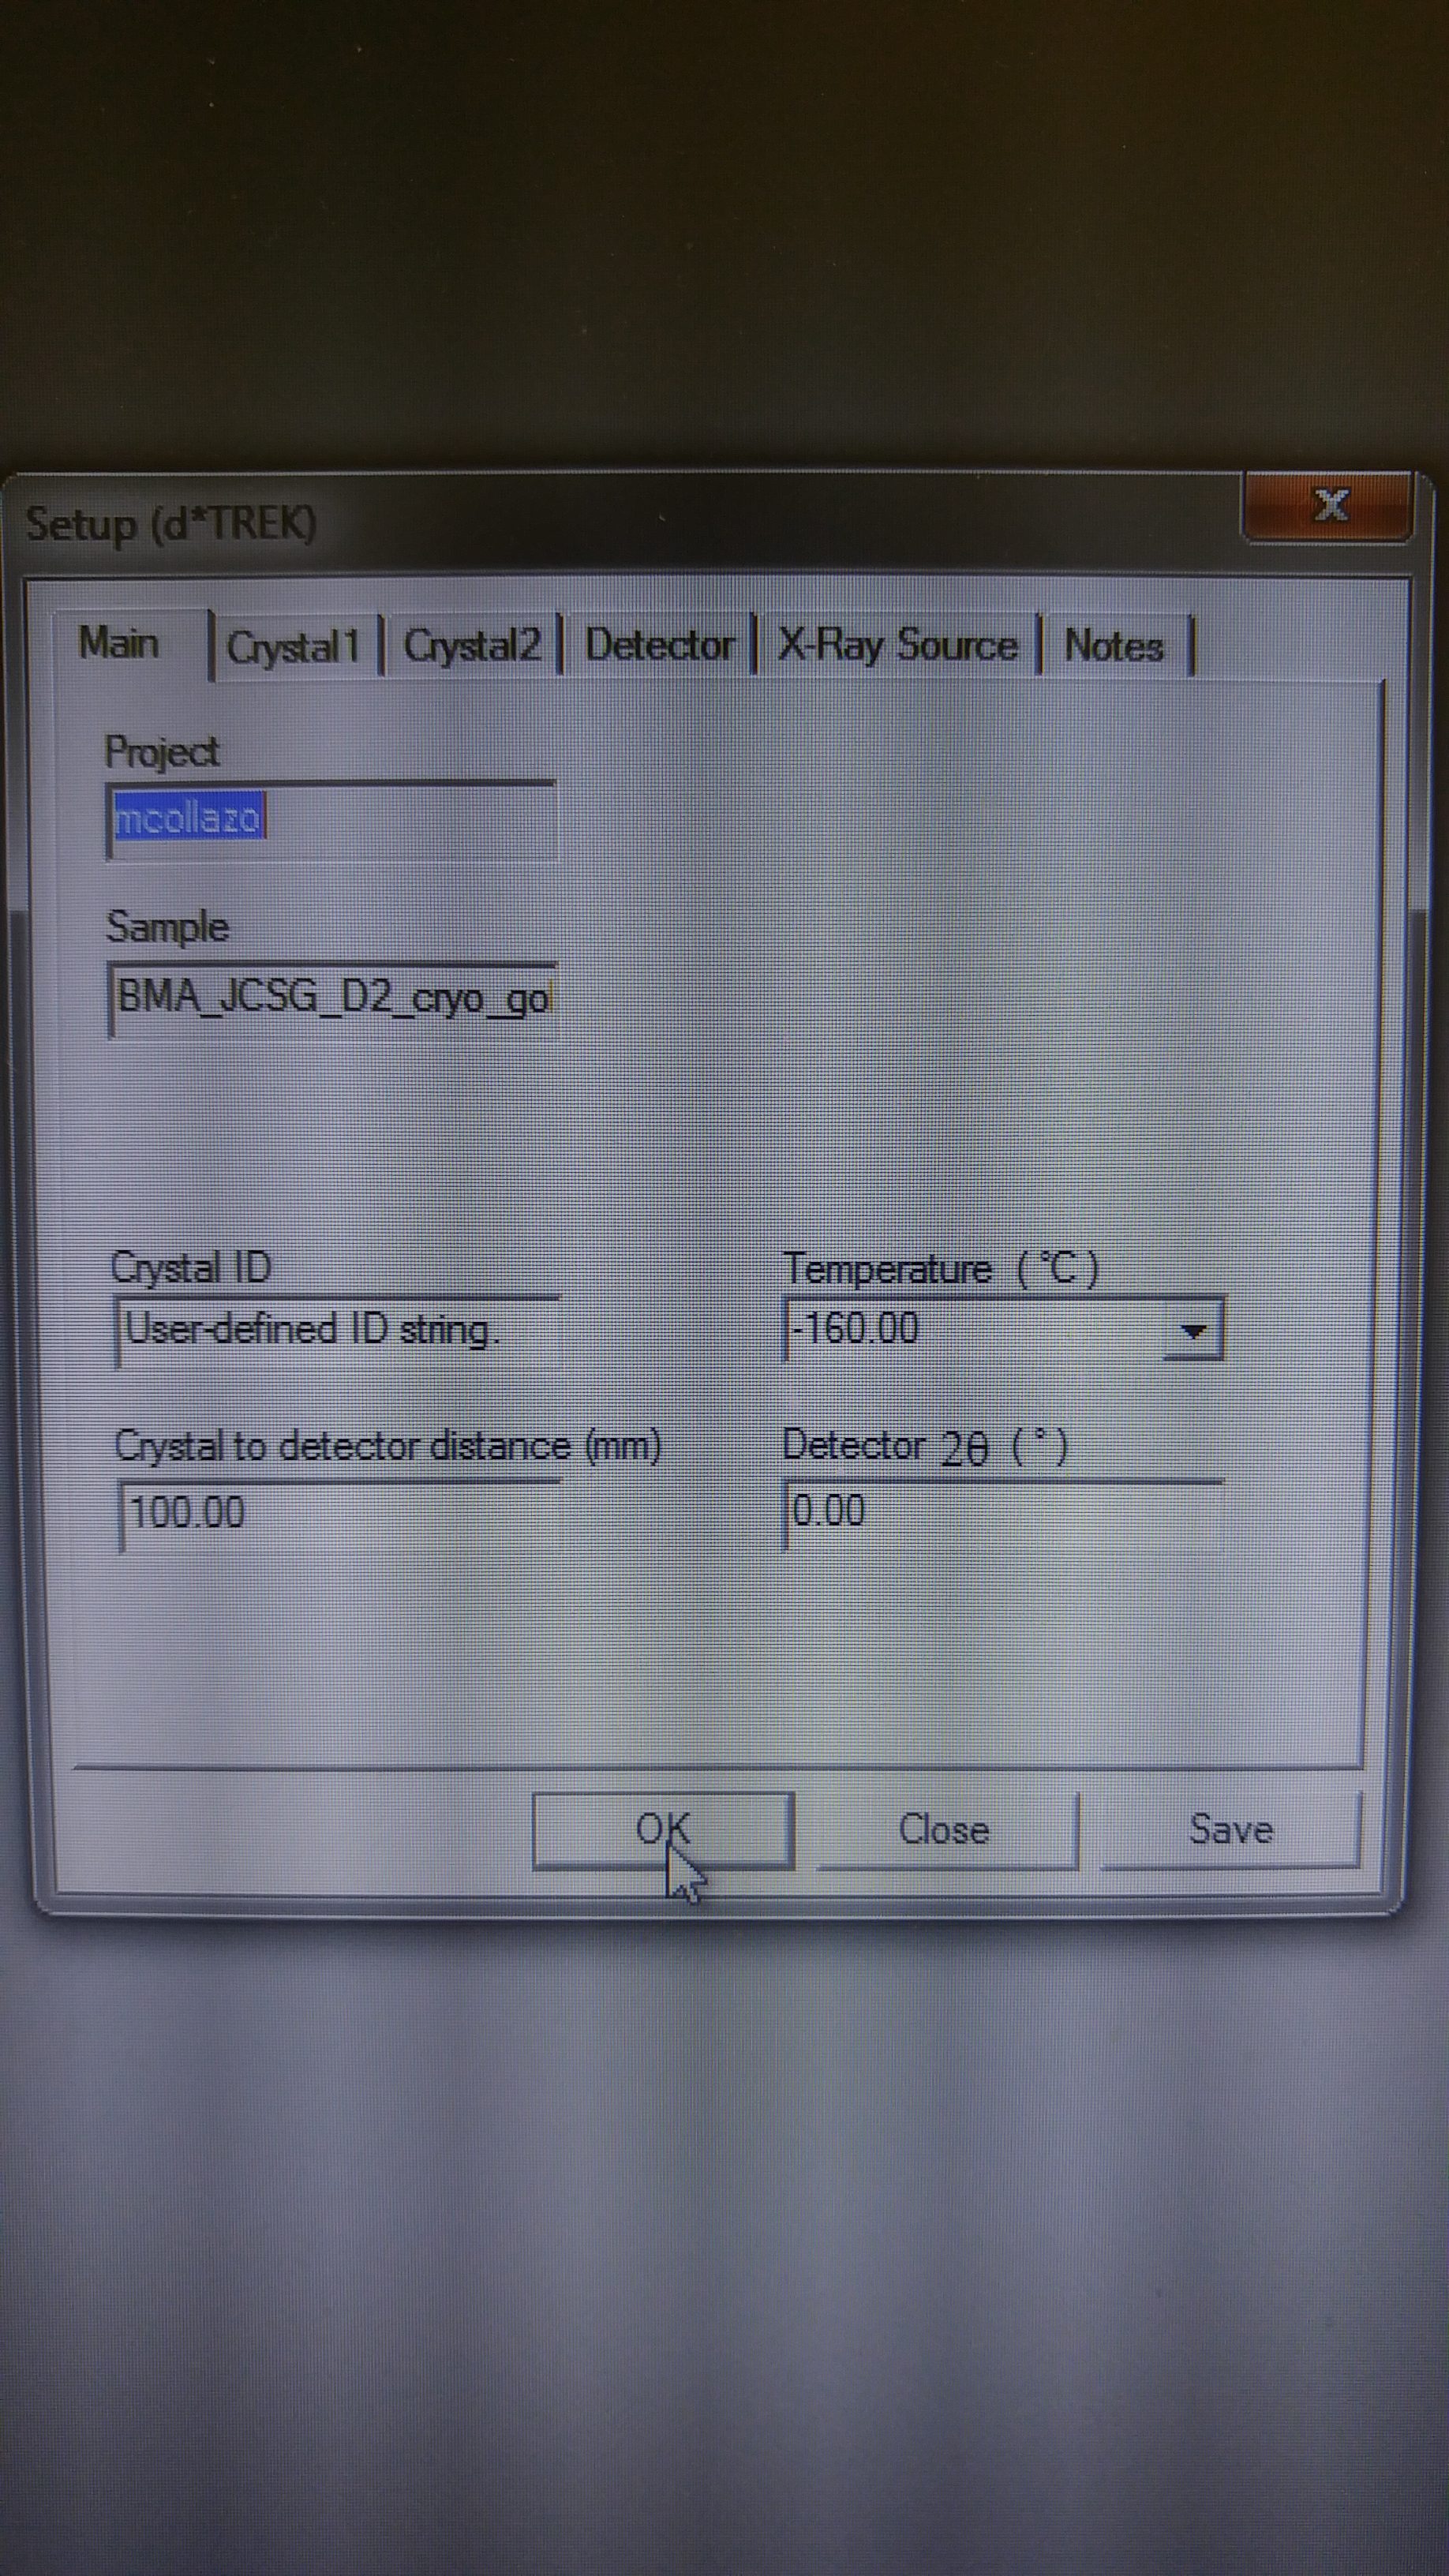
-A dialogue box will say setup; select [OK]. Click [OK] for all subsequent parameters until arriving at the initial images window.

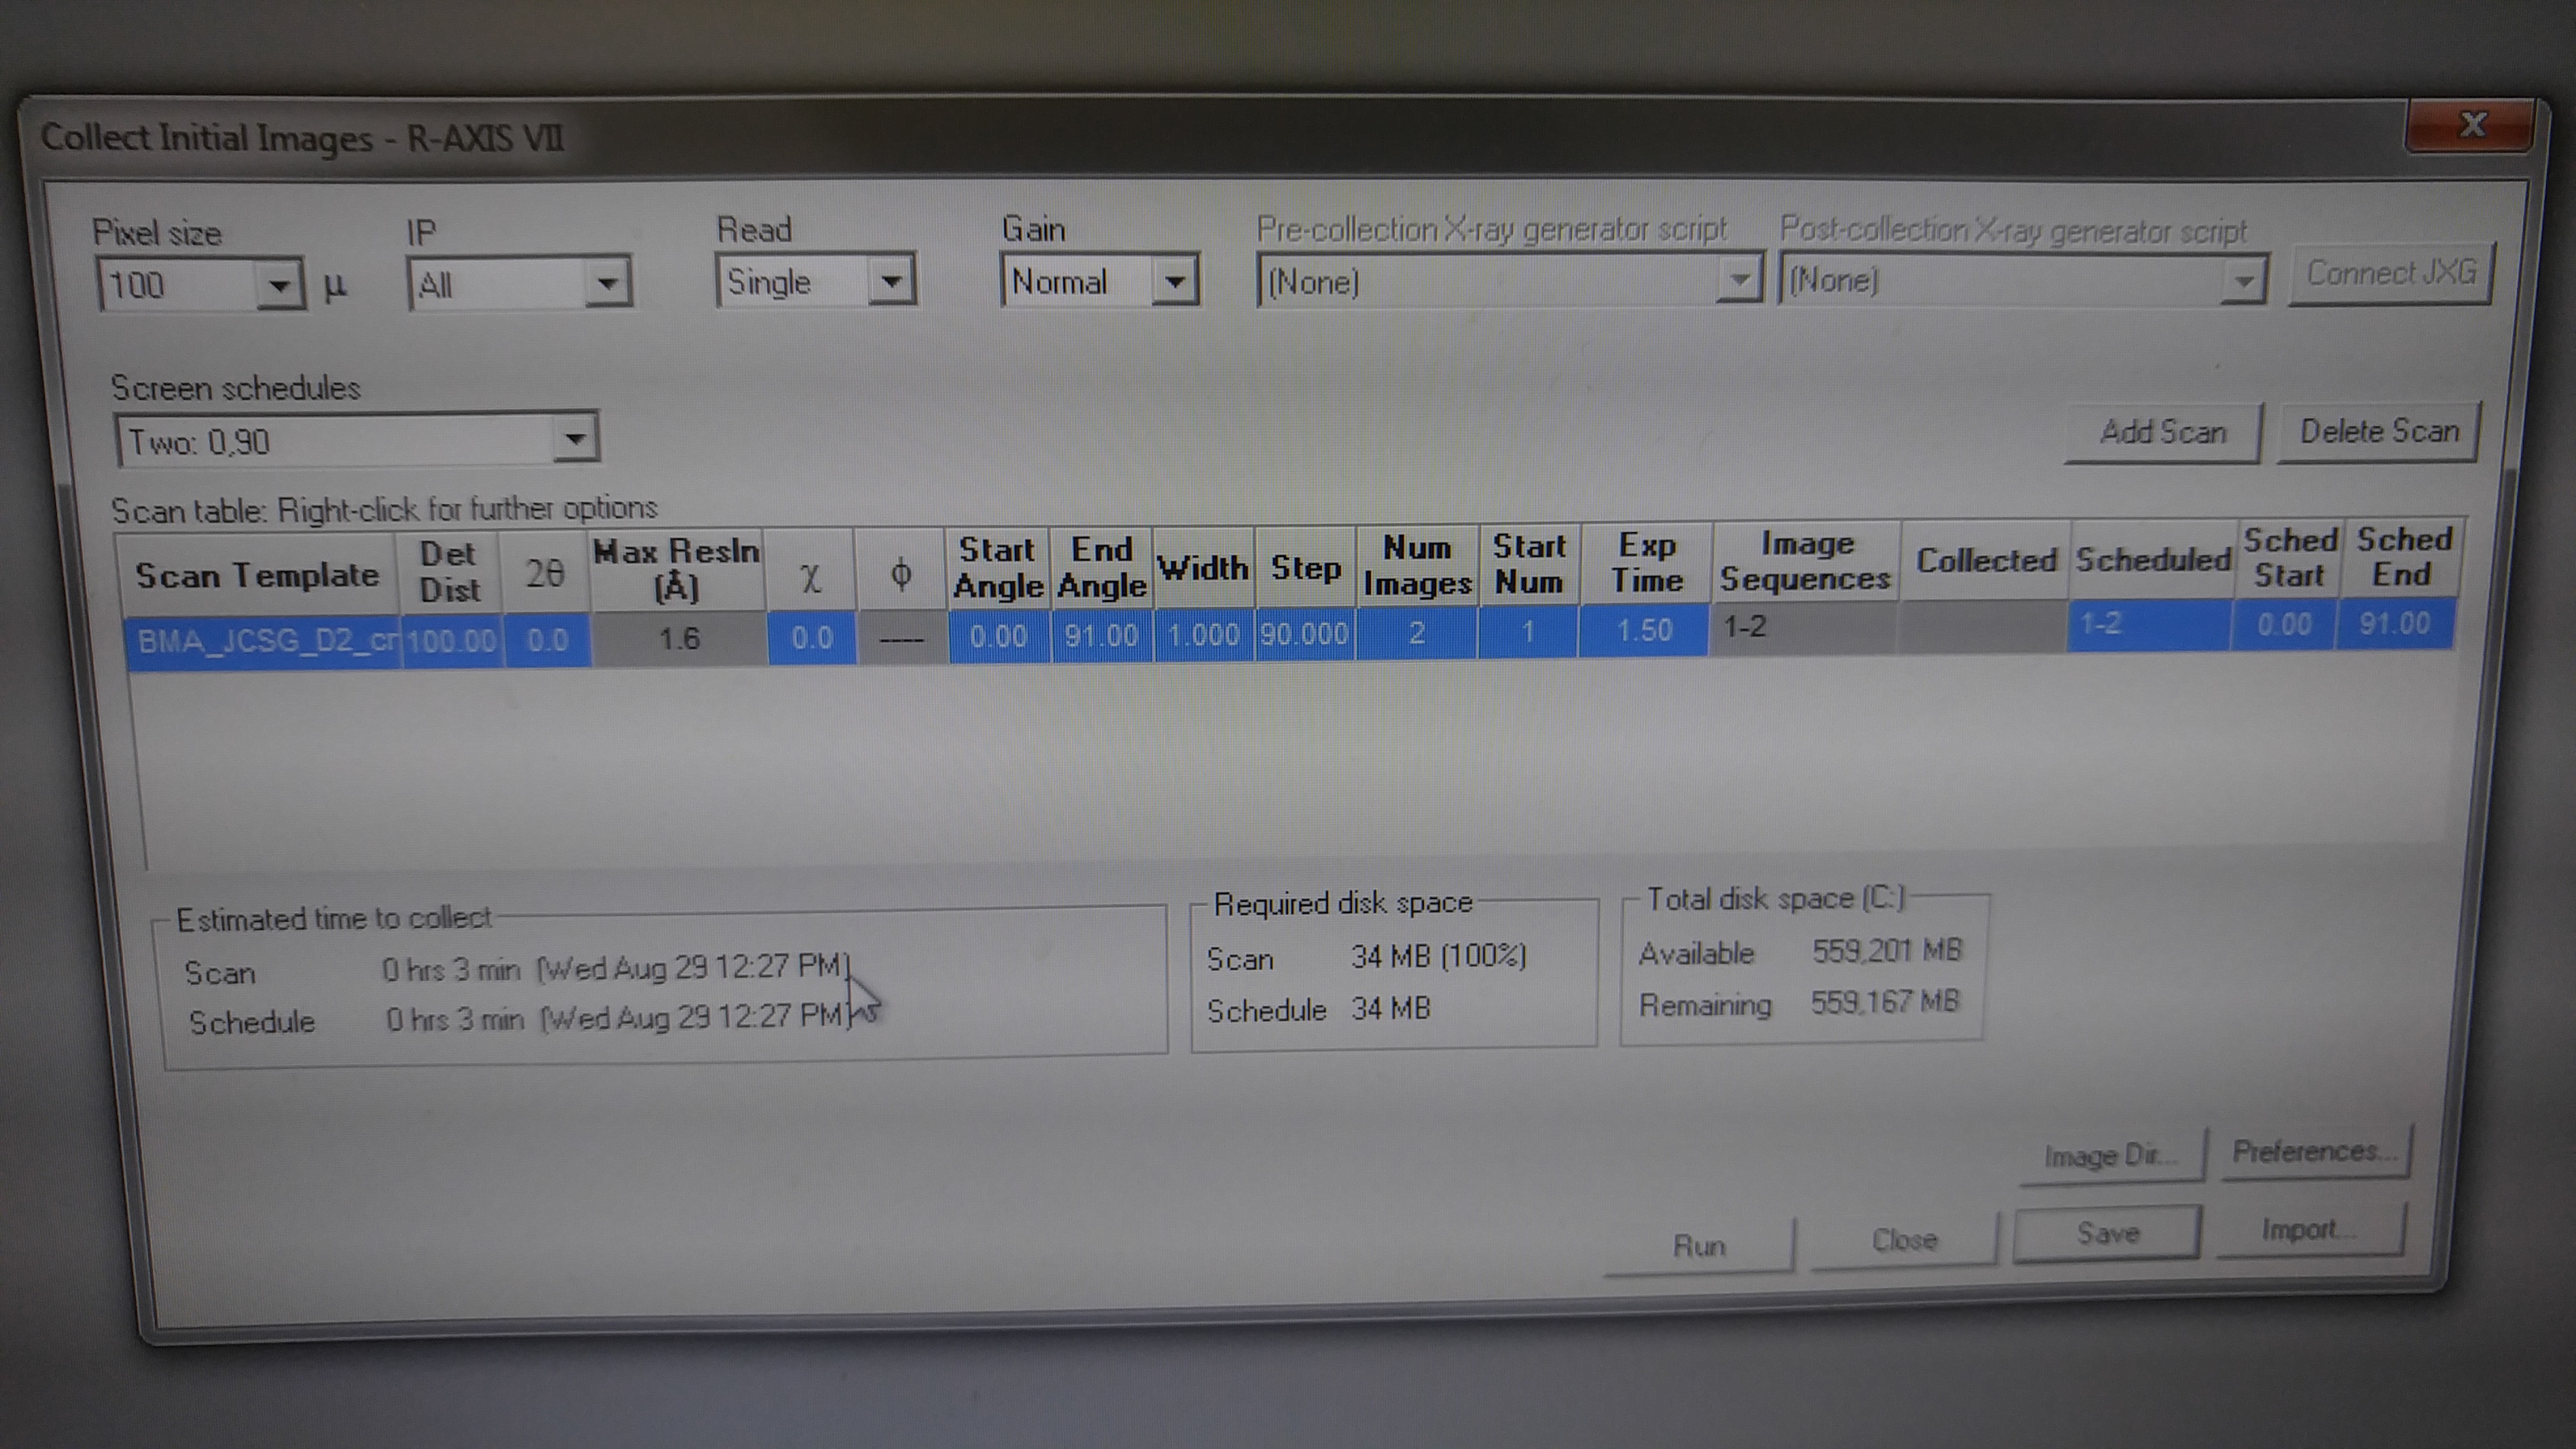
-Begin by taking 2 images to determine crystal quality.

-Large crystals require a 2 minute exposure time while small crystals require a 5 minute exposure time. The time is entered in minutes, not seconds. DON’T OVER-EXPOSE!

*Consult with staff about the correct distance for your sample. Default distance is ~160.

-Select [Run]; DO NOT CLICK SAVE.

-Consult with staff regarding the collecting of your images.

Sample Retrieval:

Only retrieve samples from the instrument if you are trained to do so by Duilio Cascio. No secondary training is allowed.

-Select [Instrument]

-Select [Manual Instrument Control]

-Navigate to the Goniometer Position tab.

-Under the detector field enter 440.

-Select [Move]

The detector will move backward and you will be able to retrieve or discard your sample.