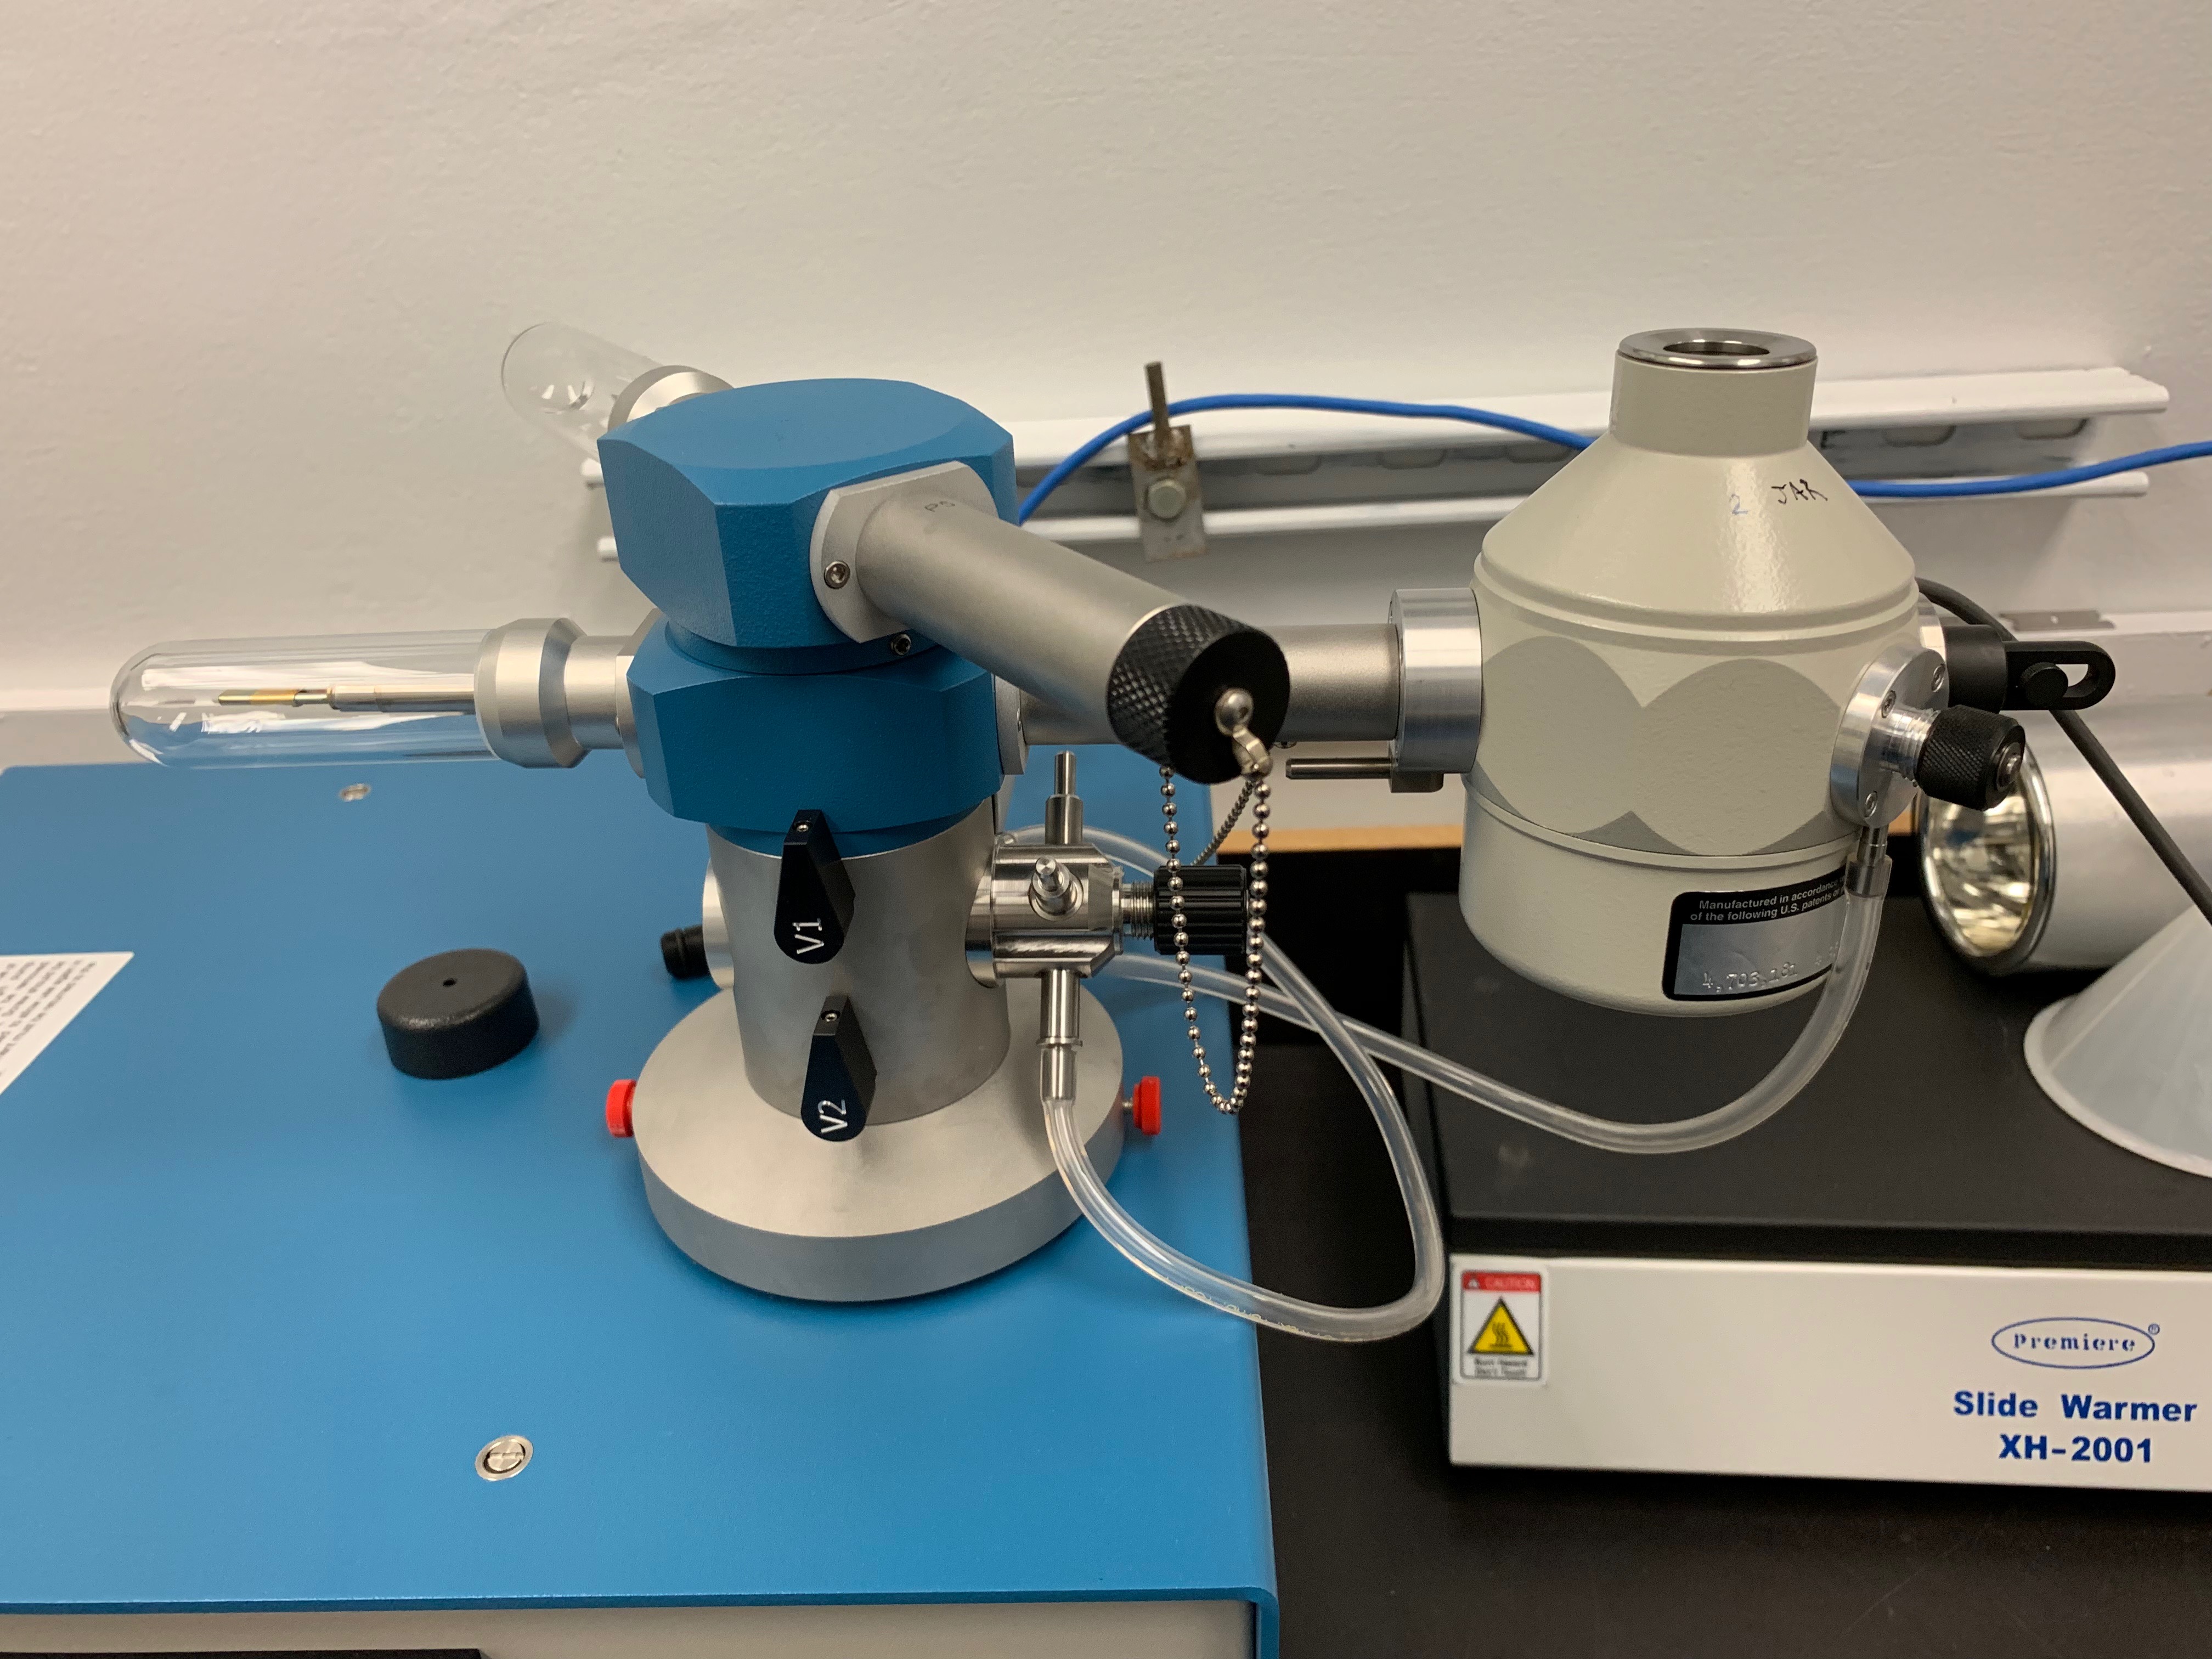
Removing sample loader from manifold
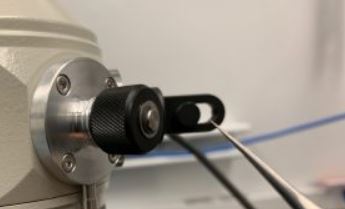
- The valve connected to the tygon tubing on the sample holder should be closed at this point by rotating the knob clockwise.
- Next to the V1 and V2 valves on the manifold, another rotating valve is located to the immediate right where the tygon tubing attaches.
- Close this valve by rotating it clockwise. Finally, Close the V1 valve.
- Gently remove the tygon hose from the sample holder by sliding without applying torque.


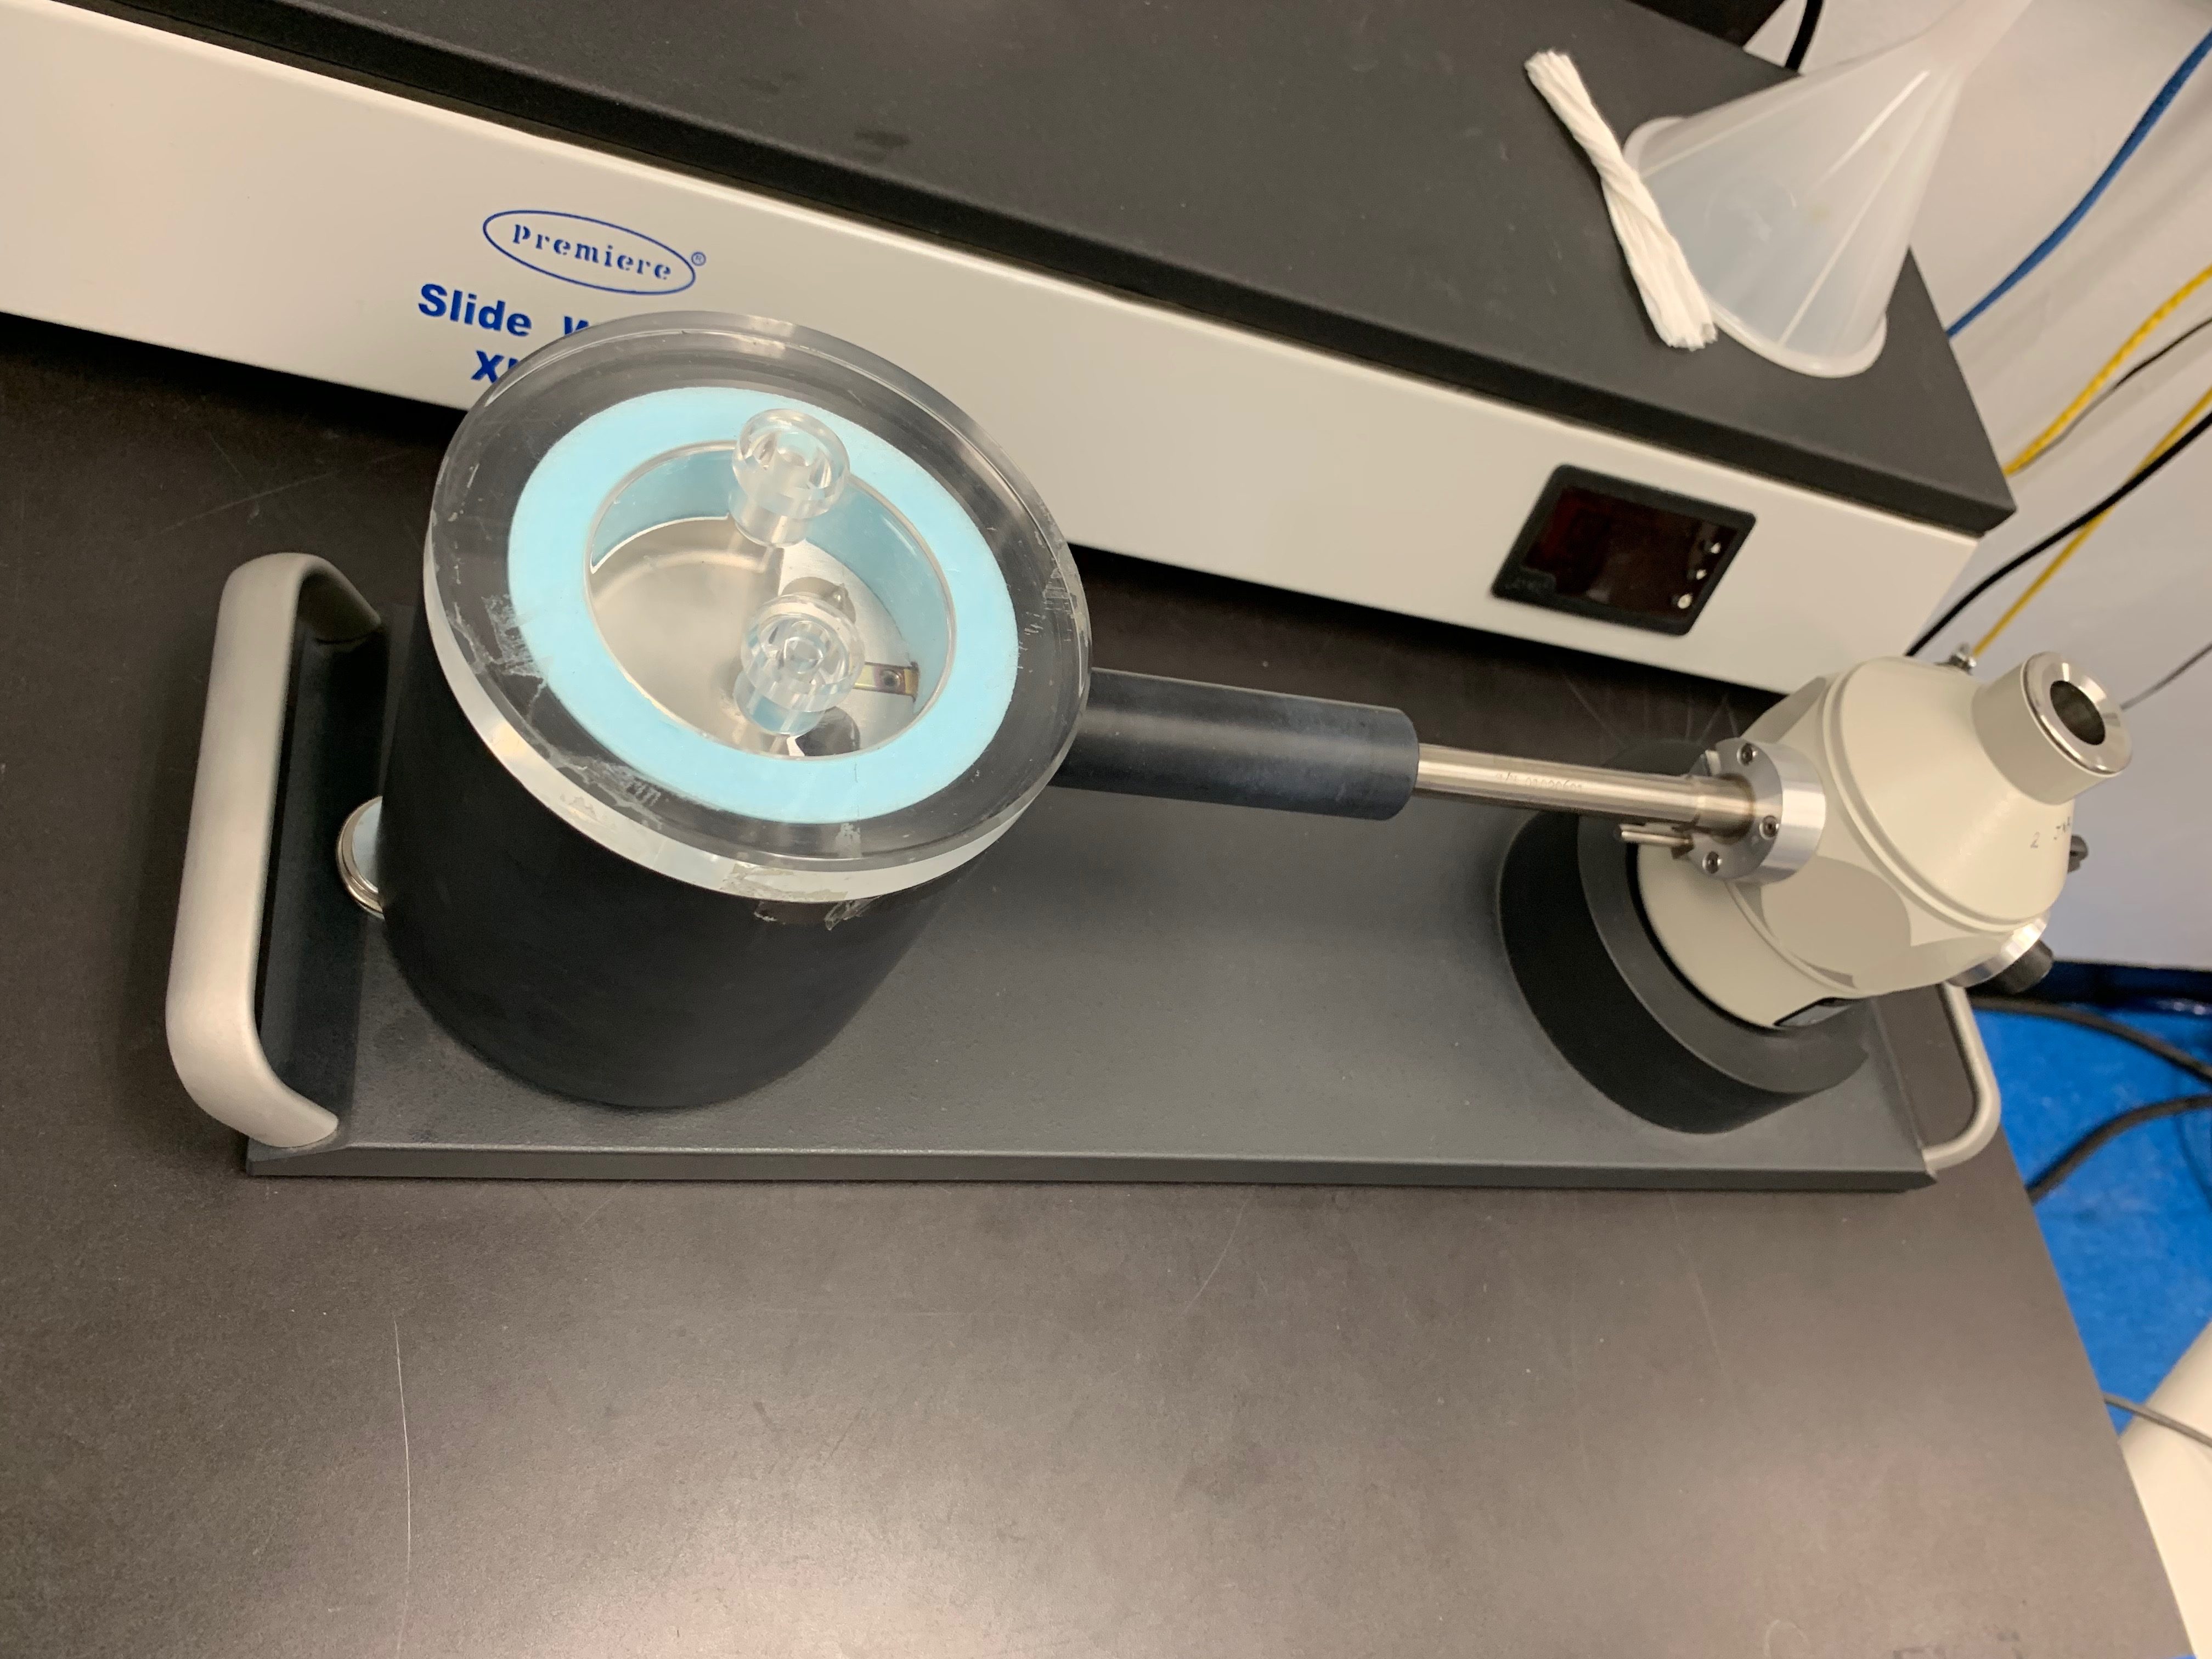
Loading the sample on the sample loader
- Place the sample loader in the base and add liquid nitrogen slowly to the inside of the dewar and the area where you will load your sample.
- In another area apply the clip to the clip ring loading tool by placing the tool perpendicular to the ring and slowly turning the tool clockwise a 1/2 turn into the ring. There is a small amount of threading on the tool that will capture the ring. NO FORCE should be applied.
- Place your sample (grid) in the sample holder in a ring. Next take the tool and add the clip to the grid by moving directly perpendicular over the grid and ring. Drop down gently until you barely feel a SMALL click. This gentle click means the ring has captured the clip. Using no upward force, gently turn the clip ring loading tool counter clockwise a little more than half a turn until it is free from the sample. Remove the tool and store it in the appropriate place.
- Close the sleeve of the sample loader over the sample by pulling back the rearmost lever.
- Transfer the base along with the sample loader attached to the microscope table to prepare for loading. Replenish nitrogen gently as necessary.
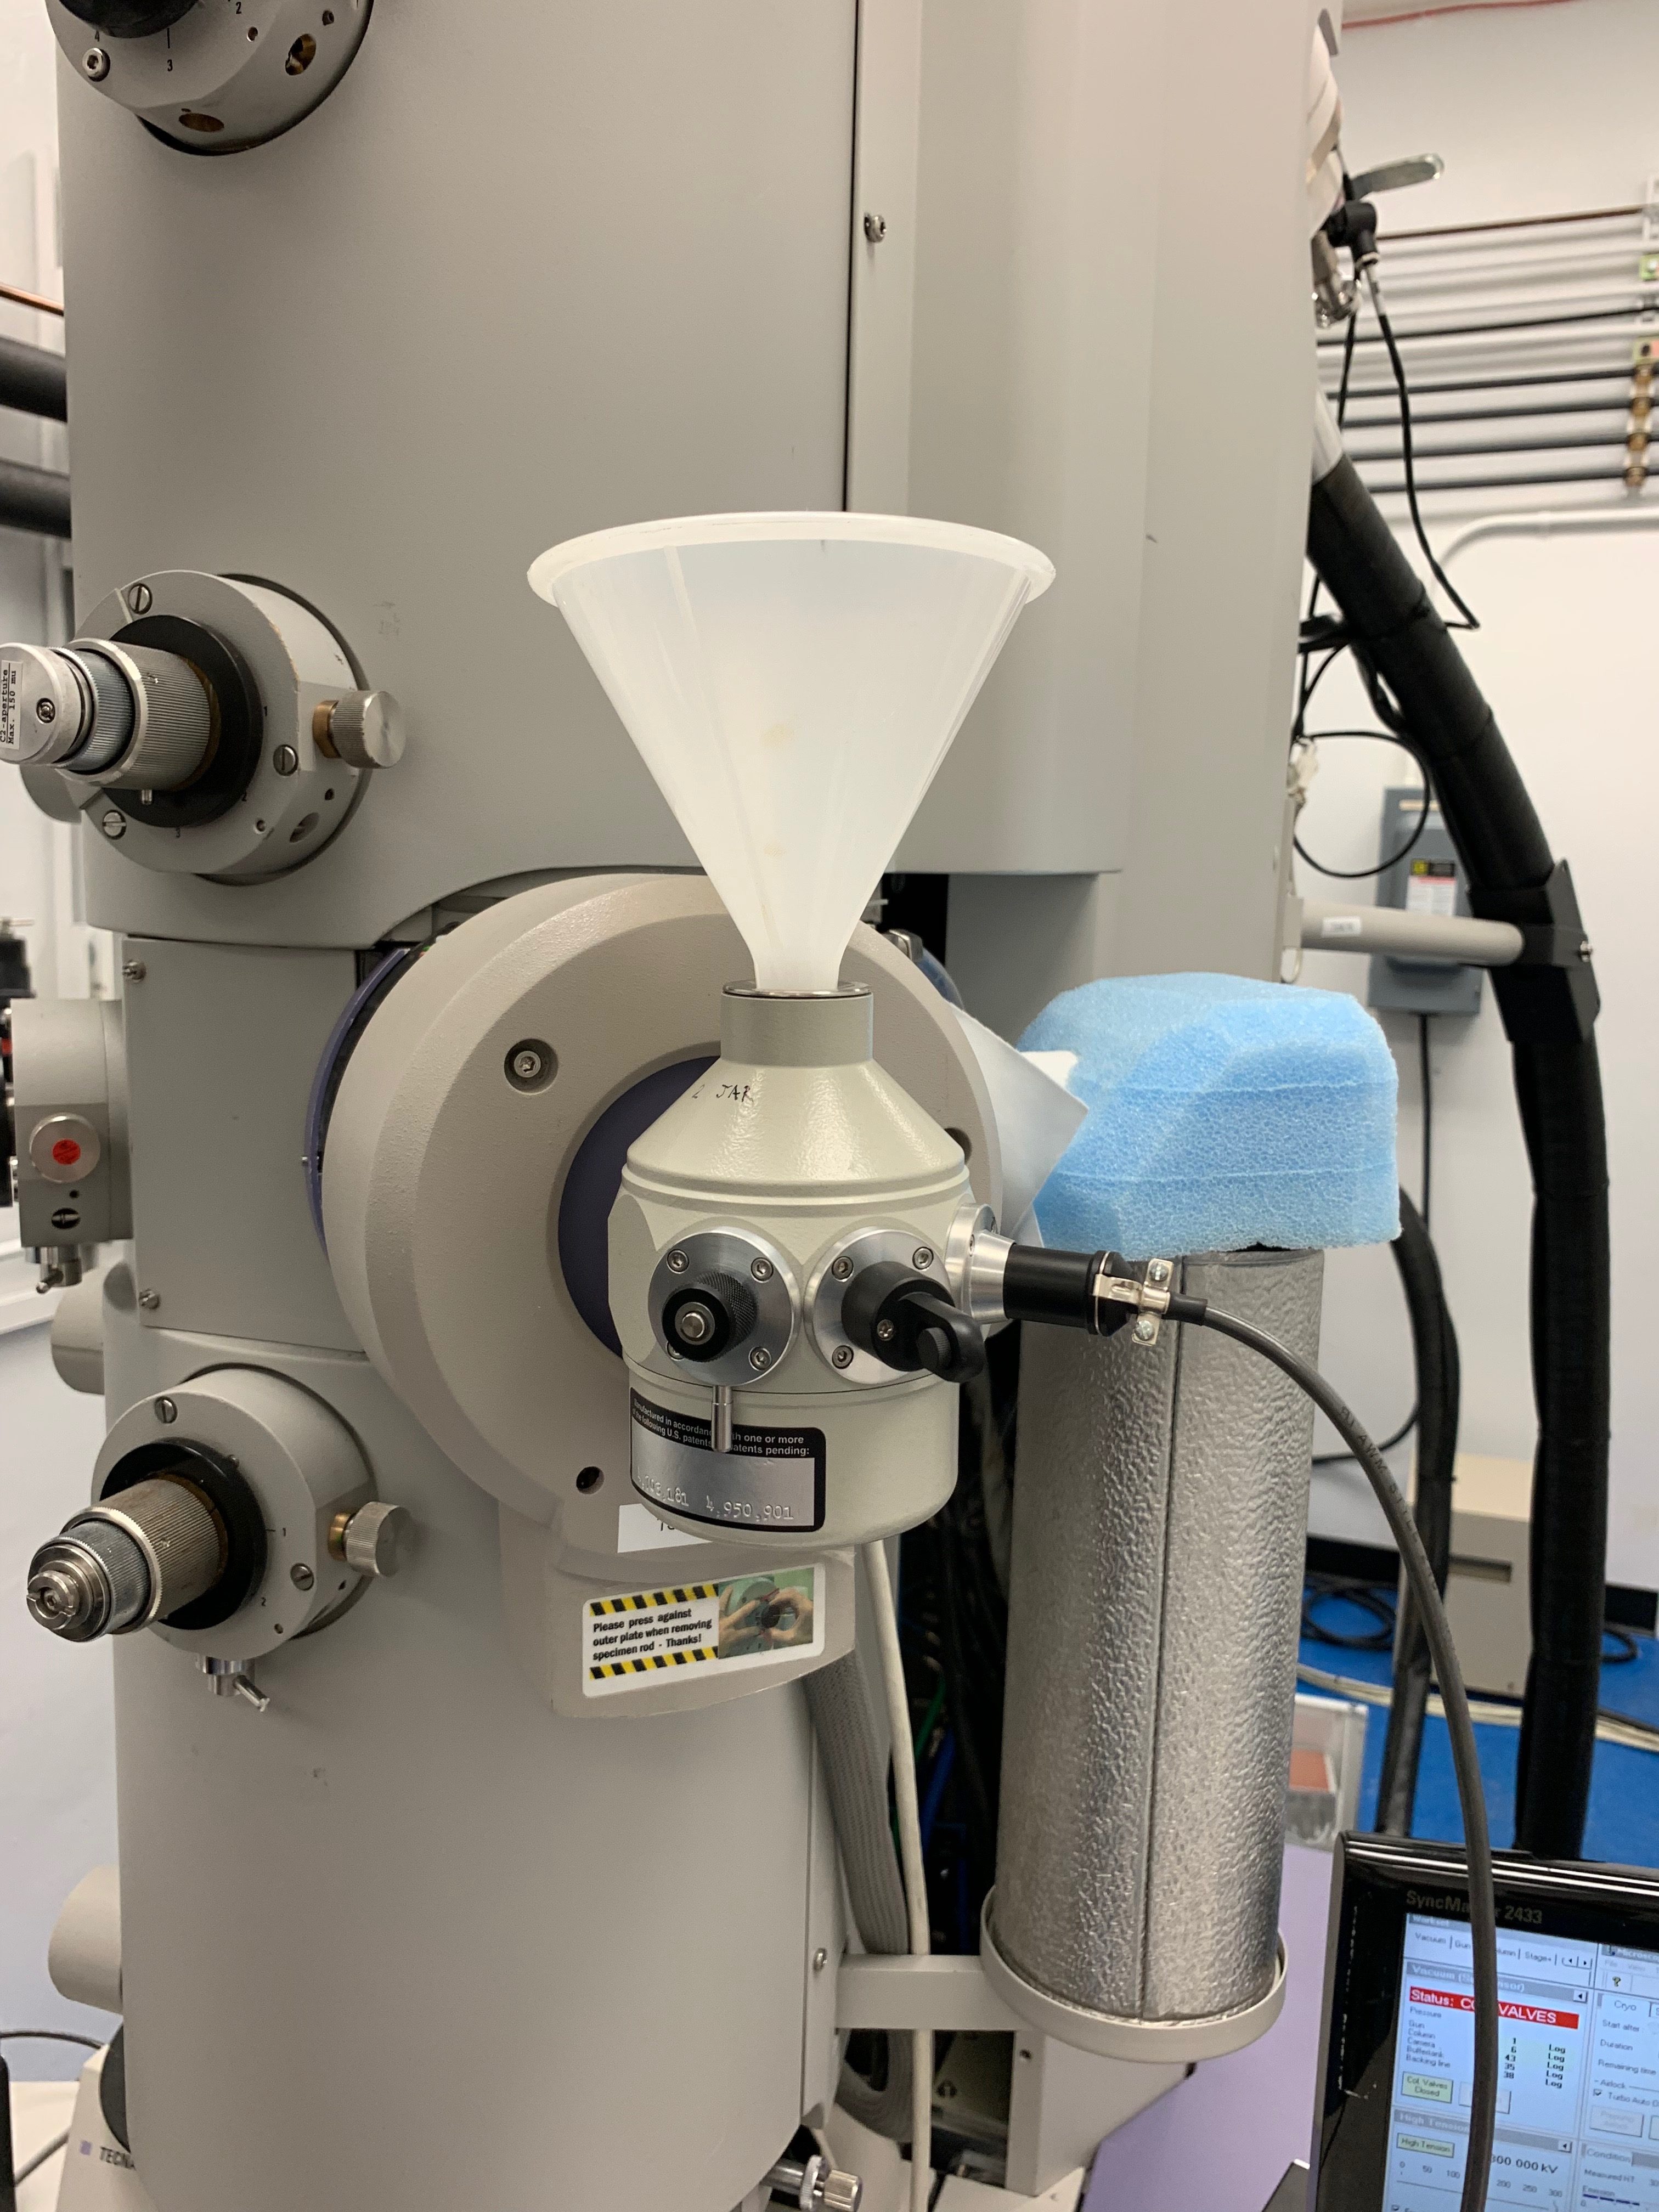
Loading sample holder into the EM
- NO NOT CONTINUE if any error messages are present on the machine. You must schedule time to use the instrument and adhere to the schedule.
- Pre-pump the airlock.
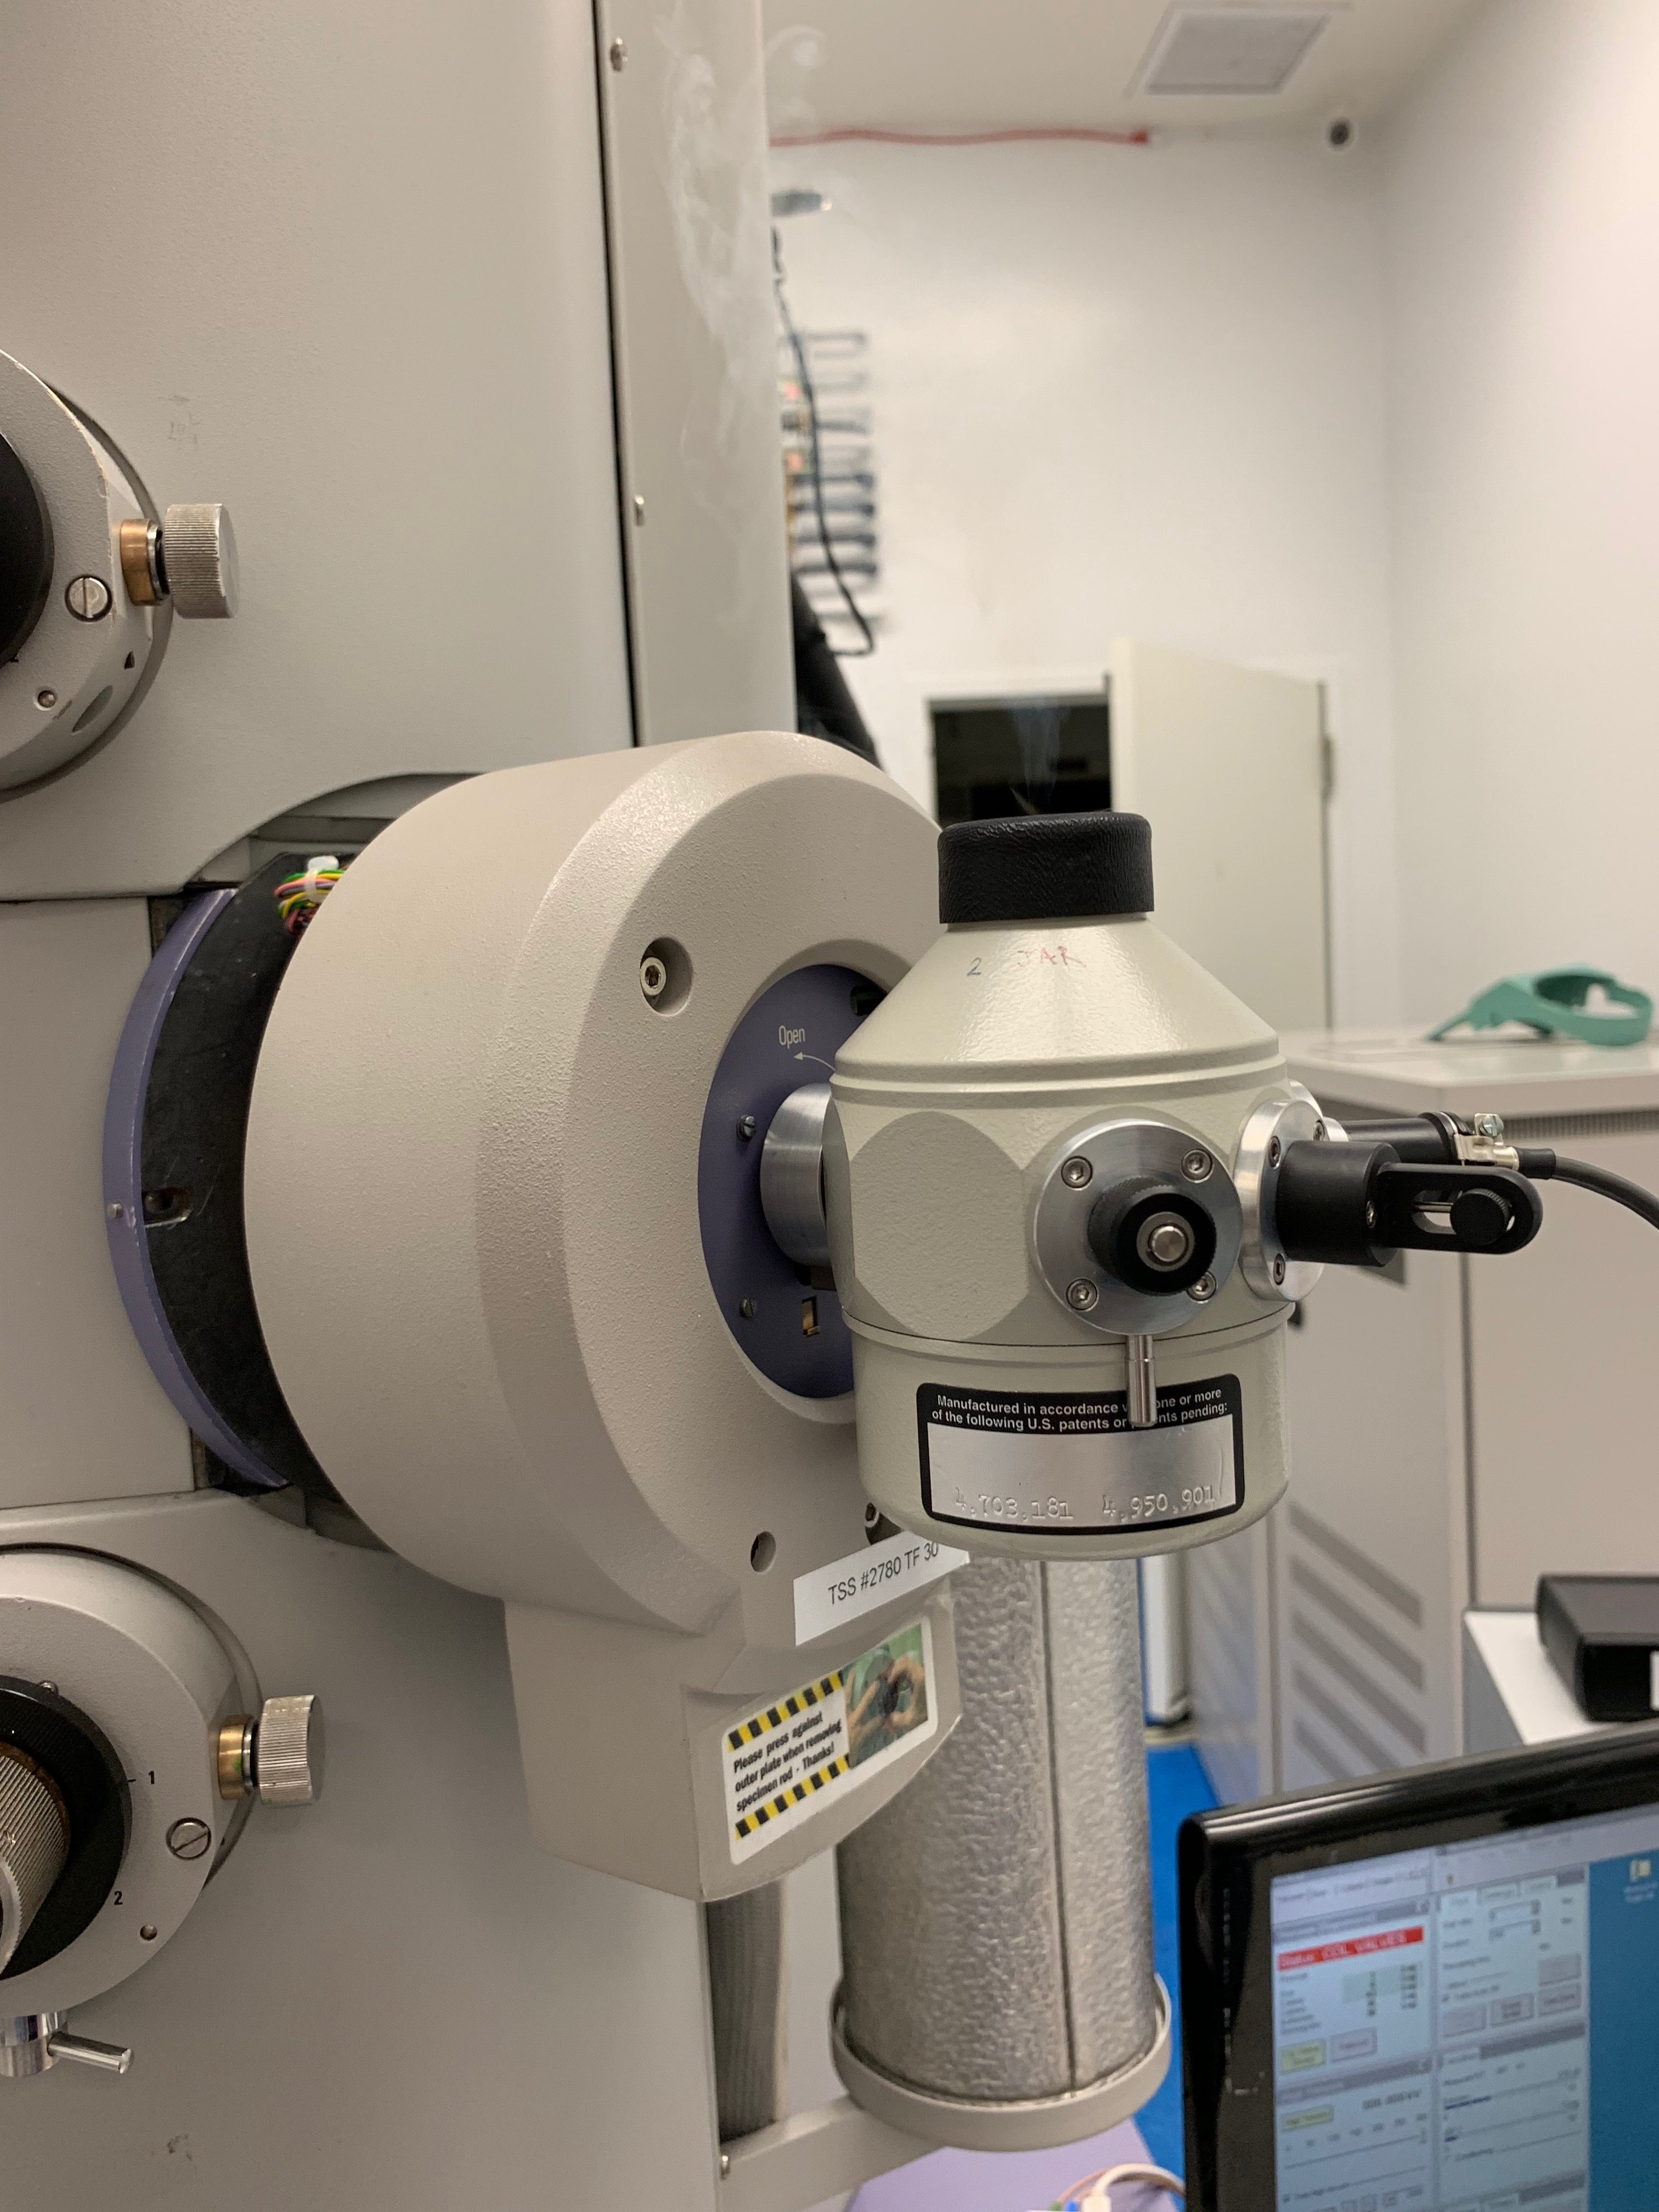
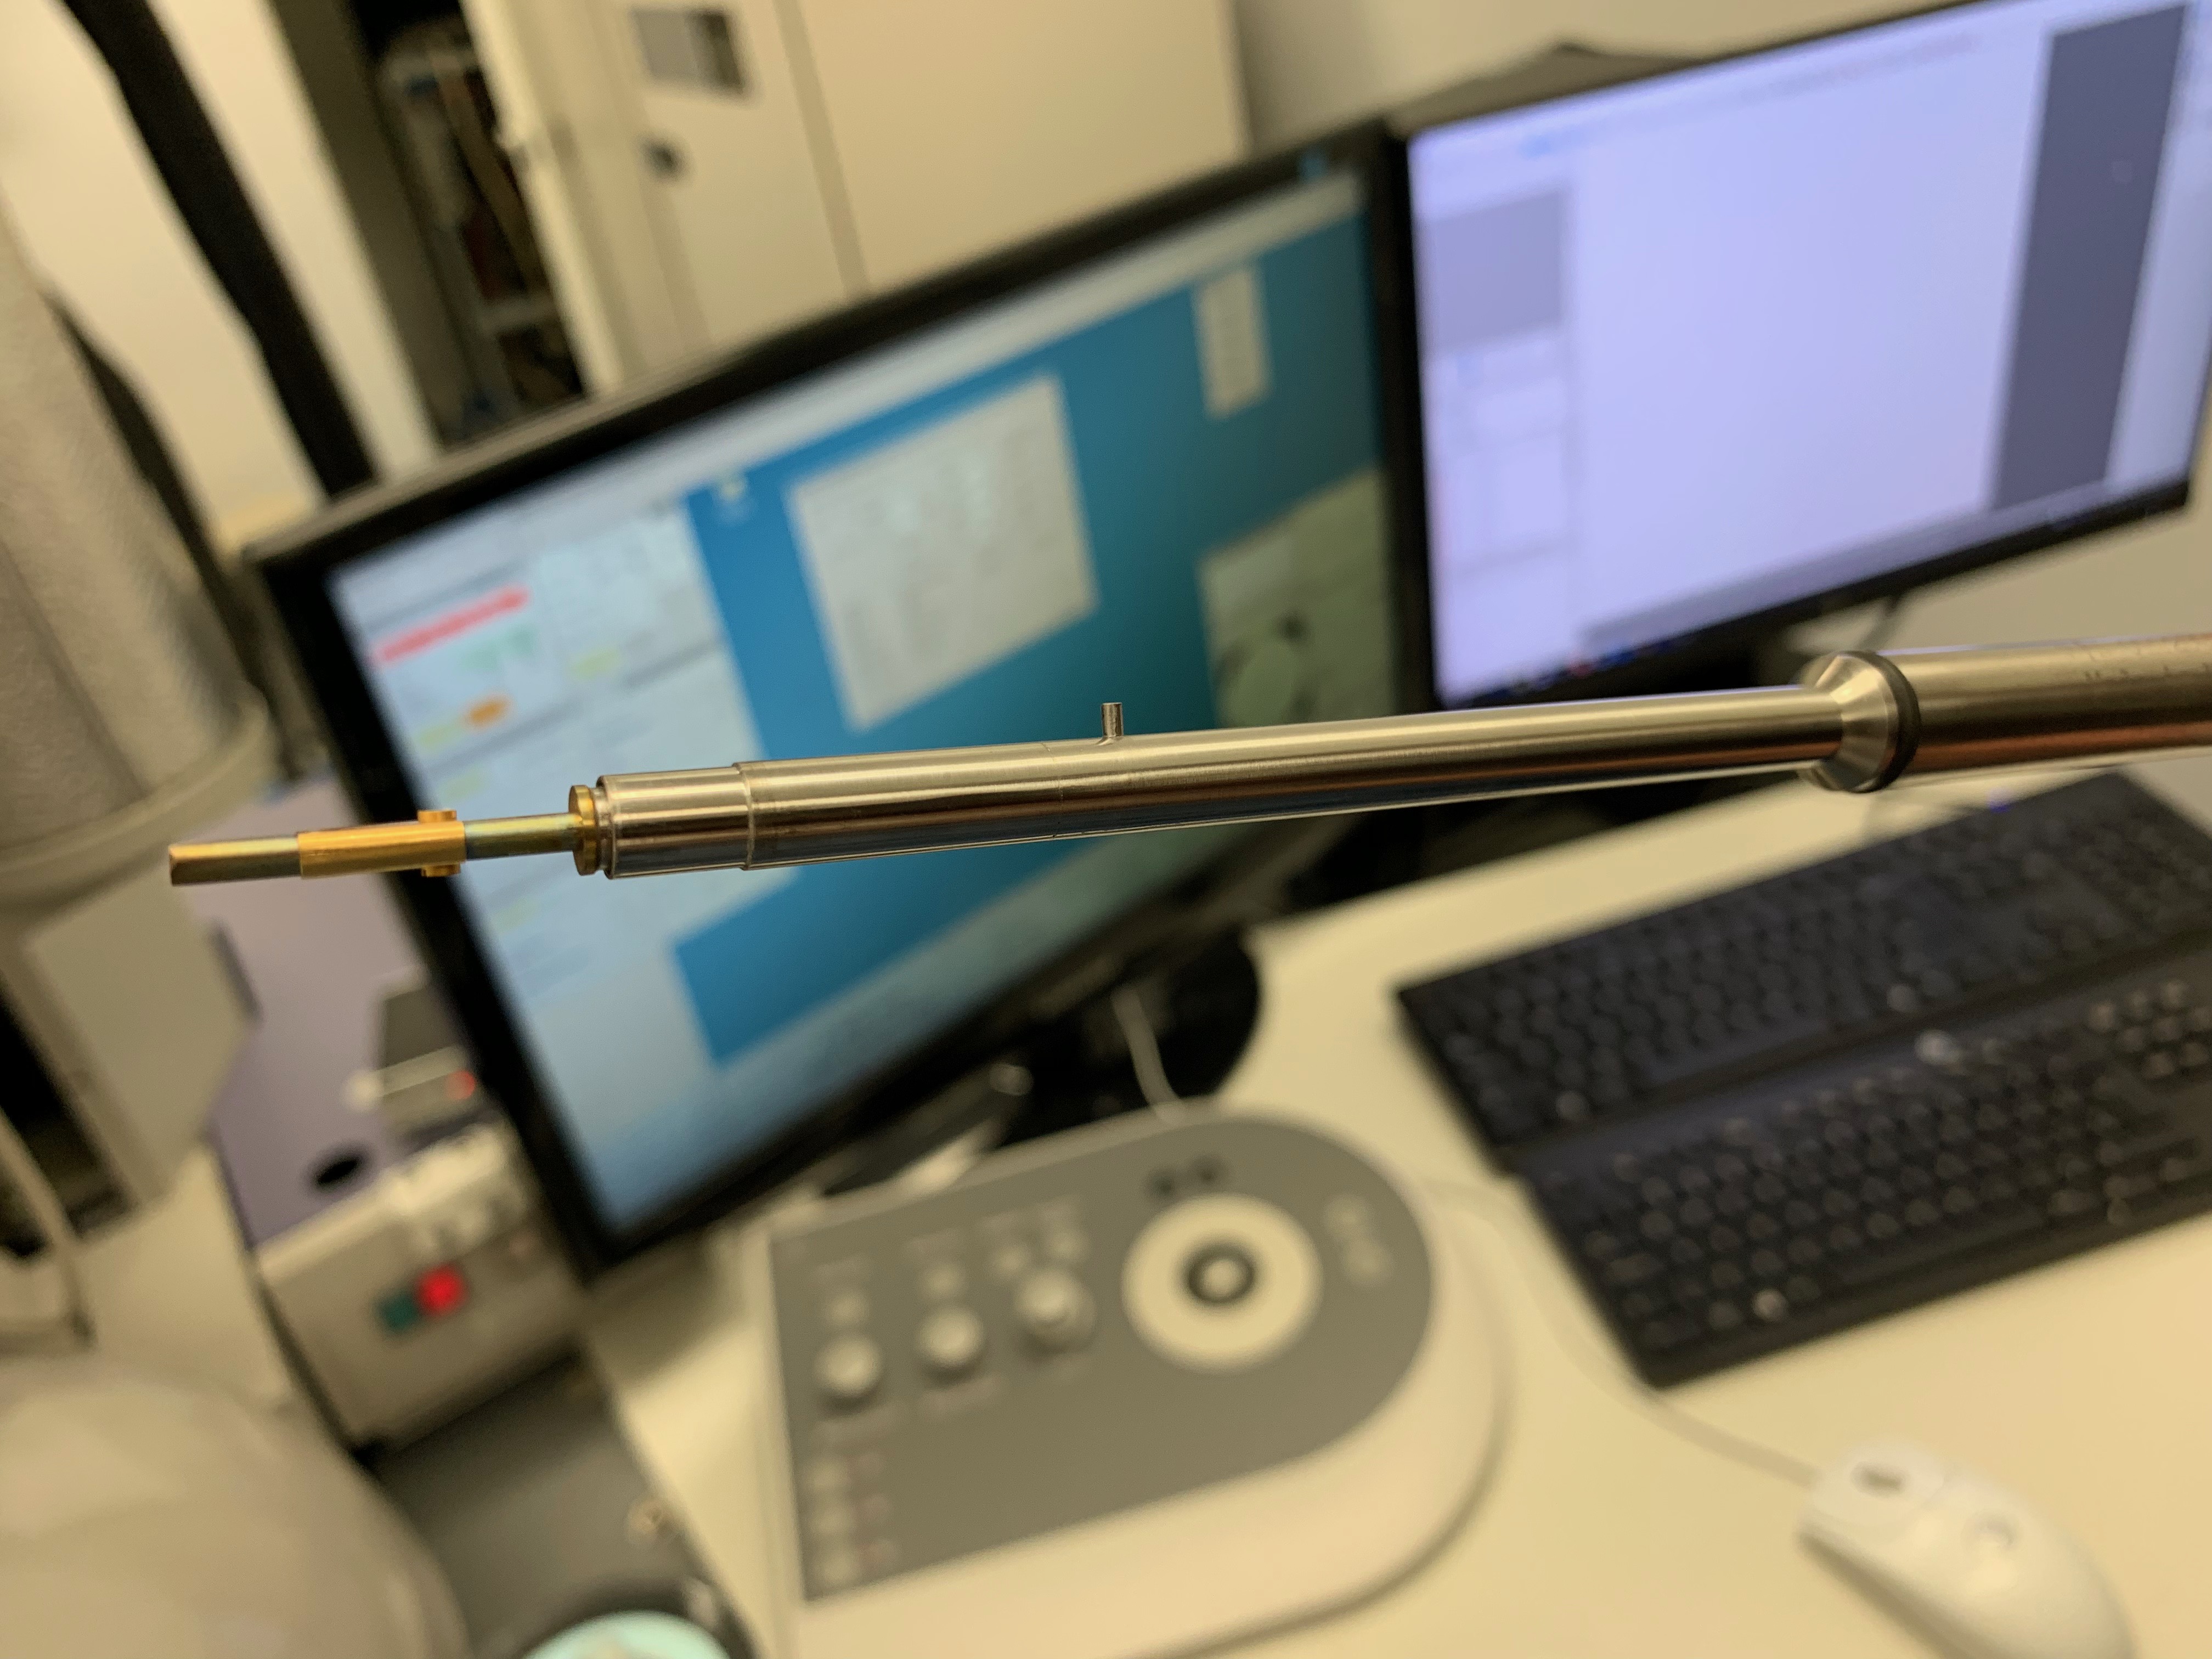
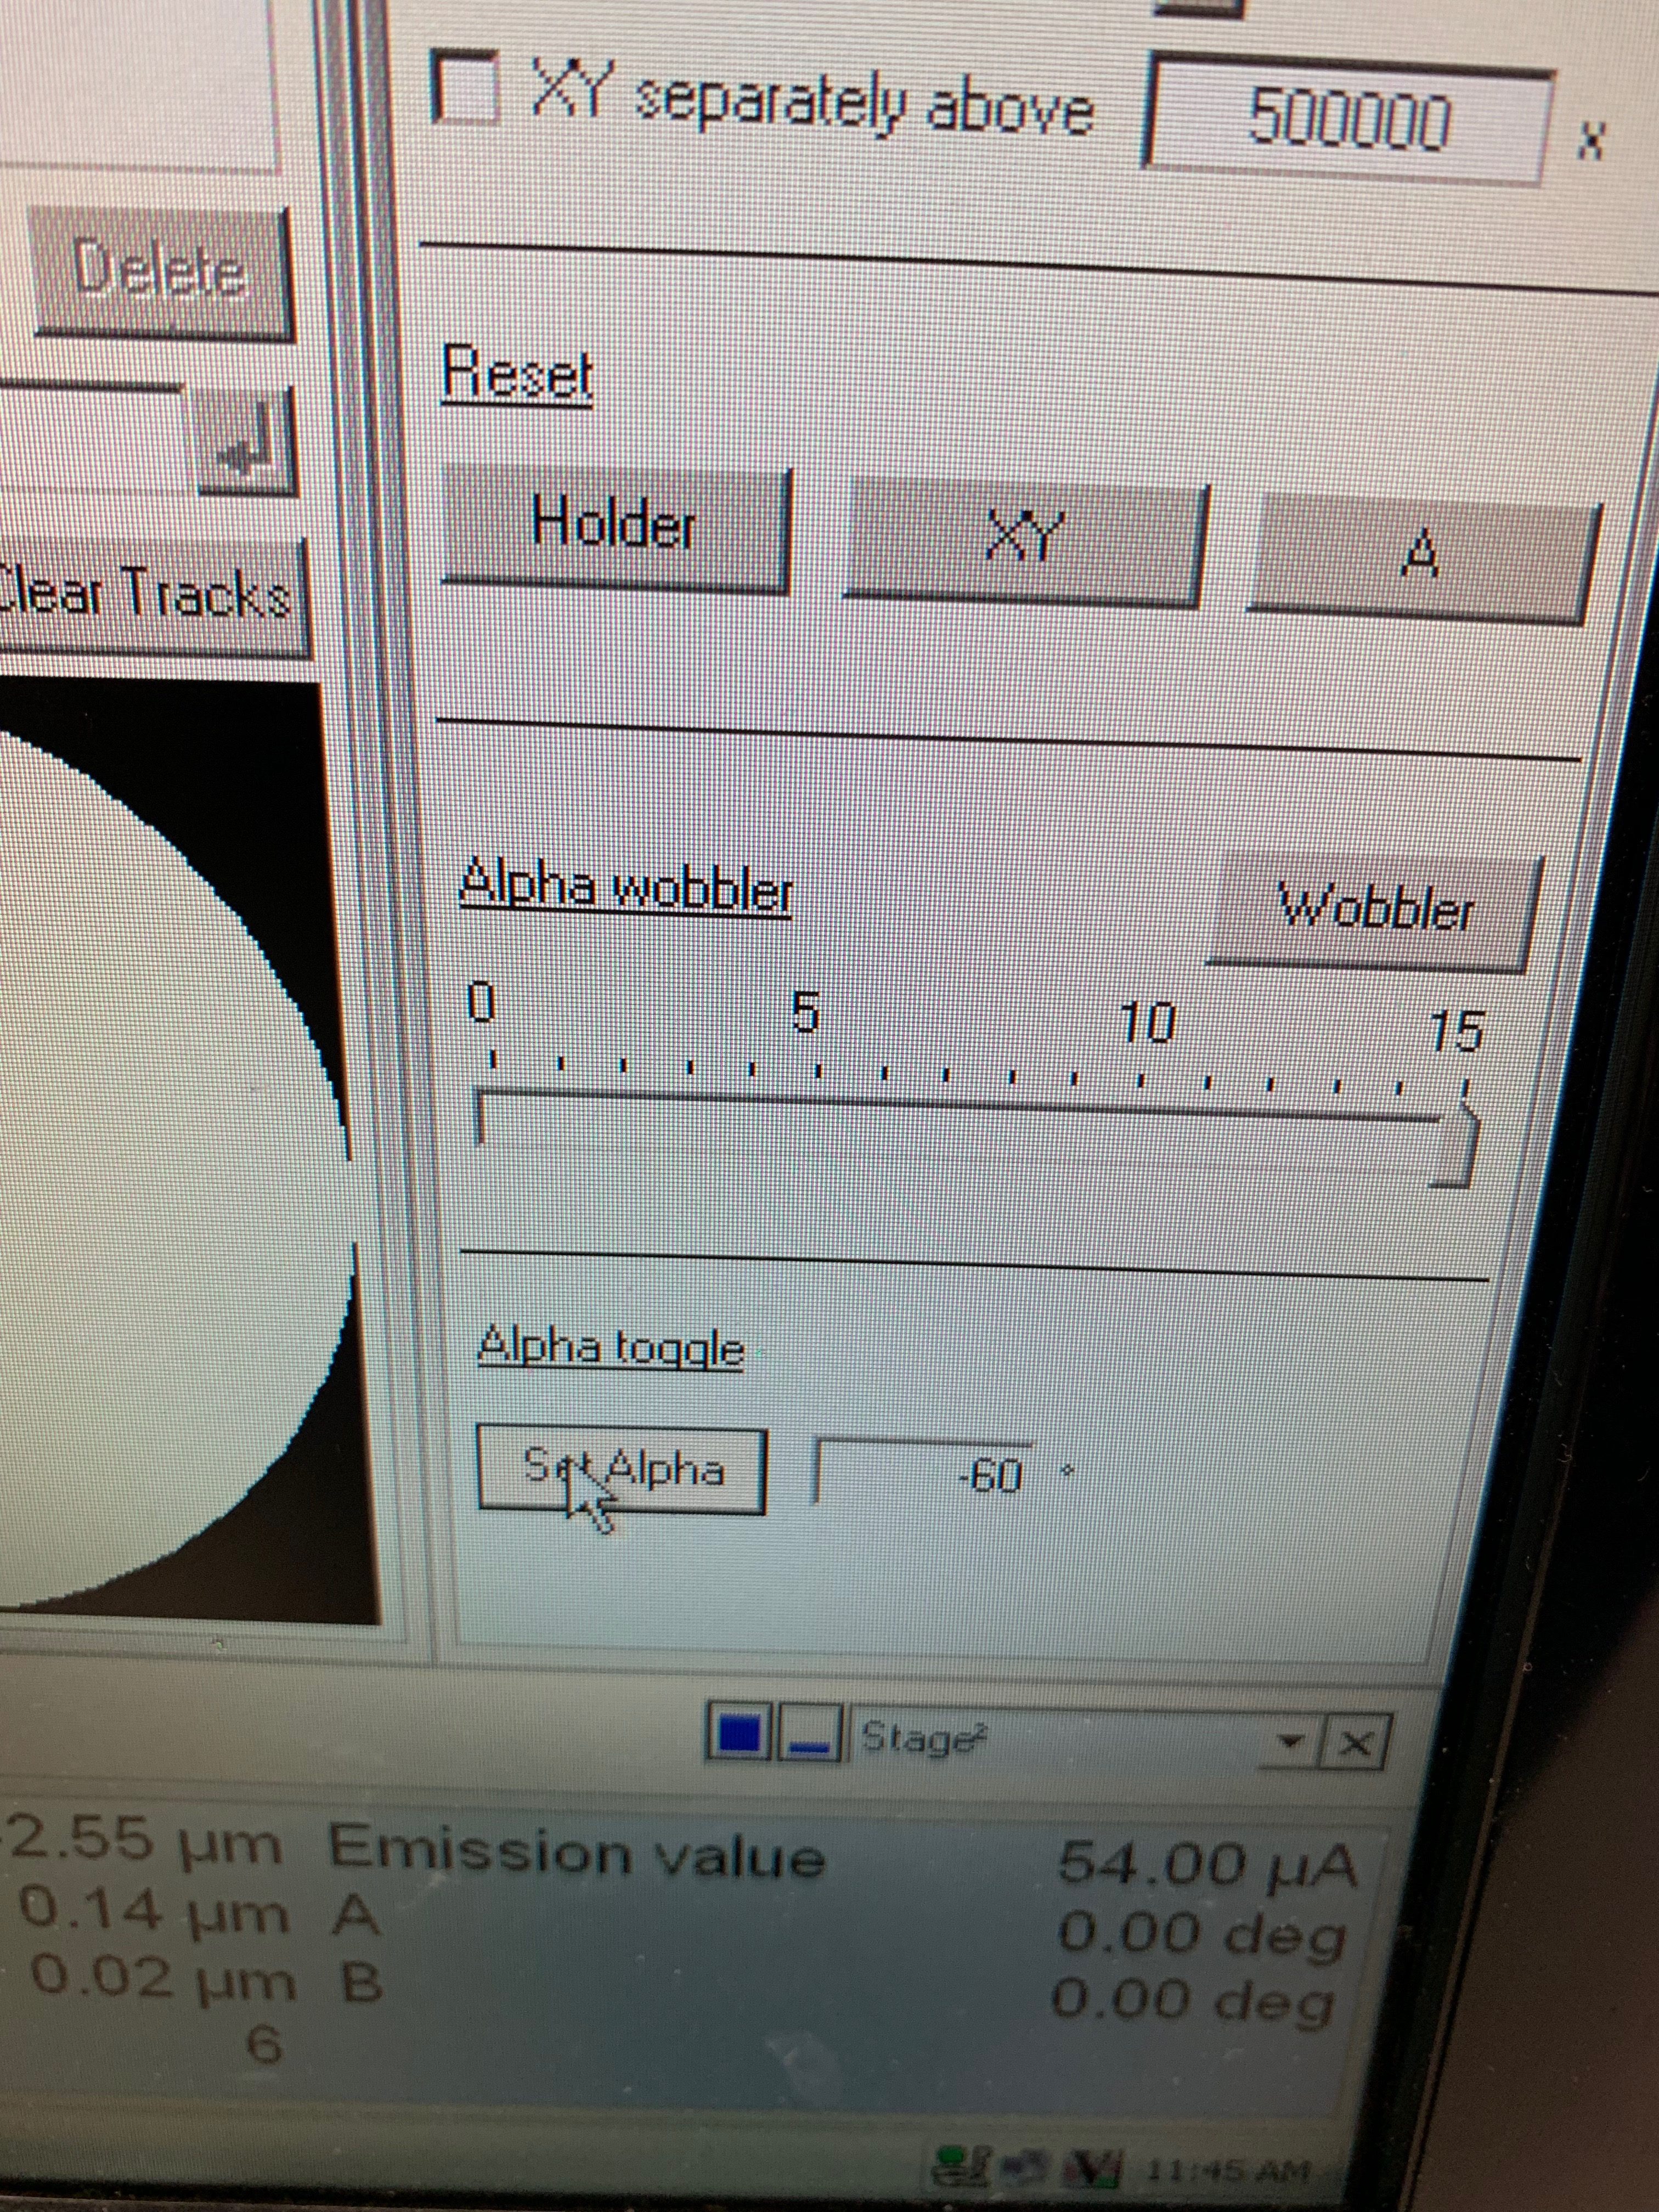
- Set alpha to -60 and confirm. The loading stage will rotate -60 degrees making the indexing slot for the sample loader key (the pin on the sample loader) align to the right nearly horizontal with the floor.
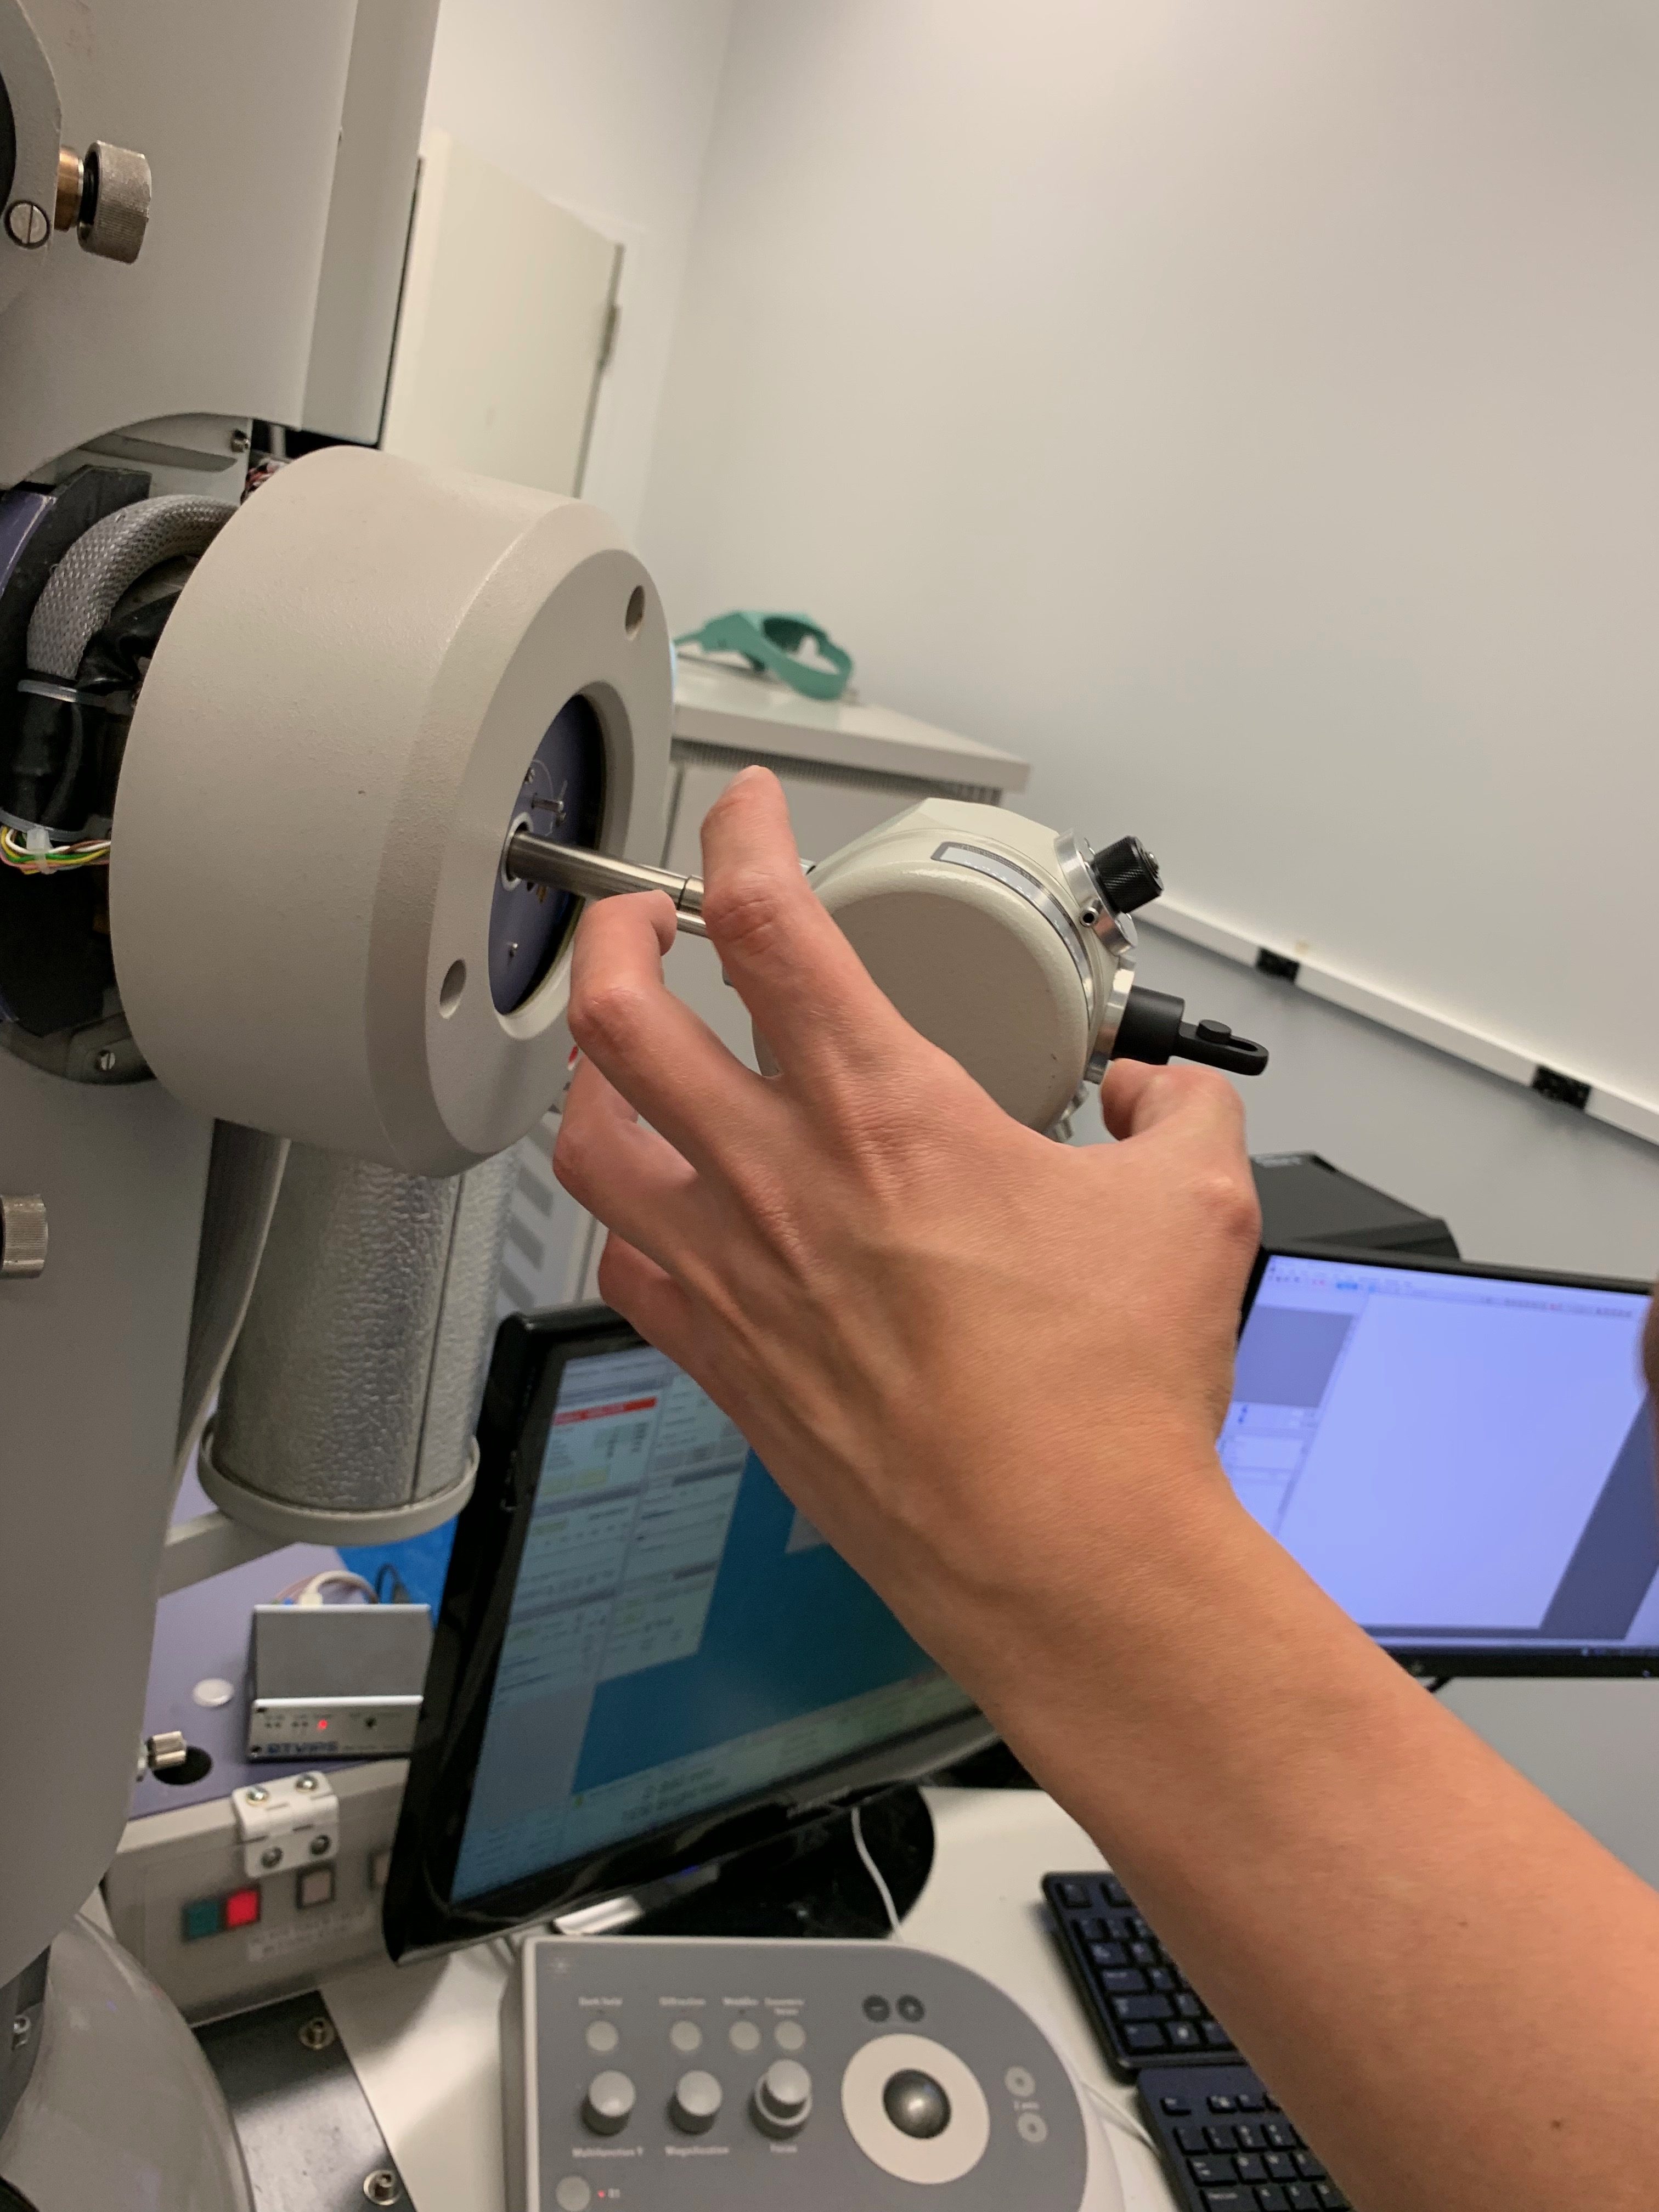
- Insert the sample holder tipping it to the right so that the key aligns. Some nitrogen will spill. This is necessary. Keep a gentle hand on the holder until reaching the end of the loading protocol in the steps to follow. DO NOT apply any torque to the sample loader. Allow the loader to remain aligned with the key and do not rotate it whatsoever.
- Click the set alpha button again without changing the value of alpha while holding the sample loader stationary. The loading stage will rotate to its original position. The key/pin will rotate freely in the stage. You should feel zero friction or resistance. Again, allow the stage to slide but hold the sample loader stationary with the opening for nitrogen facing right. There should be no difference between the orientation of the sample loader now and when it was first inserted.
- Select single tilt and press enter.
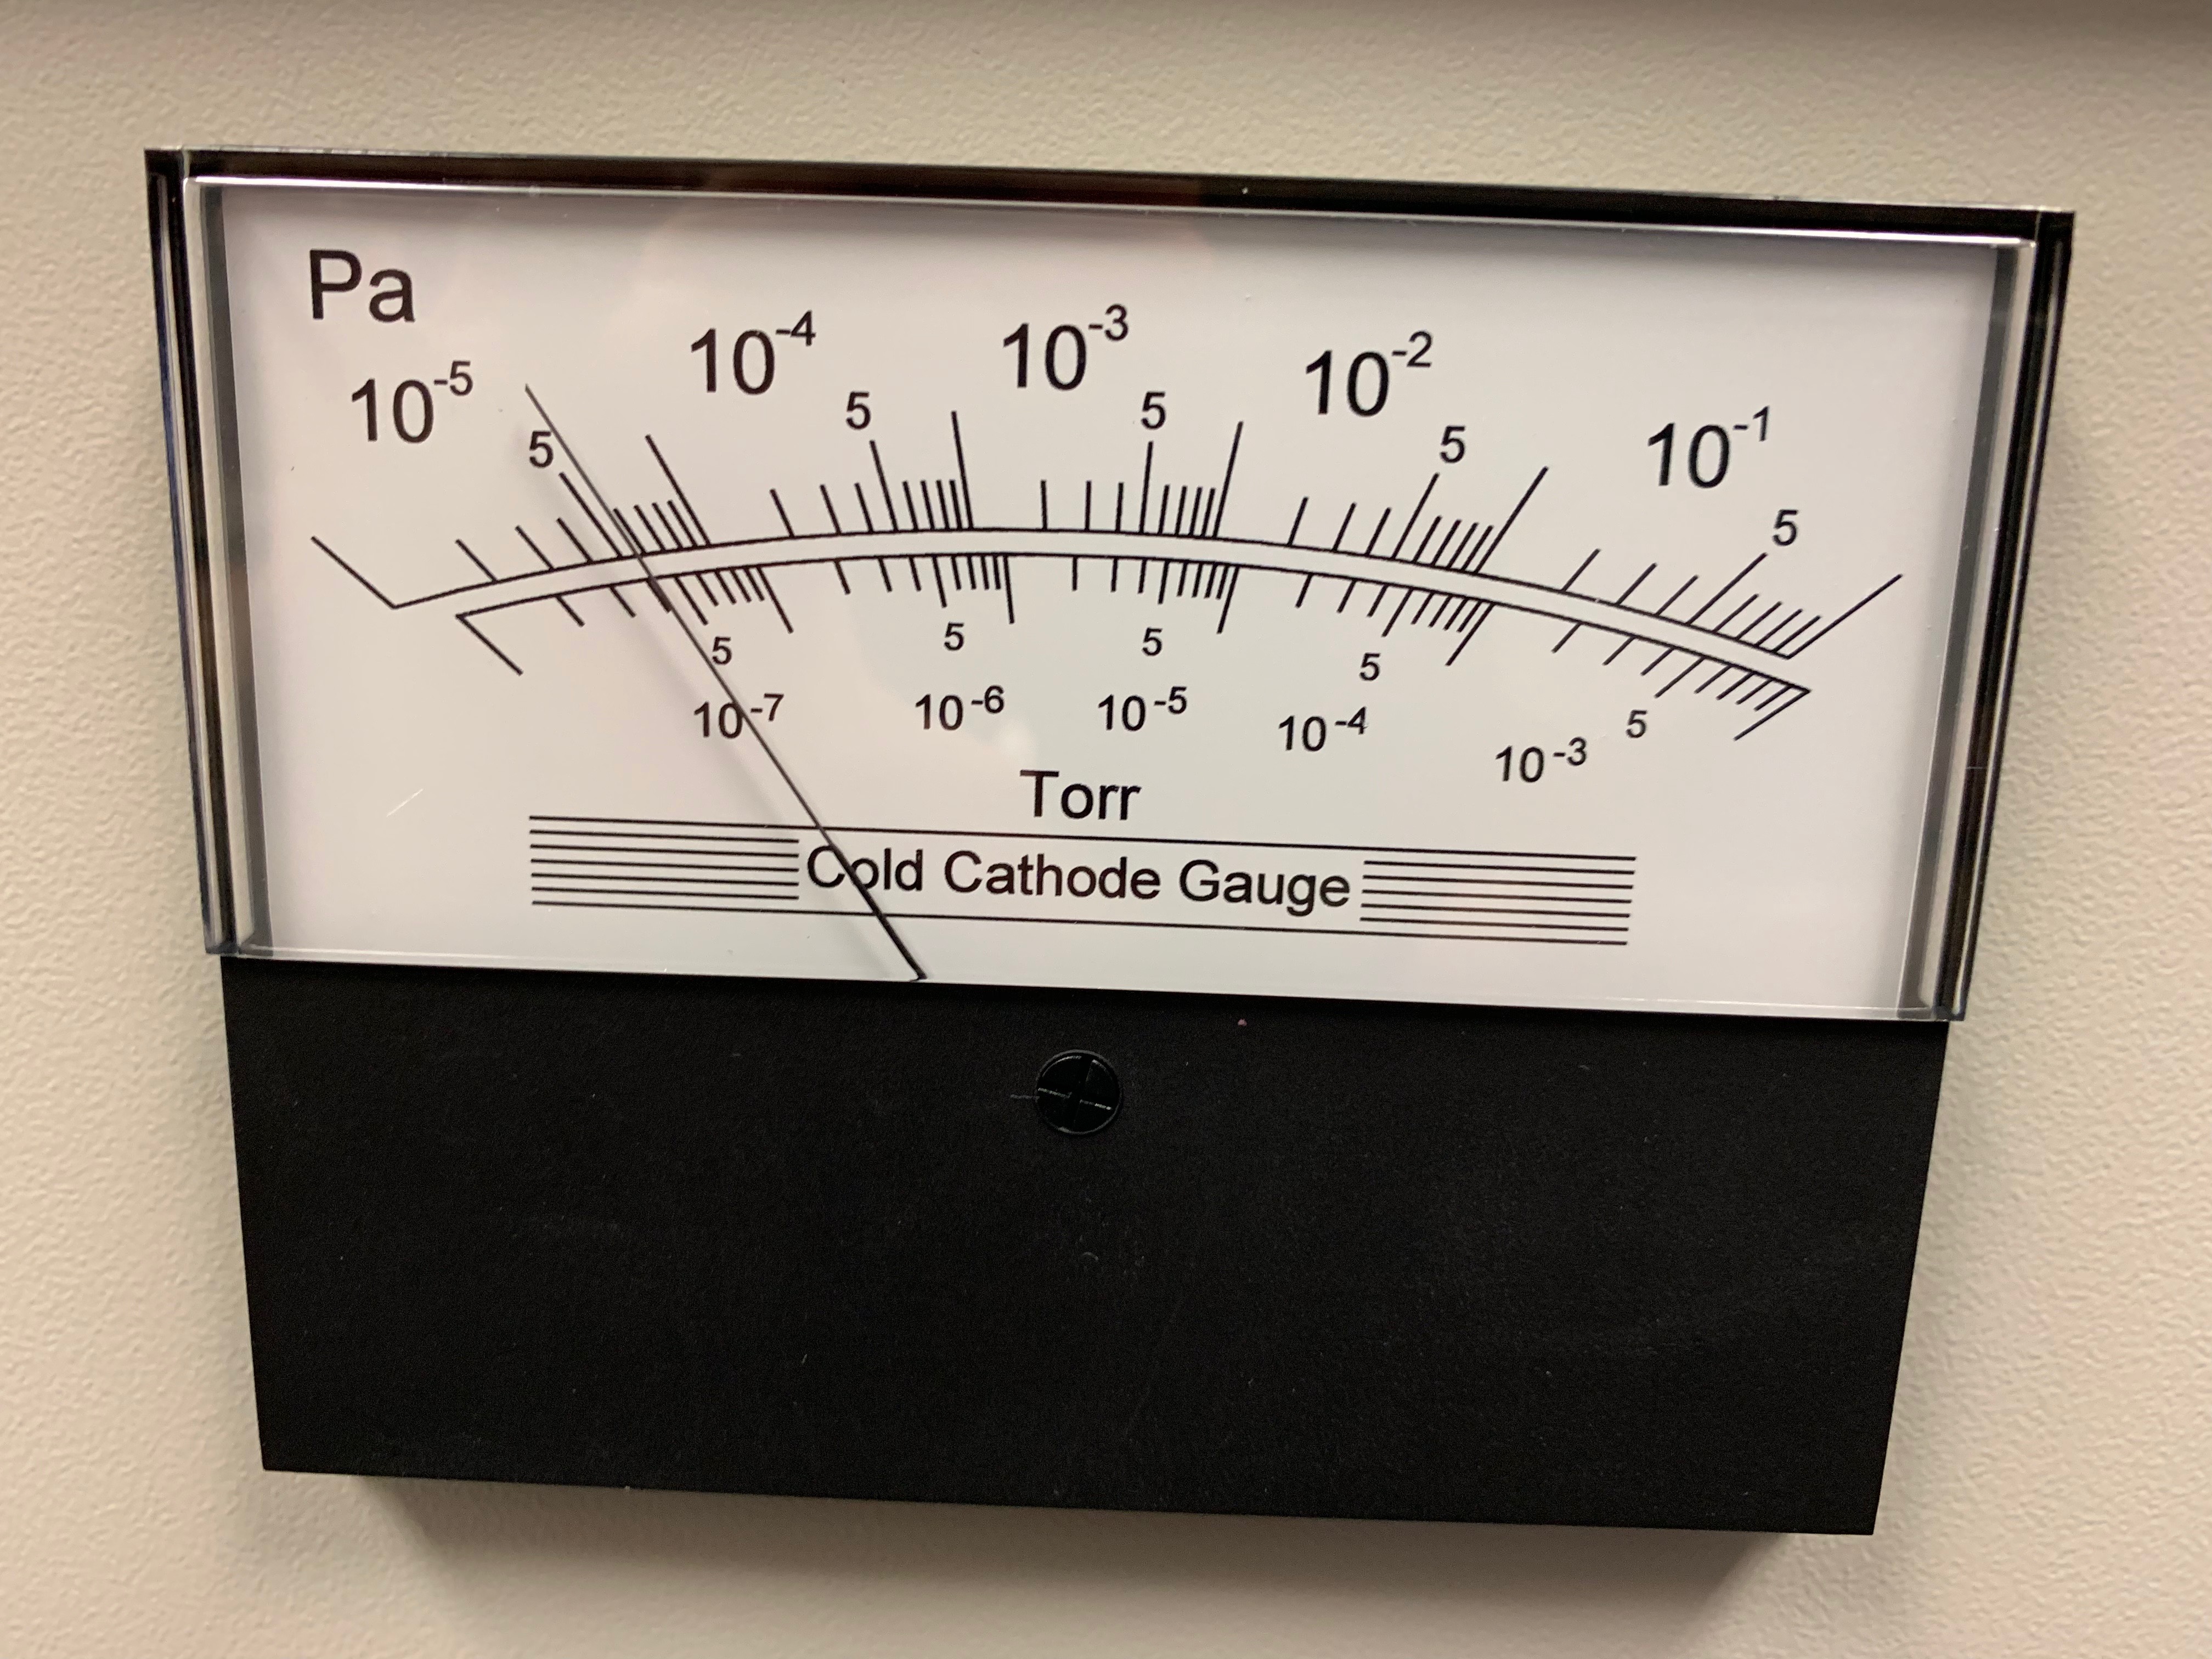
- Allow two minutes to pass after the initial insertion for the vacuum to recover. After the red indicator light on the loading stage is no longer glowing, you may manually rotate the sample loader upright and gently guide it as it is pulled into the machine. Do not resist the pull but also do not let go of the sample holder completely. It should be a smooth and gentle motion.

Final steps before data collection
- Fill the dewar in the sample loader with liquid nitrogen and plug in the Smart Set to measure the temperature. The dewar should be free of condensation and not cold to the touch. It will take a long time for the dewar to reach temperature. Measurement occurs along the rod inserted in the machine. At least 15 minutes should pass where the sample loader has been stable at -160 degrees Celsius. Attempting to take data before this occurs can cause spontaneous ice formation.
- Place a cap with a pinhole over the dewar to vent nitrogen upwards, preventing nitrogen from condensing on the outside of the sample loader.
- Remove the sleeve over the sample by sliding the rearmost pin on the sample holder forwards. This may expose residual nitrogen and cause a small spike in the vacuum. Allow the system to recover before proceeding.
- Collect data.